I really must stop watching movies and then disappearing off to the workshop for the next project.
So, apparently I need a UA-571-C Sentry gun in my life. So lets get that sorted.
Pretty early on, I decided to make a reasonable copy, but not exact replica of the weapon from Aliens. I want to add some of my own features to it.
The main housing is going to be made from scraps of MDF, with most of the trim parts 3d printed.
|
I have decided on the main features, so lets run through the plan. Camera face tracking. I found some free software that uses a webcam to output servo commands to an Arduino. I don't plan on using servos. but I can take that data and adapt it. The main problem with this method is the range. I doubt I will get much more than 4 or 5 metres. Maybe some kind of zoom function can be added. Long rang PIR. I found a 230v corridor PIR in the workshop, so I opened it up and removed the 12v PCB and Fresnel lens. I will also add a PING ultrasonic module, just because I have one. There will be a rotary selection on the side of the weapon to select all or some of the above detection methods. |
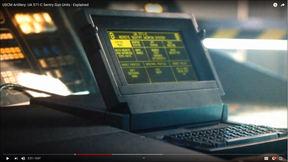
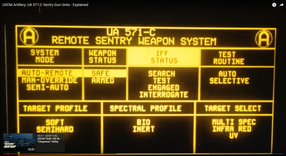
There is a dedicated laptop that runs the system in the movie. It's an old piece of kit that appears to be nearly impossible to get hold of now.
I will probably have to recreate that laptop 'look' using something else. Not going to worry about that for now.
It will have the standard HC-05 Bluetooth receiver. I always add those so that I can have a phone or tablet app to control it.
I originally planned real flames or fire from the barrel, but the decided this was pointlessly involved for something I will rarely use.
So, I dug out 36x high power LEDS from an old warehouse highbay light fitting. They are pretty damn bright.
Smoke from the barrel will be made with a £2.99 Vape off Ebay. Works a treat as low volume barrel smoke generator.
I also have an old 30W Infra-Red floodlight off my home CCTV system. I salvaged the IR LED panel when the power supply died.
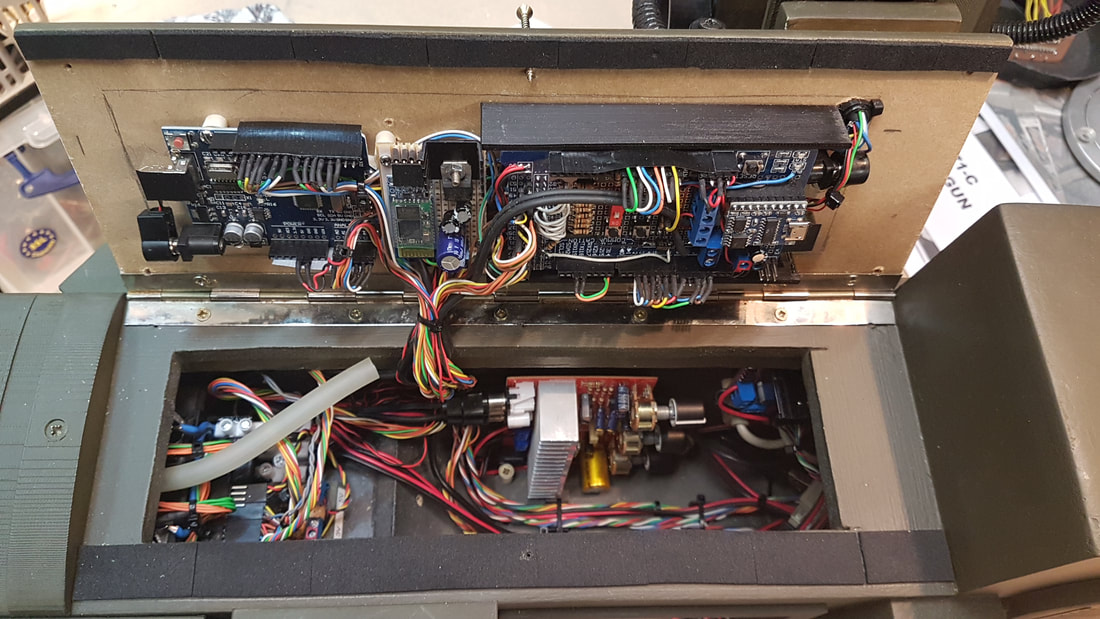
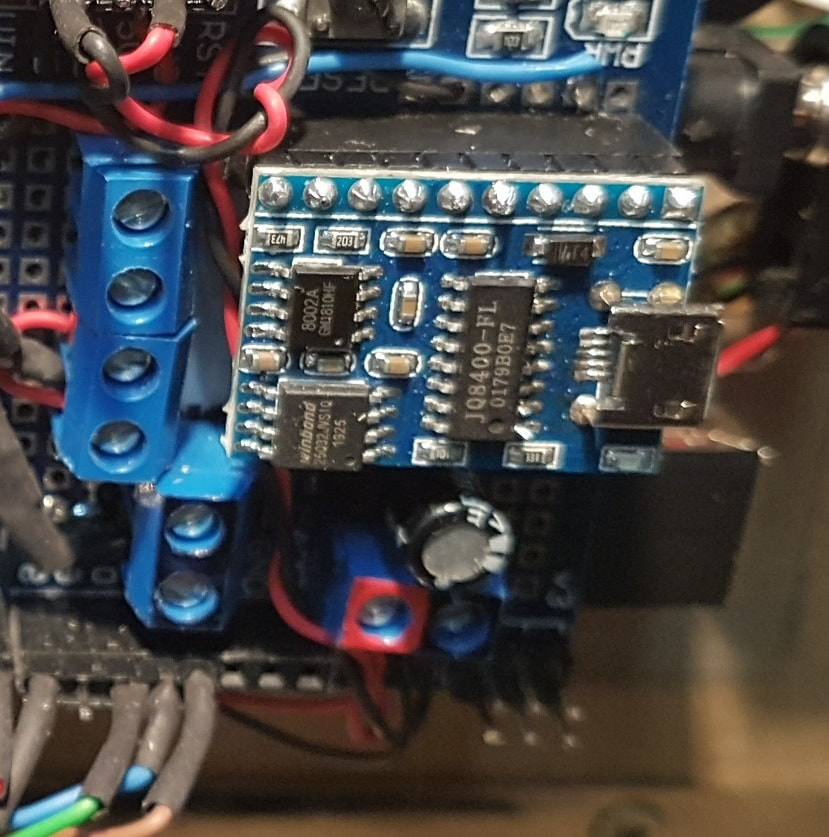
An Arduino Mega will be the heart of the gun, with a JQ8400 MP3 module added through a stereo amp for the sound effects.
|
A 3 digit LED display will show remaining rounds. I will drive that with a Max7219.
There will also be an Arduino UNO handling just the camera software. This will pass the required servo data over to the Mega. The weapon in Aliens only pans left and right. But I have the ability to add tilt with this camera software, so I may as well. After digging around the workshop, I found some 12v, 60 RPM motors. If I add a 10k pot to these motors, I can make them into servos. I have some green laser pens here, so I will probably use that for sighting. Inside the gun will be a faster geared motor driving a recycling 'bolt' action as the gun fires. |
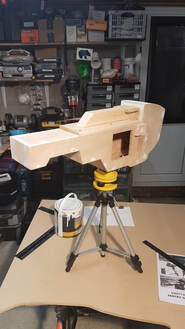
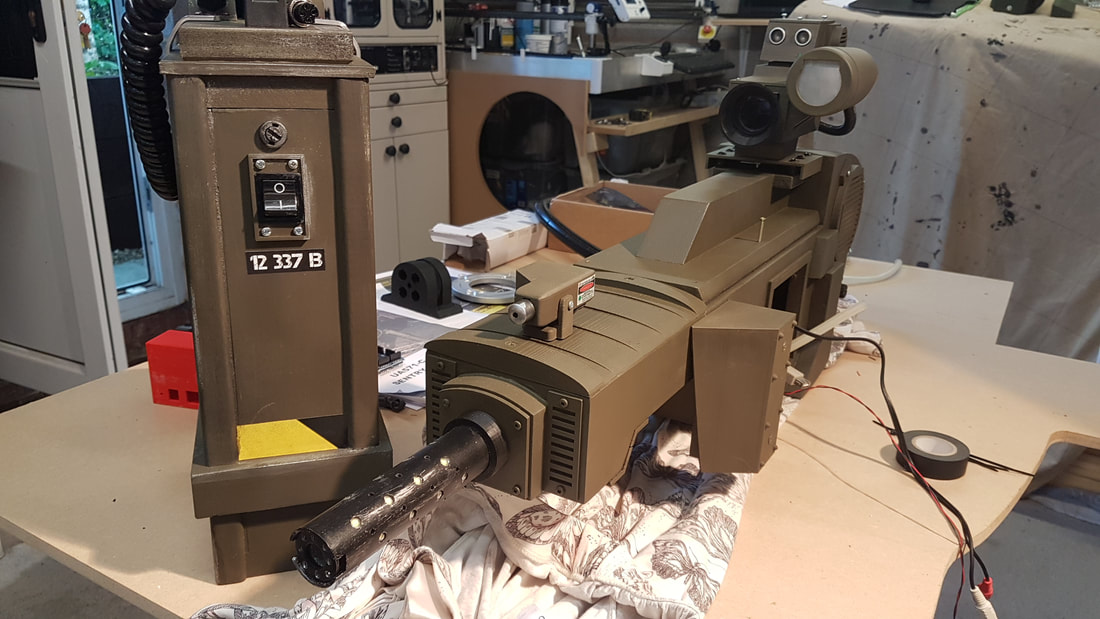
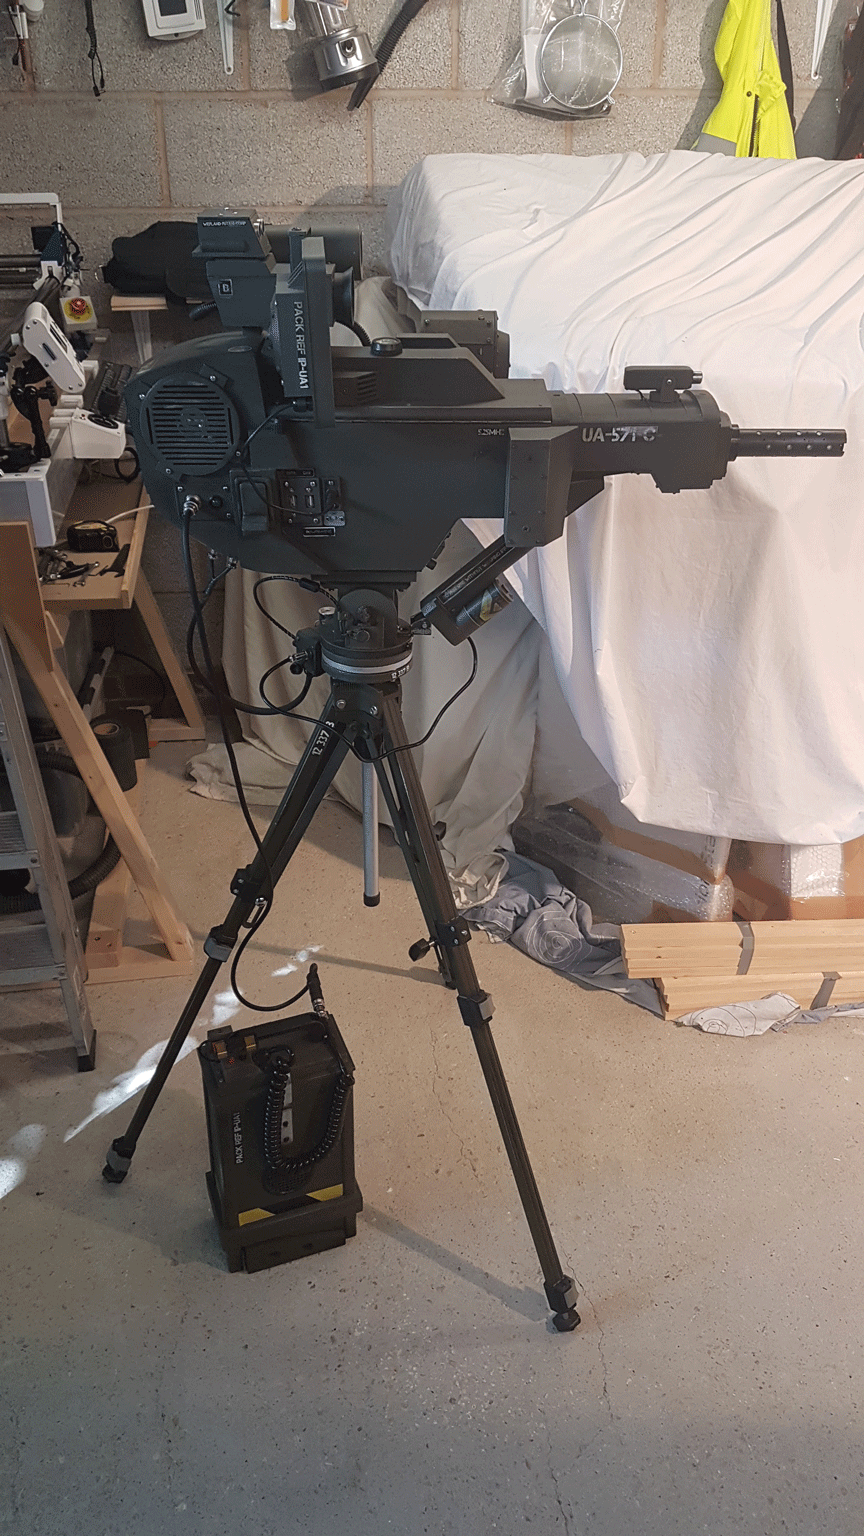
Above was the first evenings pottering. Used an old laser level tripod to get started, but I will eventually make a bespoke stand.
I also sat in Photoshop for an hour and produced a sheet of graphics. These cost £4.99 online to be printed on vinyl.
So, the first day was sanding, filling and getting a basic shape together.
Turns out there is a lot of incorrect information out there about this weapon. Some people have made their own versions and they vary quite a lot.
|
|
|
Barrel of laughs.
|
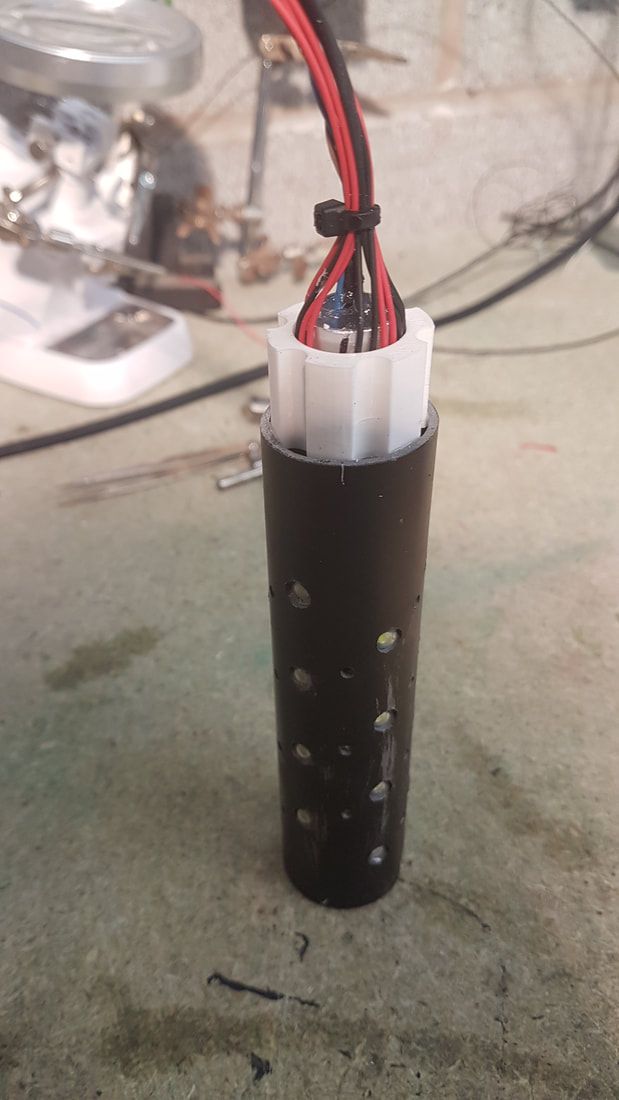
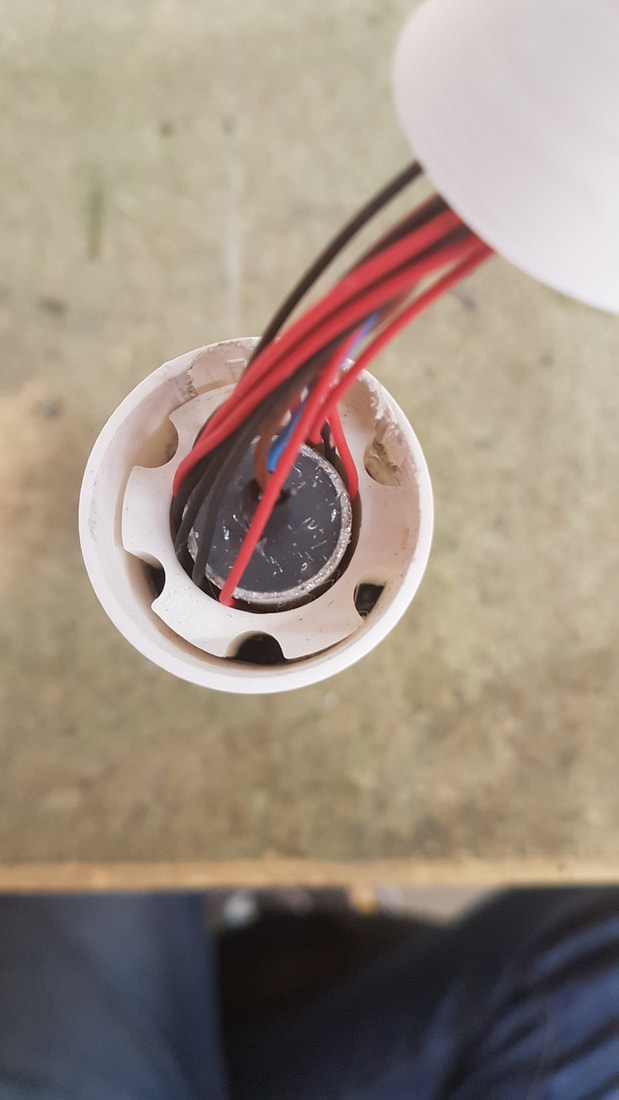
The barrel in closer detail. It was a 3d printed insert in a piece of aluminium tube.
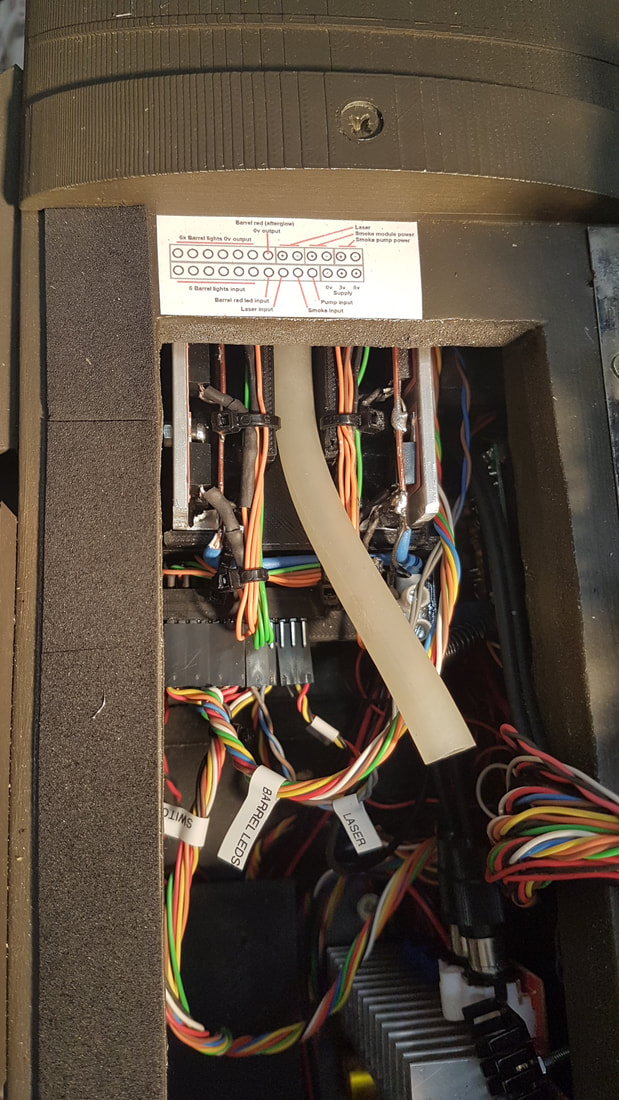
This held 6x strips of the LEDs, but also left channels for the smoke to move along and escape. In the centre I placed 4x very high brightness red LEDs. These linger on after firing to give a red glow. The piece to the right here then had a cone fitted to the top that allowed a 12mm flexible silicon pipe to be attached. This pipe pushes onto the end of the Vape module. The Vape needs 3v (used an LM317T). The other end of the Vape has a 6mm silicon pipe that is then attached to a small aquarium pump. Each time you fire, the pump runs and it emits smoke. Simple! I also made a 'sled' to mount 10x TIP121 transistors on. This was the tidiest way to fit all of them inside the gun. It's becoming rapidly obvious that this is going to be a tight fit. The 'sled' was a 3d printed frame with a couple of lengths of 20mm x 20mm aluminium bolted along each side. There will be minimum heat dissipated, as the LEDs flash very fast and are off 99% of the time. Six of the transistors control the white LEDs, one does the red LED's, one controls the Vape 3v supply, one controls the 5v supply to the aquarium pump and the final one switches on a 3v Laser pen. |
After a little bit of a dig around, I found some remote control keyfob's that used to be for a radio controlled 4x4 winch.
After a quick test, it become apparent that the output was basically 5v that reversed polarity depending on whether you pressed button A or B.
So, I fired that output through a couple of IN4001 diodes and then onto a pair of BC557 transistors. This gave me a switched +5v output on each transistor collector.
I hooked one of these RF buttons to the fire pin on the Arduino Mega and the other will be used to 'block' the gun when I approach it.
This is known as IFF (Identification Friend or Foe).
Battery pack time
|
The battery pack was made using a couple of old, second hand 7Ah sealed Lead acid batteries, connected in parallel.
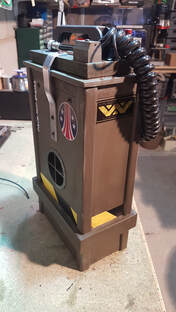
I basically cobbled together an MDF box and adorned it with crap I found lying around my workshop. There is a HUGE curly cable attached to this thing! But it's the only curly lead I could find. Bit of weathering and done. The plug on the end of the cable is only rated for 6A, so I found a 4 pin version and doubled up the pins. As a precaution, I fitted a fuse with isolation switch to the battery pack anyway. |
'Look at those ammo counters go...'
|
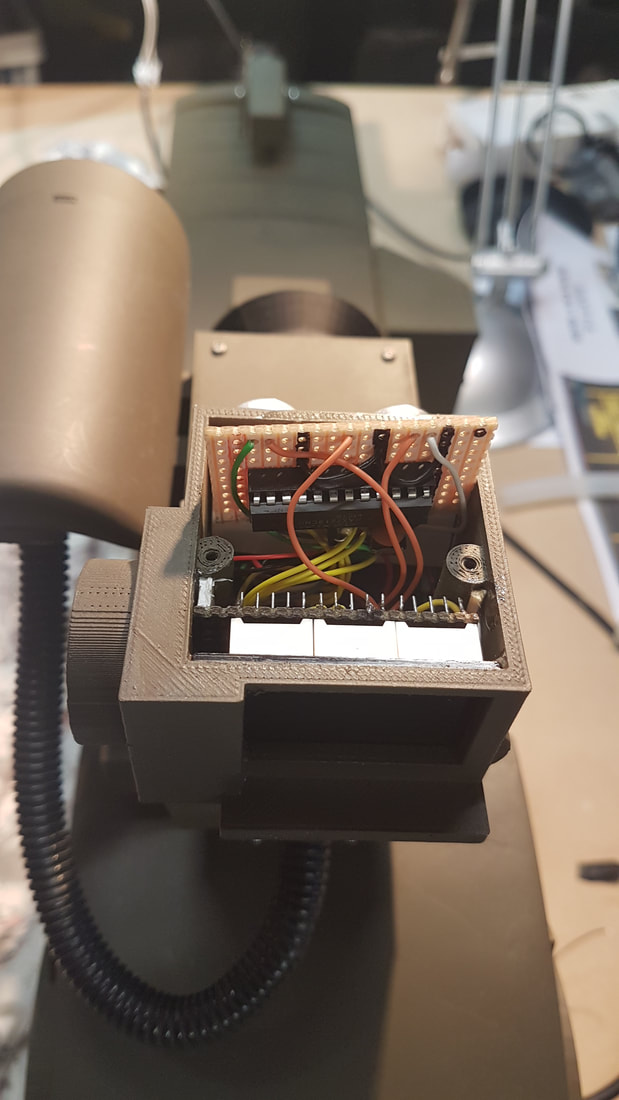
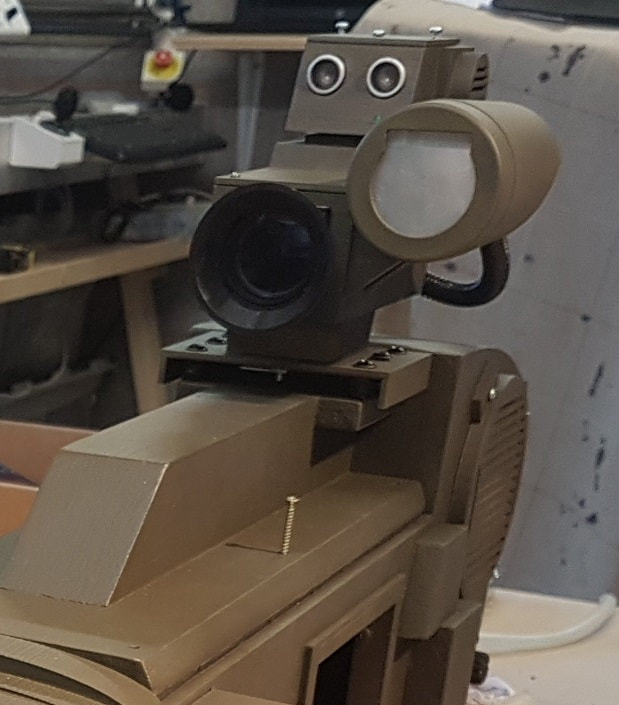
The ammo counter is mounted at the very top of the 'stack'. This stack comprises of the PING ultrasonic module, the webcam and the long range PIR.
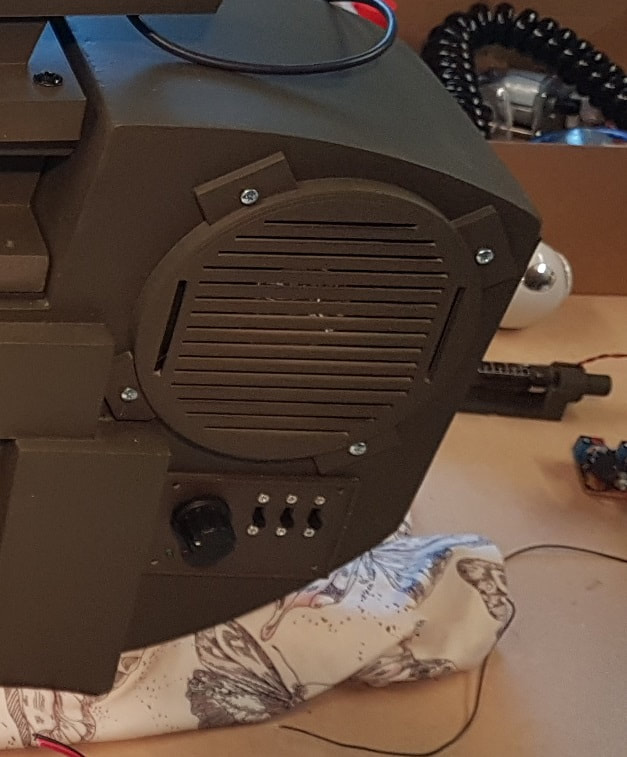
I found 3x RED common cathode LED displays and hooked them up to a MAX7219. This is fed back to the Mega and shows remaining ammo. It flashes when ammo is below 50. Also, at boot up, it shows the current degrees that the weapon is set to automatically 'sweep' looking for targets. Press the button on the side to confirm and a 10 seconds countdown elapses before the ammo counter runs up to full. There is a rotary switch on the side with 3 slide switches. The slide switches give you either 500 or 999 ammo loadout, laser on/off and changes between two different types of machine gun SFX. As for the rotary switch, this selects PIR, Ultrasonic sensor or camera. It also allows any combination of these sensors. |
|
The webcam is installed behind an old CCTV lens. Testing revealed this appears to boost the ability of the webcam to track targets up to 10M away.
It also has become apparent that I will need to either use active (boosted) USB leads, or make a small USB hub to boost the signal over a decent length USB leads. There are two USB ports on the side of the gun. One for the webcam (back to a PC or laptop) and the other for the Arduino Uno to control the servos. I put a green LED on the side of the PIR to help with setting it up. This PIR takes 112 seconds to settle, so I had to write into the code that it would start by recognising that the output of the PIR is high at boot. It then waits for this initial 'high' to switch off before then starting to look for detections I also opened up the PIR to see if I could shorten the 'on' time that comes factory set. |
|
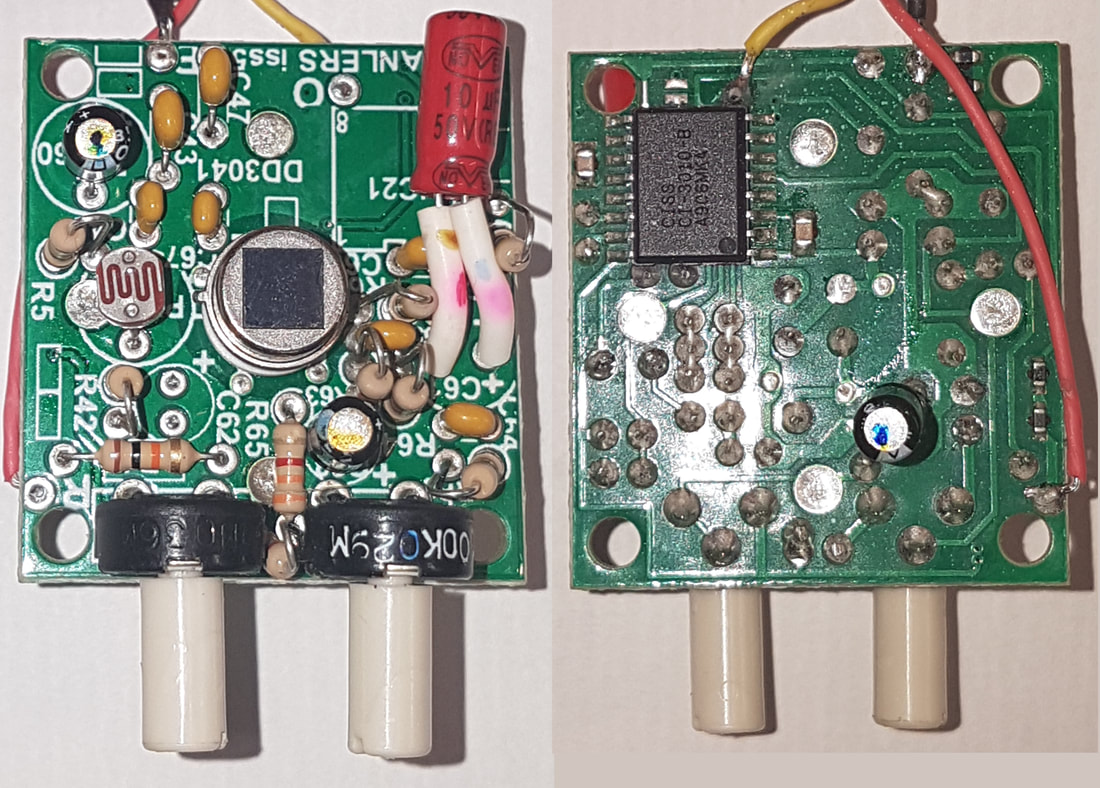
I assumed the PIR would have the standard Biss0001 controller IC, but it didn't.
Instead it was called CISS C1-3010-B. Obviously some kind of similar controller, but the pinout was different. Amazingly, I found the PDF for the IC online (what would we do without Google). I worked out the timing resistors and altered those to give the PIR a 2 second on period, as opposed to its factory minimum of 12 seconds. I left the starting 'settle' period as it was. Not that I could see a way to change it anyhow. The PIR sensor should be left for a minute to settle down. |
More bits...
|
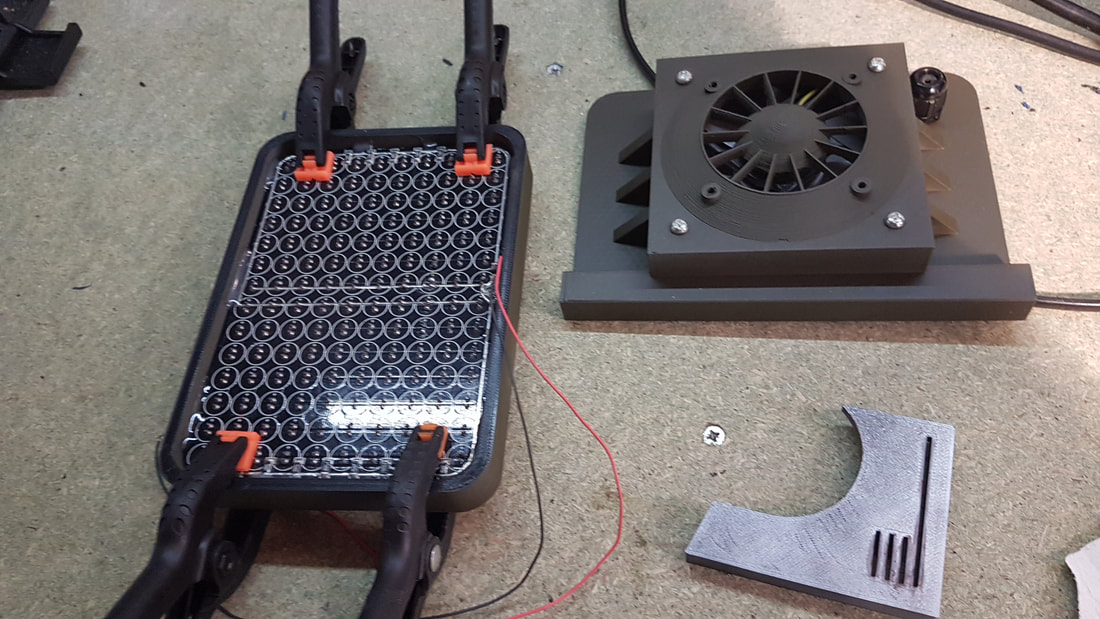
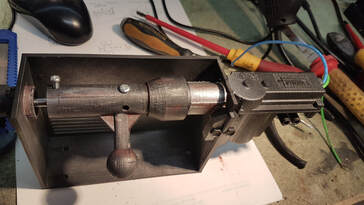
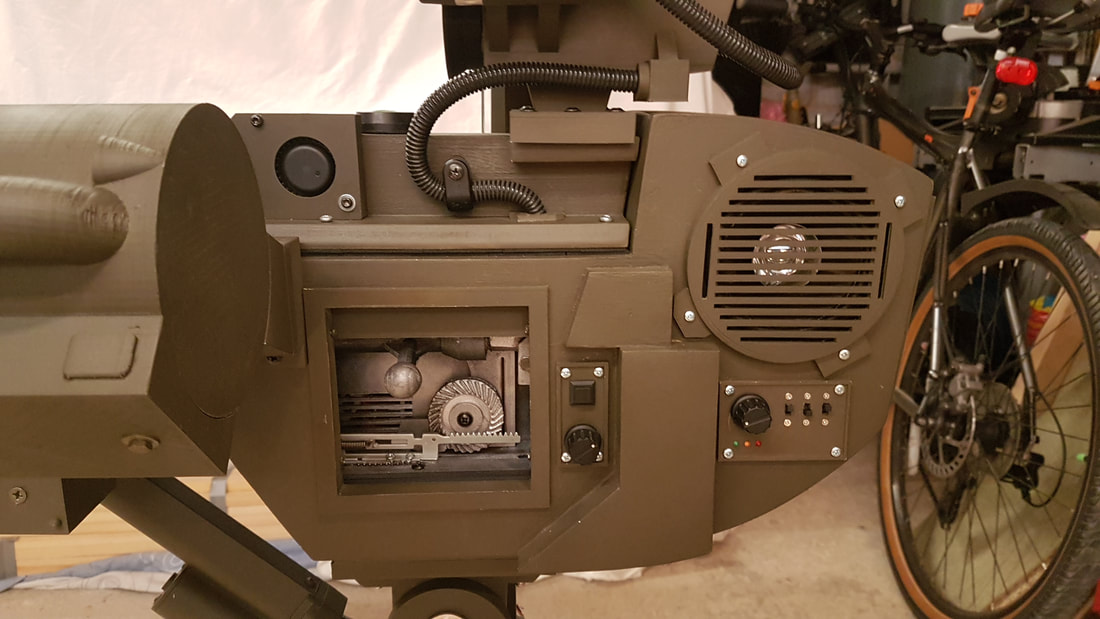
Doesn't need one. Lets fit one anyway. I had a broken IR floodlight (failed PSU), so I took the panel out and 3d printed a frame for it. This included a large cooling fan on the rear. It simply plugs into the gun, and I made a simple photocell circuit with a couple of BC548 transistors. This brings the light on when it gets dark. The recycling 'bolt' turned out to be a right pain in the arse. Getting something in the very small space I was left with was a challenge. At first I tried a recycling piston, but there just was not the space. Then I found an old car central door locking motor. It didn't move far (30mm), but this is enough to simulate a recycling bolt. The central locking motor draws a huge current when it hits it's limit, so it is only powered very briefly. 30 milliseconds seems enough. I added a microswitch as it's limit as well, so if is gets to fully engaged, it cuts the power. |
I made this part removable, as with it fitted, it is difficult to service anything else.
Sound system
|
The sounds were pretty simple. I used my go-to JQ8400 sound module. They are around £2 each from China and have flash memory, USB and SD card abilities.
You can control a huge amount of data with these boards. Send the commands via serial to the module from the Arduino. Ensure you put a 1k resistor inline, or you will suffer clicks on the sound output every time you send a command. |
The boards have stereo pre-amp and speaker outputs. I fired those through a 30W stereo amplifier and mounted speakers on each side of the gun.
There is a switch on the side that lets you select one of two different machine gun sounds.
The sounds are stored in sound 'bursts' of one to twelve pulses. This means file 12 for instance has 12 individual bursts of machine sound.
The Arduino code has written into it the length of each of these bursts in milliseconds.
When you fire the gun (or it gets triggered), it randomly picks a burst length, and plays that file.
The associated length of file value is used to time the flashing barrel lights.
As I only had two different machine gun sounds, I managed to fit them all in the flash memory.
The only other sounds stored are a reloading SFX , a confirmation beep, and a tickling metal 'cooling down' SFX.
Pan/tilt mechanism
|
|
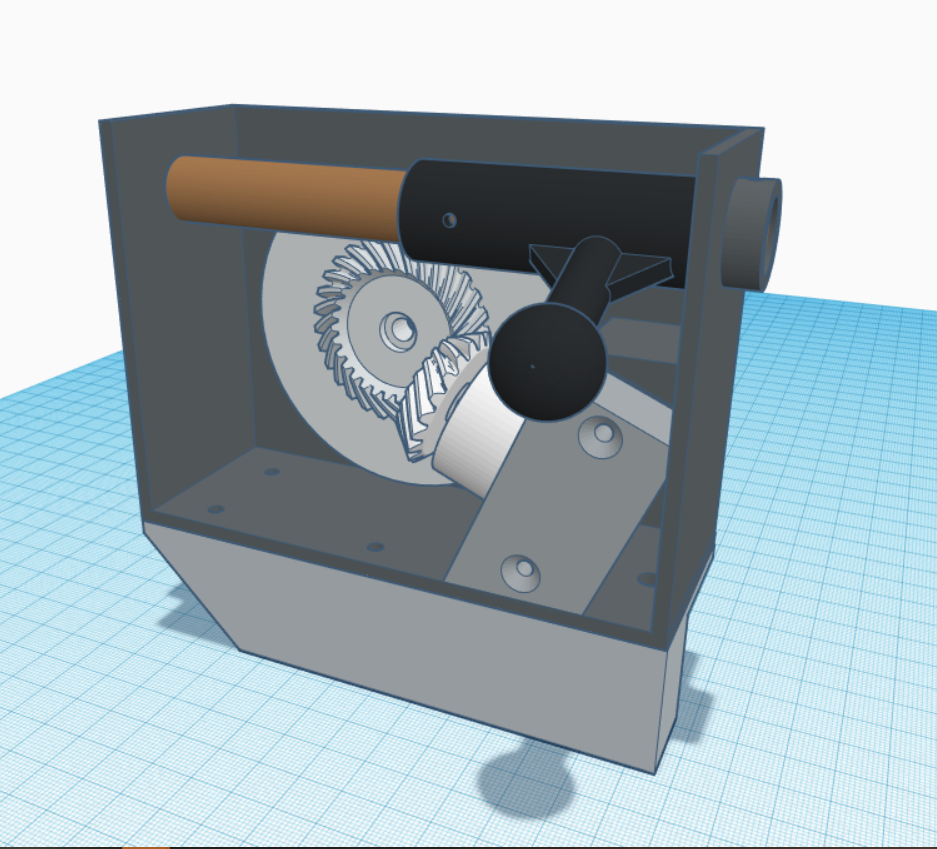
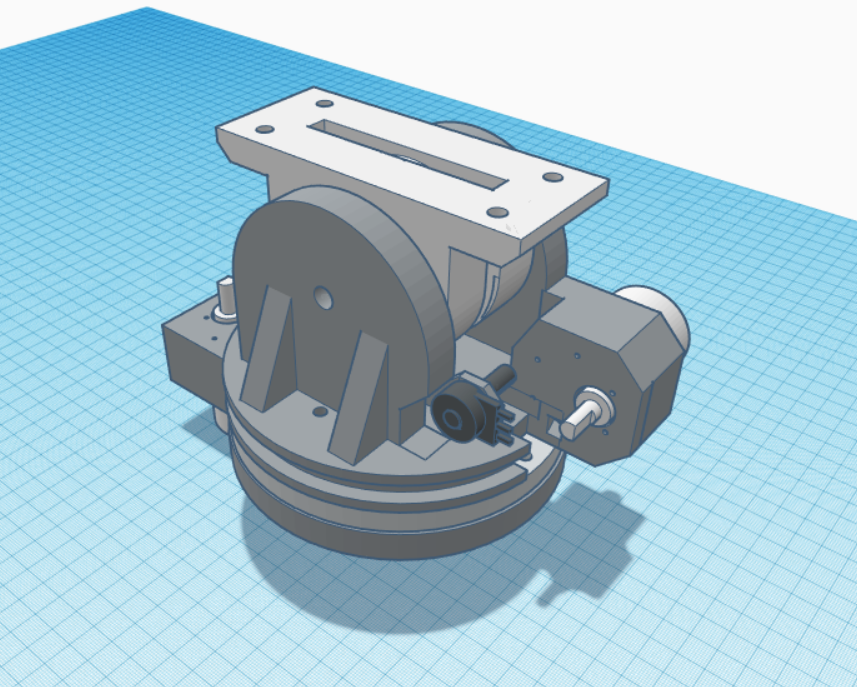
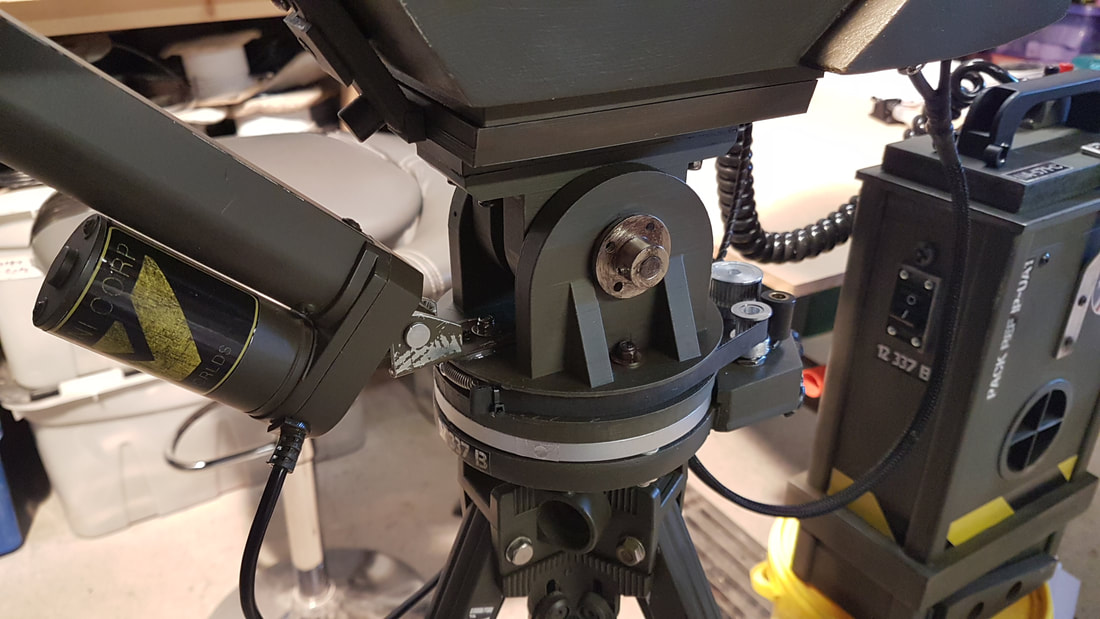
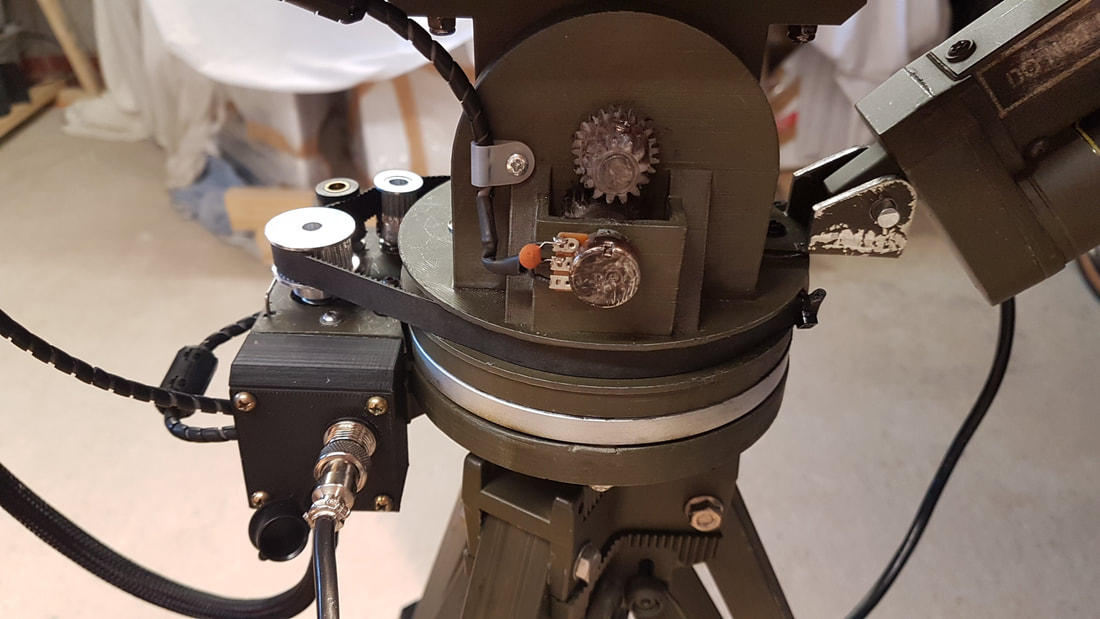
I bought a 100mm diameter flat bearing, usually used for the centre of rotating tables. This £8 bearing turned out to be very good.
On the side is a 10K potentiometer connected to the centre shaft by nylon gears. This feeds back the tilt position to the Arduino Uno. I found an old broken camera tripod and spray painted that. Then, after some digging around the workshop, I found a 100mm linear actuator. Perfect. This runs the tilting part of the rig. |
|
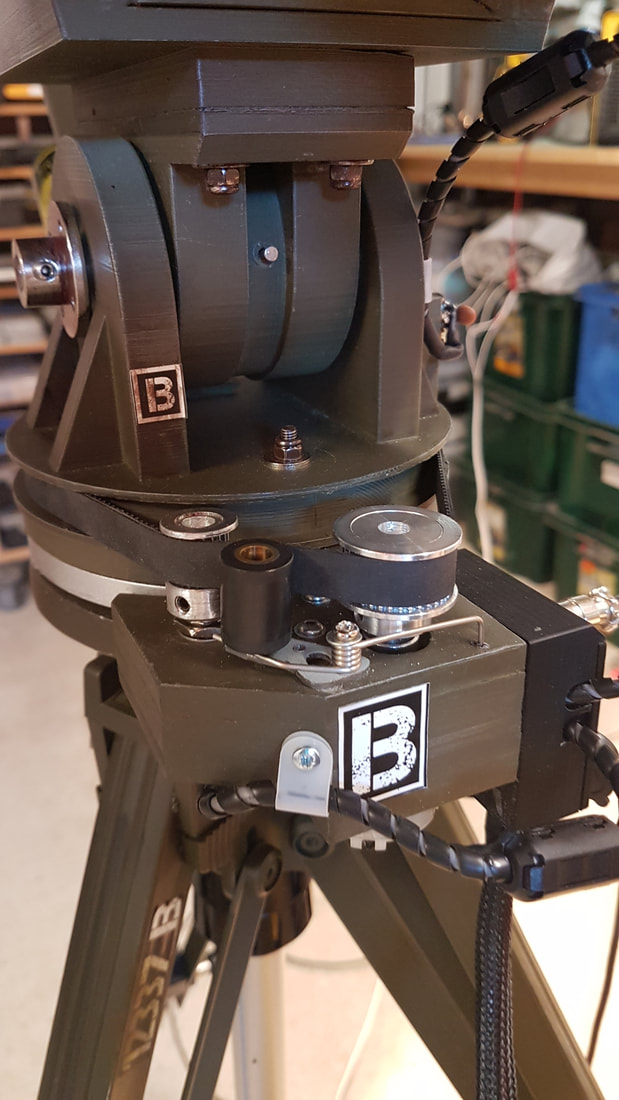
The rotation is taken care of by a 60RPM geared motor. A 10mm toothed GT2 belt is secured at the front of the rotating plate, using a couple of springs to stop jerky movements. This 10mm belt is driven using a 32 tooth pulley. A 20 tooth pulley is mounted onto a 10 turn, 10K potentiometer. This feeds back the rotary position. I also added a sprung tensioner wheel to keep the belt tight. The connections to the gun itself are just metal aviation plugs. The sockets have 10k pull-down resistors wired across them, and the code is written to look for a return value of zero. Normally the returns position values are in the middle range of the pot. |
A zero value would mean the plug has come out, and the gun the stops dead immediately.
Coding. What a pain in the #&#%
|
The gun has two Arduino's inside.
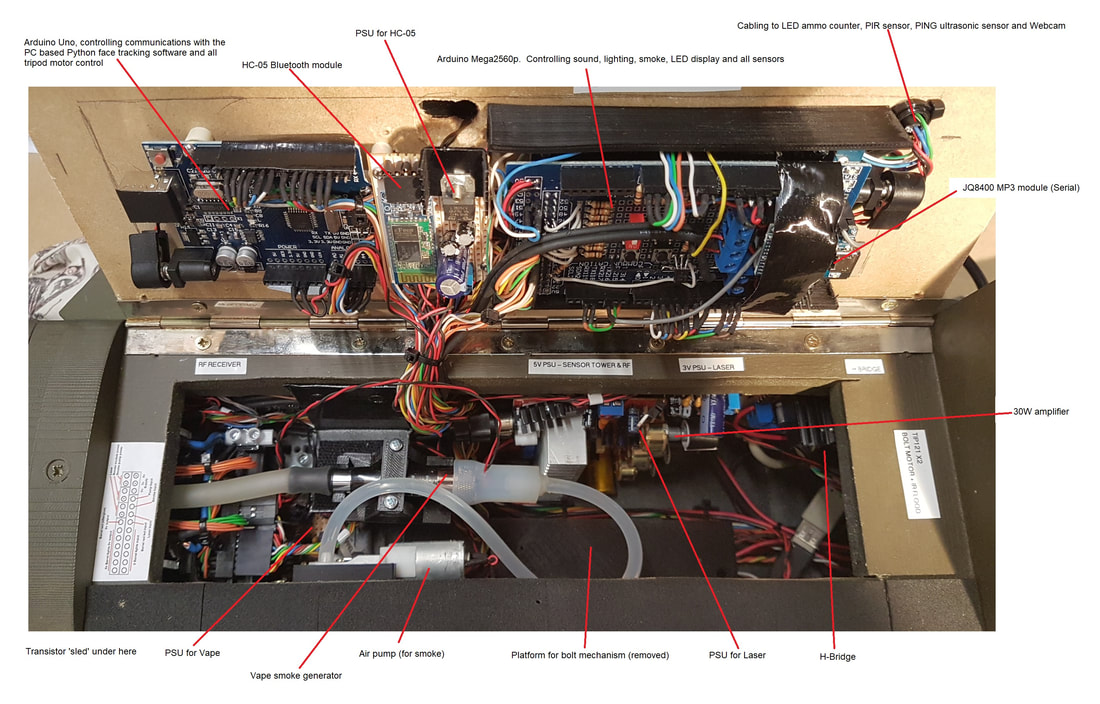
An Uno monitors the communications between the gun and a Python routine on a laptop. This Python routine finds a face and tracks it. These co-ordinates are fed back to the Uno by USB. The Uno then moves the turret to the correct position. The Uno also monitors the motors and feedback pots from the tripod. Various inputs to the Uno allow it to be panned manually, by Bluetooth, or to pan left and right automatically while it is seeking a target. |
There is a dual 10k pot on the side of the gun that allows you to select a panning range of 20 to 200 degrees.
If you turn the pot during it's panning cycle, it paused to let you pick your new range, and then centres straight forward before beginning it's newly chosen pan duty.
The reason it is a dual 10k pot is the other potentiometer is connected to the Mega2560p to display the panning degrees on the ammo counter LED display.
If you have the gun in PIR detection mode, then you cannot pan the gun and an input to the Uno prevents that.
Moving the gun with the PIR active will constantly trigger it.
So, you set the gun looking down a narrow corridor or something (that is what PIR mode it for), and it watches for movement.
If it gets triggered, it then pans left and right 10 degrees while firing.
The Mega 2560p controls the sounds, lighting, smoke generator and Ammo counter. Plus all the sensors.
The Bluetooth receiver is also hooked up to the Mega so that I can add an Android App to it's control suite.
I started a little bit of weathering. Nothing too amazing. Just rubbing off paint, scratches, dirt etc.
The vinyl graphics are not ideal, as they are quite hard to 'weather'. But, this was a budget build. Bit of abuse and they look fine.
Lots of coding to go yet, and I still need to make the remote laptop so that it can find and track faces.
The vinyl graphics are not ideal, as they are quite hard to 'weather'. But, this was a budget build. Bit of abuse and they look fine.
Lots of coding to go yet, and I still need to make the remote laptop so that it can find and track faces.
Facial recognition. Python programming.
I don't use Python all that much. So this was the opportunity to get my head around it.
I mean, how hard can it be to determine the position of a face, build a GUI, talk to an UNO and a Mega over serial, and control the servos.
Quite difficult it turns out.
First thing I did was install QT Designer. This allowed me to design the graphical interface.
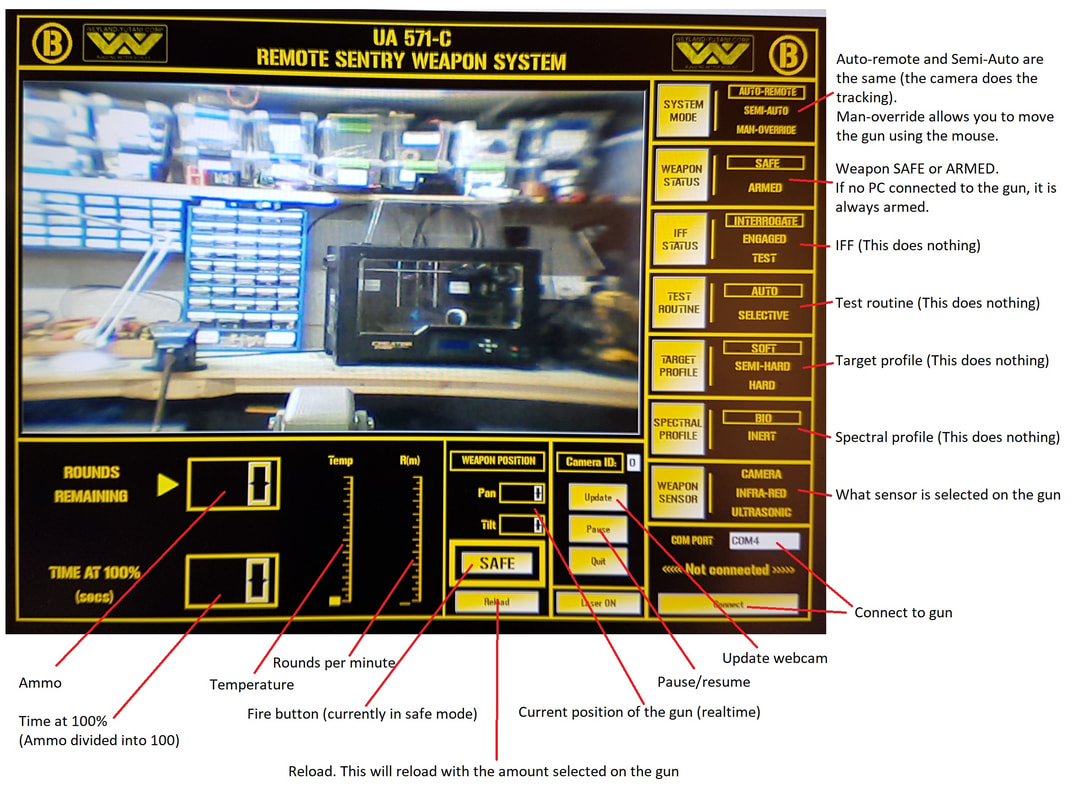
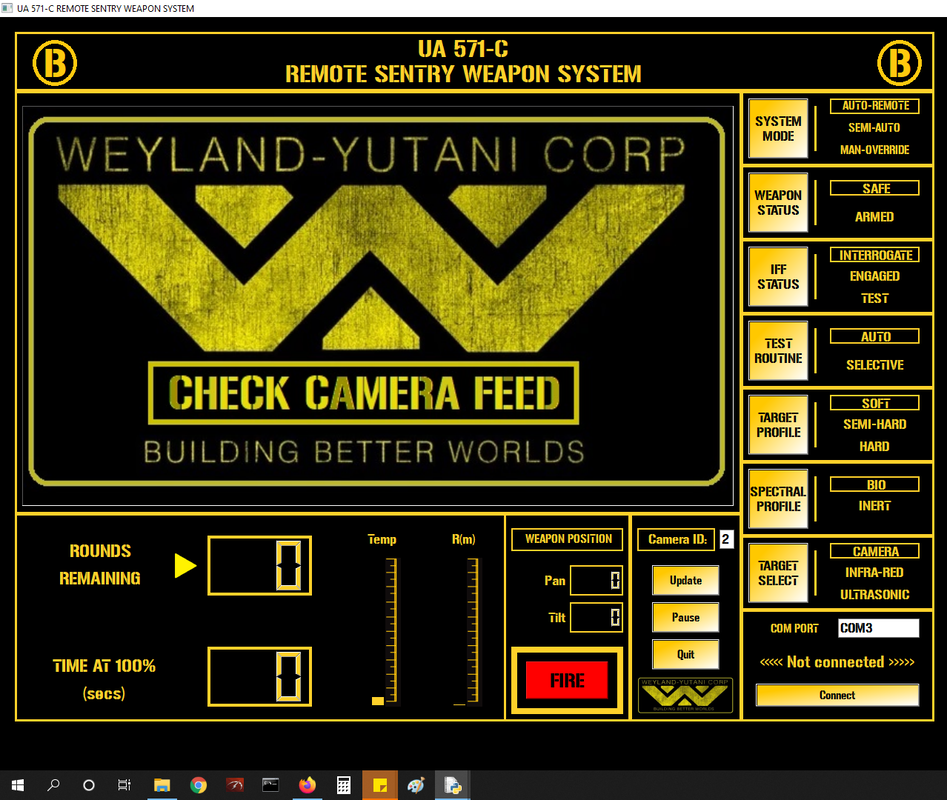
I took nods from the film GUI, but added my own functions to it as well.
|
Ideally, the Python routine would talk to the UNO and the MEGA independently, but that isn't how they are wired.
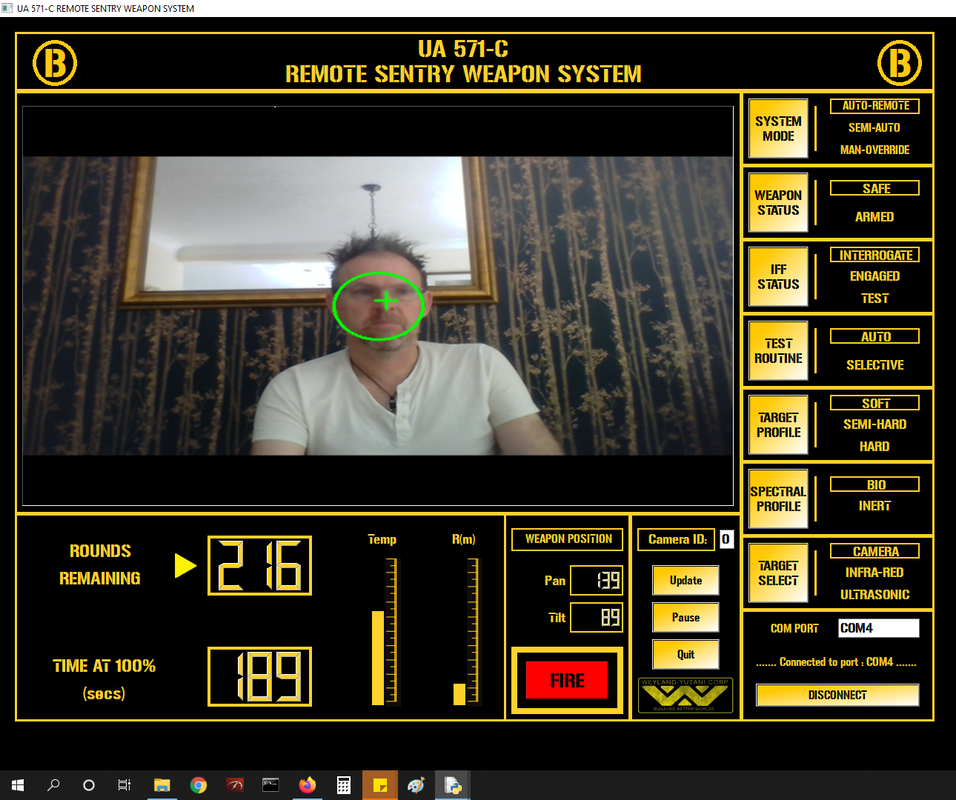
The GUI talks to the UNO over serial, and in turn, that communicates with the Mega over it's own internal serial link. Became pretty apparent pretty quickly that this was going to be processor heavy. My crappy HP laptop in the workshop just could not process the data quick enough. So, I threw it over to my Asus gaming laptop. I found some demo face tracking software online and butchered that to within an inch of its life. The GUI allows you to select any camera you have connected, so I can then plug in the webcam built into the sensor tower. At boot, the Python routine requests the ammo load etc. The UNO is handling all the camera servo control. The Mega does all the ammo counting, firing, SFX etc. If you switch to manual control, then a crosshair appears on the screen and you can pan, tilt and fire manually. When the python routine is connected, it shows you which sensor is selected on the gun, and the current pan + tilt position. |
|
There are several buttons on the right that switch through GUI menu options. At this point, only the System Mode and Weapon Status do anything. The others are purely for effect.
I may add the IFF button functionality, but for now, it's just a toggle. The camera looks for a face and after a little bit of noise reduction, it decides whether it is worth following that target. This then tells the UNO to move the turret as required to reach this target. When your face is centre of the screen, the circle turns green and it fires the gun. It's certainly not consistent. If it sees a box of screws or something and thinks 'that's a face', it flies off and opens fire. |
|
But, you have to draw a line in the sand with this sort of project. It's not a real gun. Just some fun.
Things like the temp and the RM gauge (rounds per minute) are calculated on the UNO and passed back to the Python routine each time the ammo updates. Oh yea, the Goddam ammo counter. This was a pain. I didn't want the routine slowed by a constant feed of ammunition data being received, so I set up the UNO to only send the start and end value of the ammunition each time it fired. It was a right pain to get the Python routine to automatically track this reducing value just using the start and finish value. Sounds simple, but it took literally 3 evenings and a lot of Panadol. So, it's finished. No idea what I am going to do with it. But tick that one off the build list. |
|

