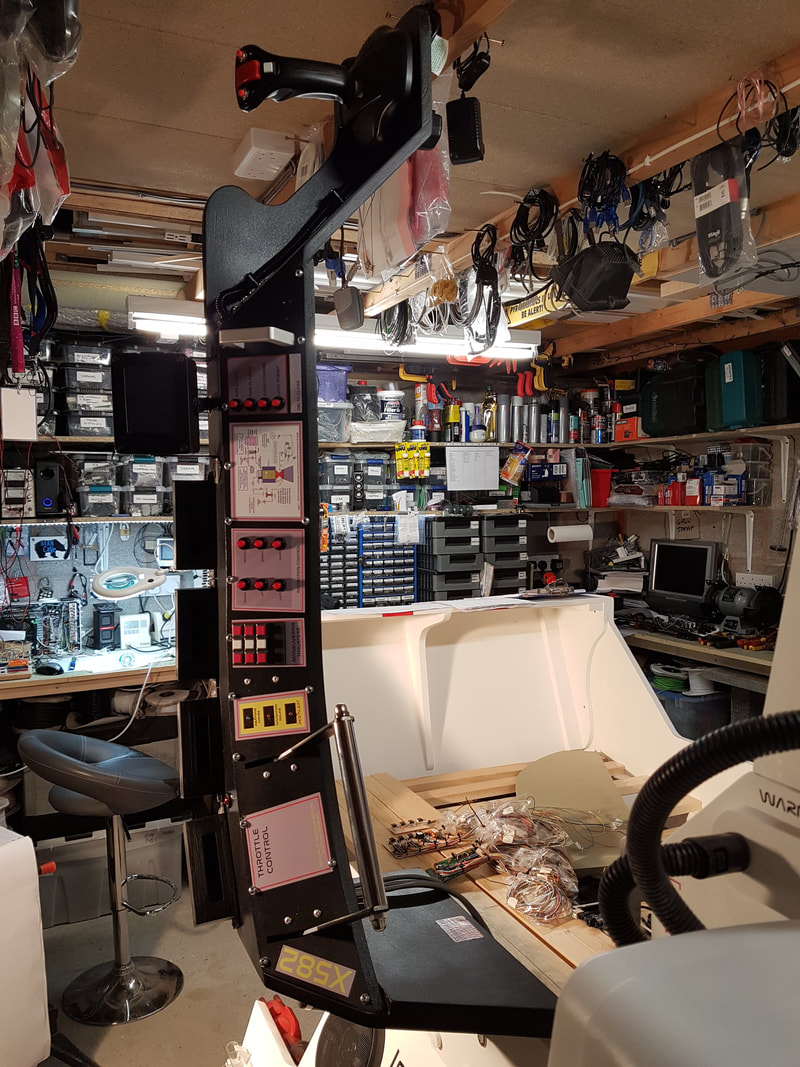
The Navigation console that weighs slightly more than Thor's hammer.
Now that the timber frame of the Navigation console is built, its time to fill it.
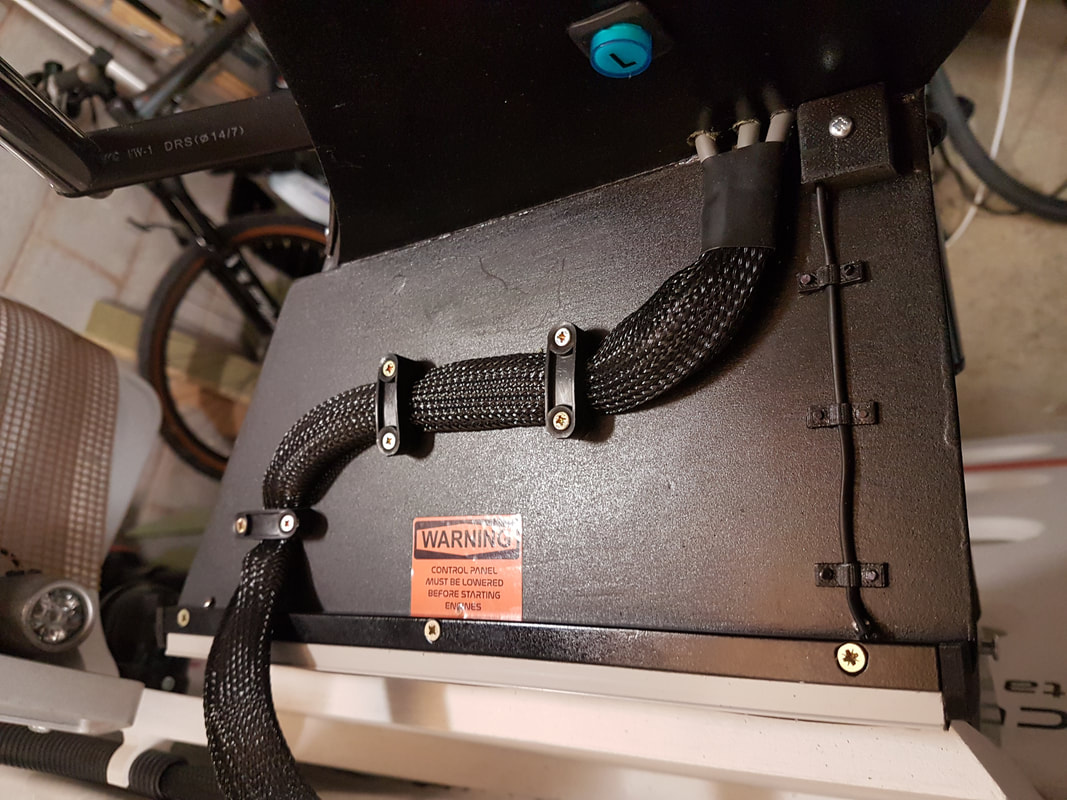
Inside there is an Arduino 2560p running the 4x dual line 16 character LCD screens and the 2.4" TFT touchscreen.
This talks to the cockpit Arduino 2560p by serial. The cockpit 2560p is the main processor, although there is some hefty coding in both processors.
As usual, I decided to make it madly more involved and added a full navigation system that included an SD card populated with the details of planets that you could go and visit.
You then plot your course and either monitor your progress with either 2d or 3d graphics.
|
The navigation console has to be enabled from the cockpit.
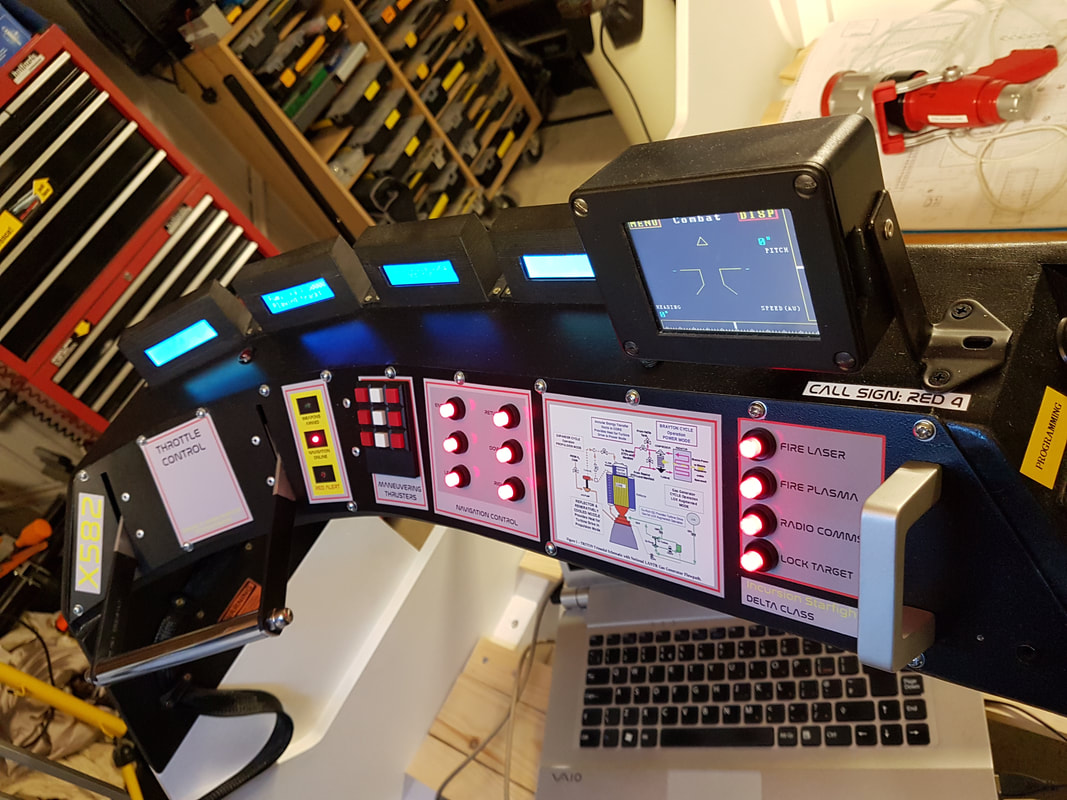
Otherwise, only the LCD screens display the current status of various ships functions. The TFT screen shows 'Stowed' when stored vertically. This is triggered by a simply tilt switch inside the console. The throttle was particularly a pain in the backside. Just trying to get the dual sided handle to connect to a pot for analogue voltage returns properly was challenging. In the end, I changed it to a hall effect sensor and simply fitted a magnet to the end of the throttle handle. This worked well. There are several repeat function buttons on the console that are already in the cockpit, such as the thruster controls and weapons firing. The joystick has a button for the Plasma cannon and a trigger that operates the laser (only when weapons are armed). Top white button fires the warp drive, and there is also a button to call headquarter (it triggers random speech orders) and a target lock function. There are six buttons that let you navigate the TFT screen if you don't want to use the touch screen. |
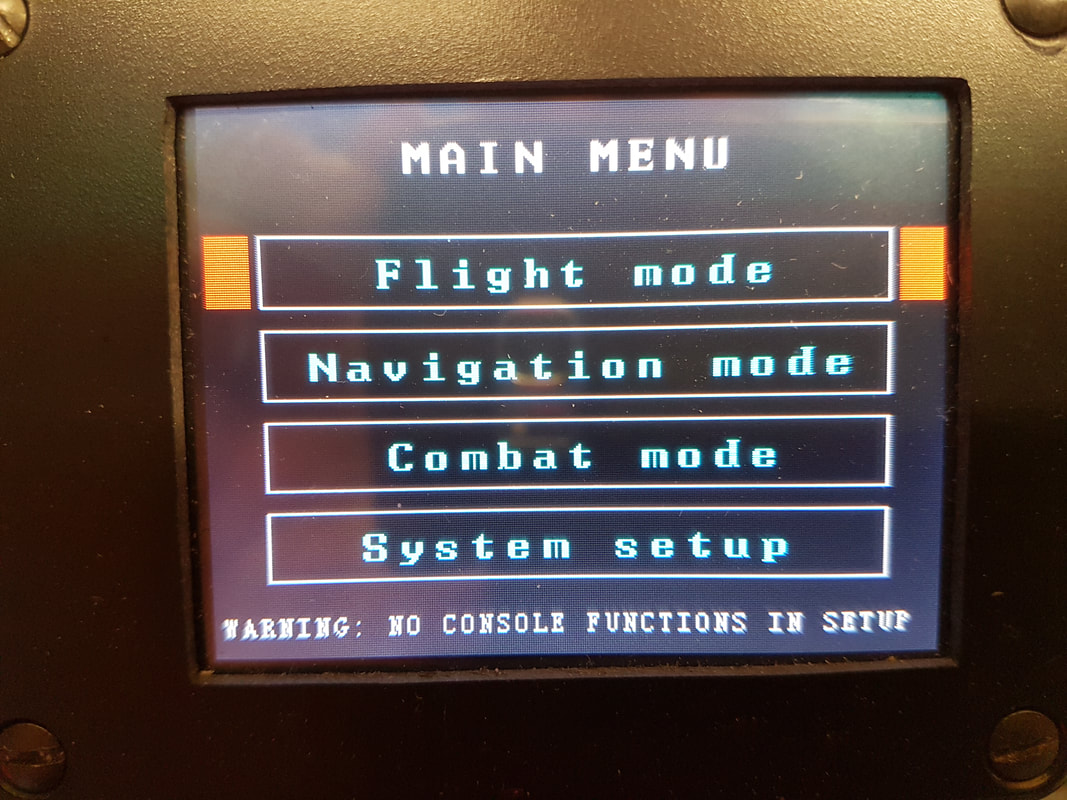
The screen has Flight mode, Navigation mode, Combat mode and setup.
Setup just deals with things like whether the piezo sounder operates during buttons presses. There is also a full system reset function.
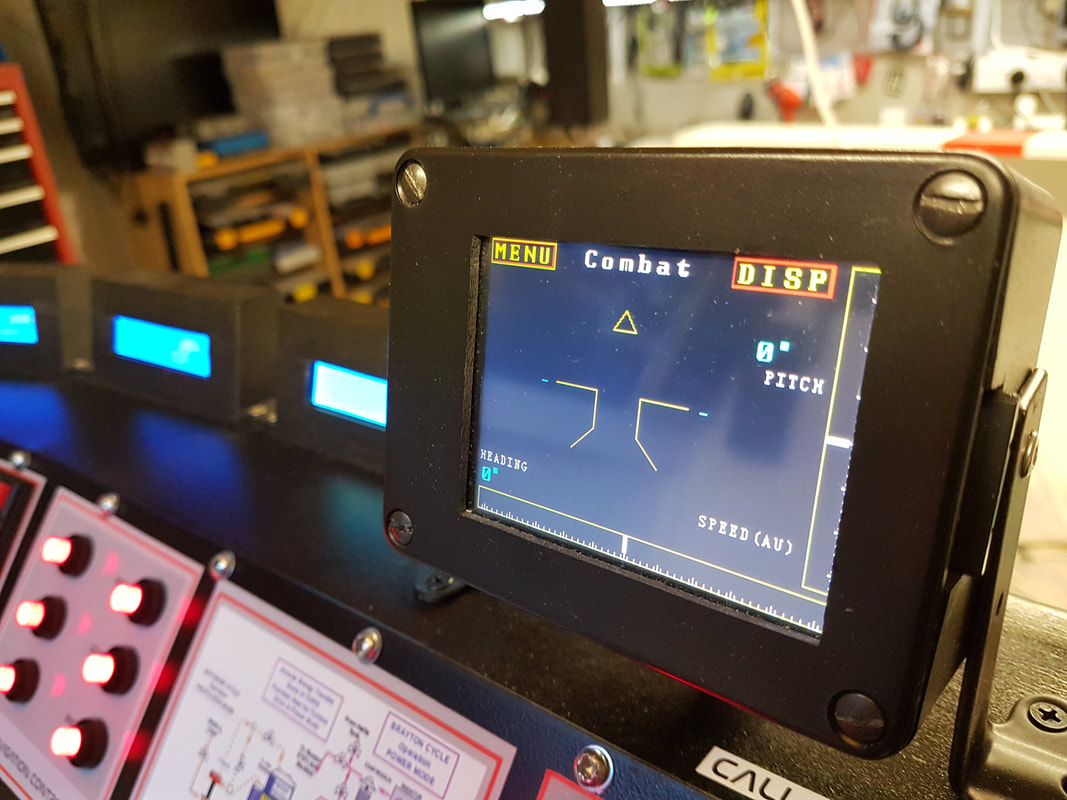
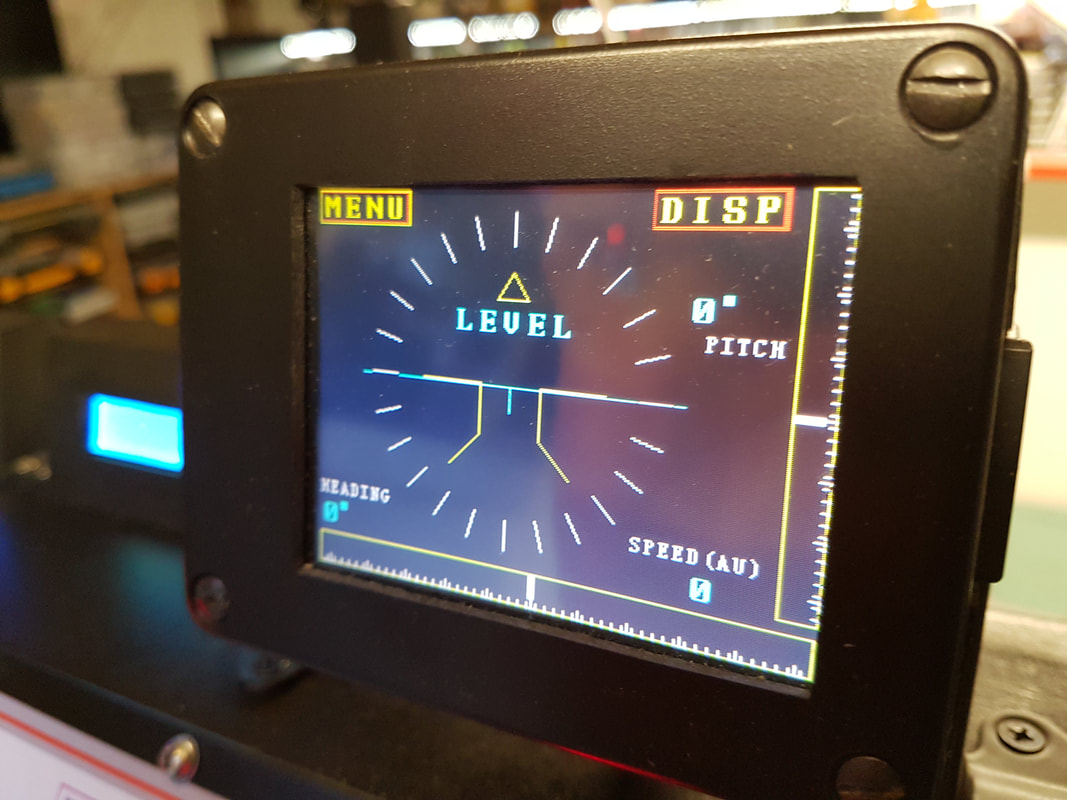
Combat mode shows the basics of flight (artificial horizon, pitch, roll, throttle etc). But also displays the weapons being fired and the incoming attack craft.
These incoming craft are randomly generated in distance, angle of attack and speed. As they pass you (they look like Star wars Tie fighters), they fire at you and cause damage.
If you do not have the shields raised, one hit will kill you. Otherwise, hits deplete your shields.
On the top of the console an indicator lights and you get an audible warning of incoming craft.
Flight mode is basically a more detailed overview of the ship during flight, including distance to target, your position in space etc.
Setup just deals with things like whether the piezo sounder operates during buttons presses. There is also a full system reset function.
Combat mode shows the basics of flight (artificial horizon, pitch, roll, throttle etc). But also displays the weapons being fired and the incoming attack craft.
These incoming craft are randomly generated in distance, angle of attack and speed. As they pass you (they look like Star wars Tie fighters), they fire at you and cause damage.
If you do not have the shields raised, one hit will kill you. Otherwise, hits deplete your shields.
On the top of the console an indicator lights and you get an audible warning of incoming craft.
Flight mode is basically a more detailed overview of the ship during flight, including distance to target, your position in space etc.
|
|
|
|
|
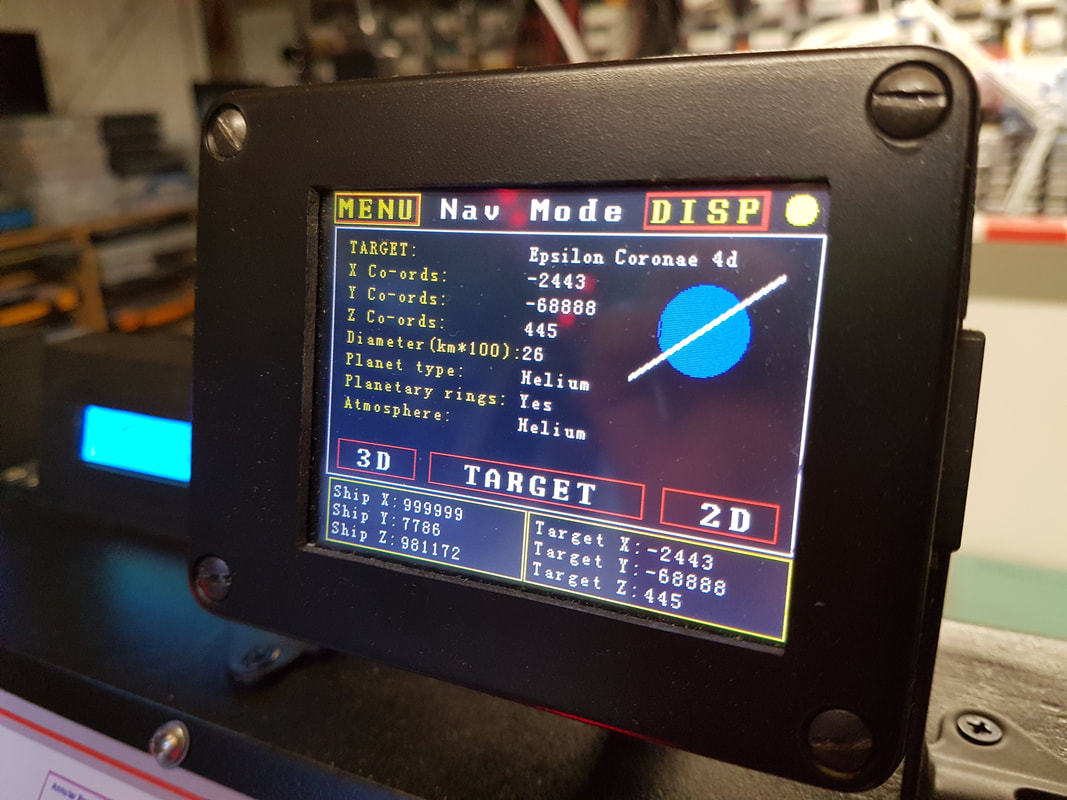
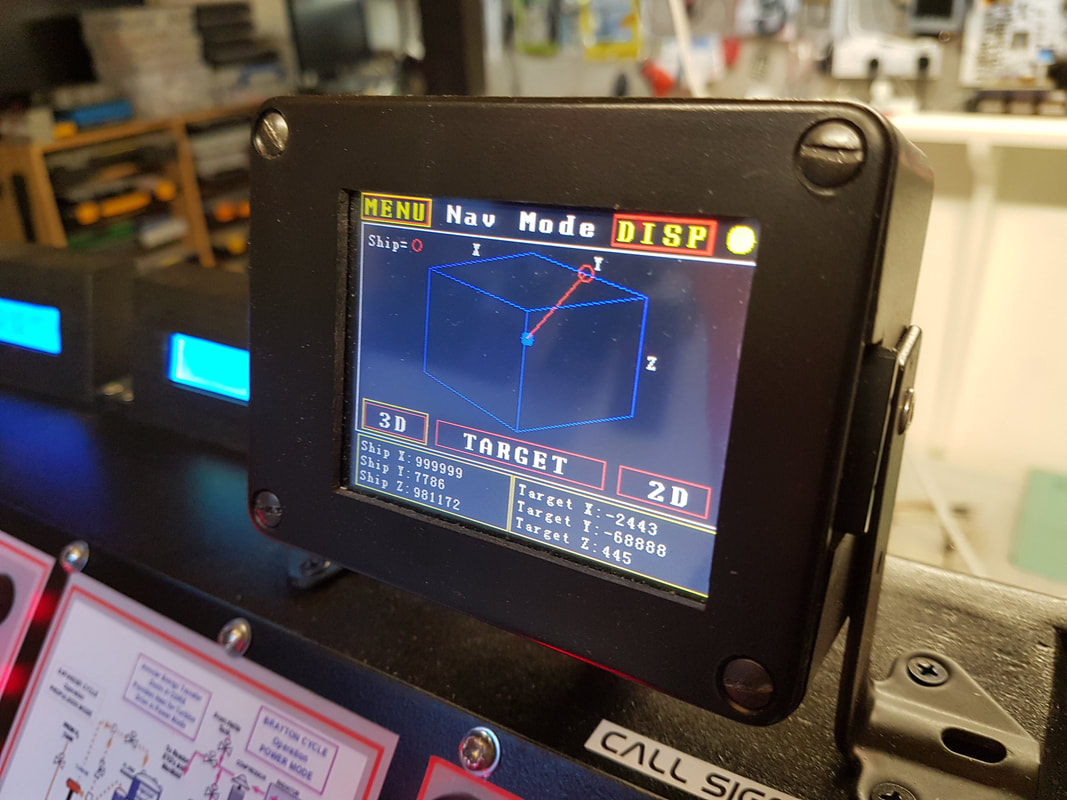
Navigation mode lets you select one of about 60 planets to visit. Stored on the SD card (in a TXT file) on the side of the screen.
You can pick whether to view your destination in 2d (a flat grid) or in 3d (a cubed image).
It gives you heading, direction to target and other information.
'Space' is a cube 999999 x 999999 x 9999999. Fly out of one side and you enter the other side. It takes quite a while to cross 'space'.
The maths involved in calculating your position in space relative to your target and plotting that on a cubed view of space on the screen was a challenge.
Plenty of late nights and tea involved in that one.
|

|
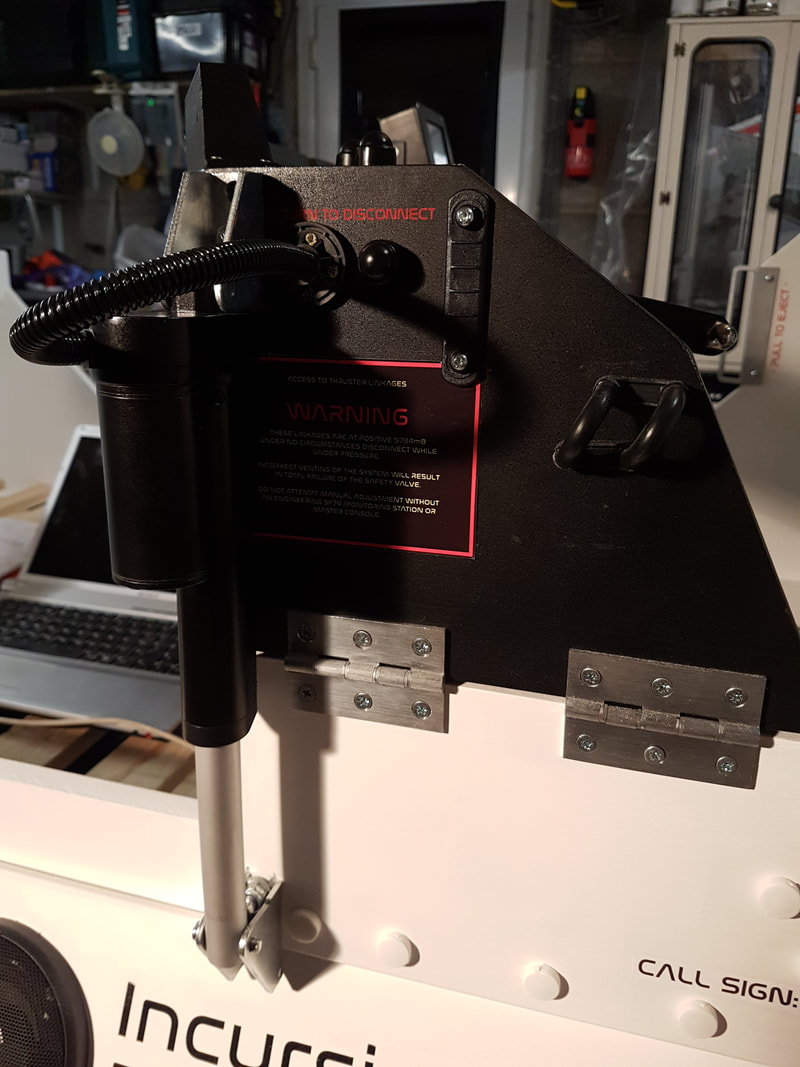
The final part of this console to be added is the electric linear actuator to lift it.
As I have mentioned elsewhere, this console is pretty heavy and I had trouble making it lower safely. Pistons and friction hinges just didn't cope with the shear weight.
As I have mentioned elsewhere, this console is pretty heavy and I had trouble making it lower safely. Pistons and friction hinges just didn't cope with the shear weight.
Lets make this console move
|
Purchased a 100mm travel 12v actuator on Ebay, and installed that on the side of the console. It was just too heavy to lift manually.
The travel required was actually less than 100mm, so I made a control circuit up to switch the actuator off when it reached its home (vertical) position. The circuit was basically some logic using relays. A double pole 10A relay to control the direction of the actuator (you reverse polarity for direction). Then a single pole relay to control the actual 12v supply. The 'Raise' and 'Lower' push buttons operate a double pole, dual coil relay. These are very handy little control relays that have two coils in them for each position of the switches. Therefore, you can apply power to one coil (e.g. raise) and the relay changes to that state. Apply power to the other coil and it changes state and remembers that. In line with this control relay is a tilt switch to stop the console when it reaches its vertical park position. Its lowered position is the actuators natural finishing point and utilises its internal limit switch. |
|
|
I made a 250mm wide safety edge switch using an odd piece of aluminium profile. I inserted some parallel wired micro push buttons inside the channel, and then glued a plastic bar on top of those buttons, Added a rubber bar to that plastic strip and 3d printed some end caps.
This safety bar now reverses the console lowering before you trap your finger in the hinge. I have just bought a 0-5A current sensing relay from China on Ebay (£6). I will set this up to monitor the current drawn by the actuator. It pulls 2.7A at its peak load, so if I set it up for say 3.5A, then that will also protect the user. I will use the relay on the module to reverse the lowering motion. |