Converting the gardens of Surrey and Hampshire
|
I started a small business called The Enchanted Forest. I designed and built various outdoor projects.
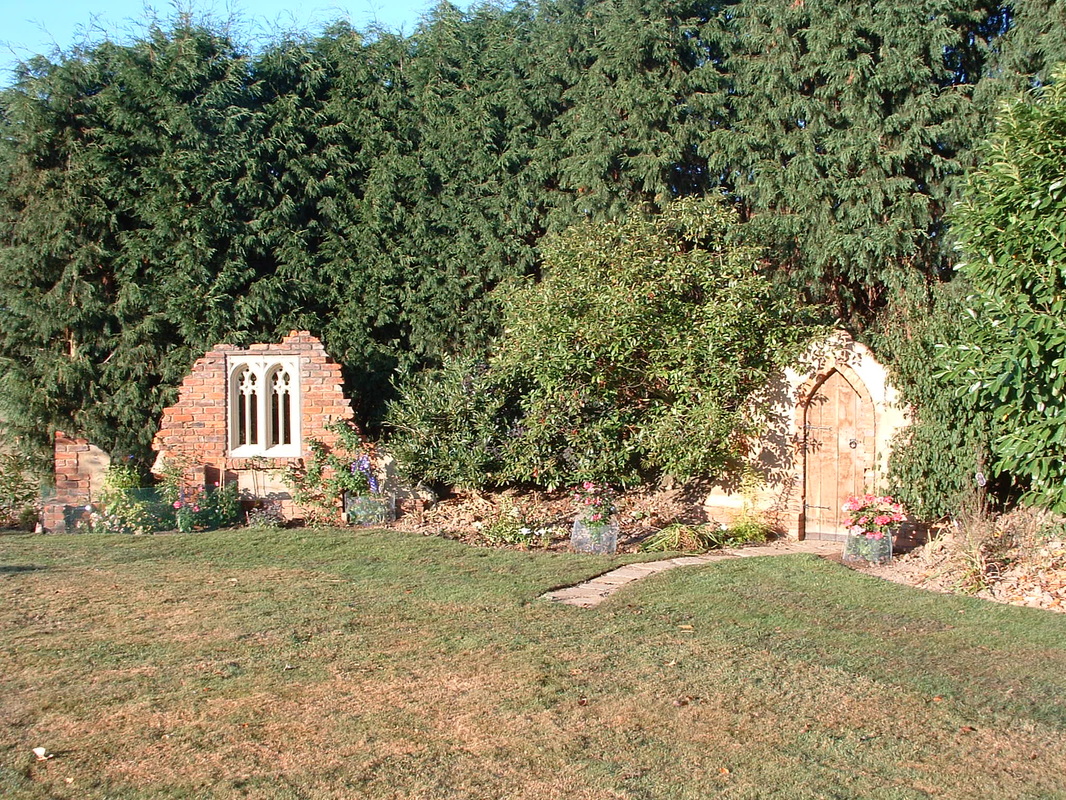
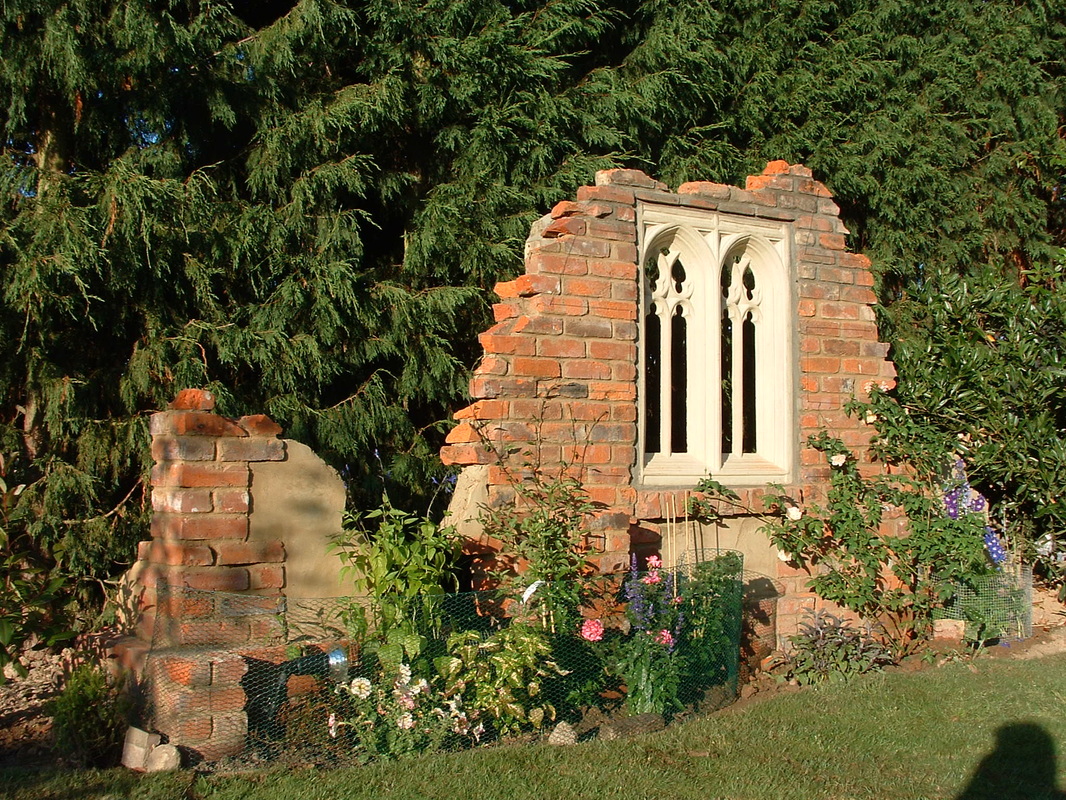
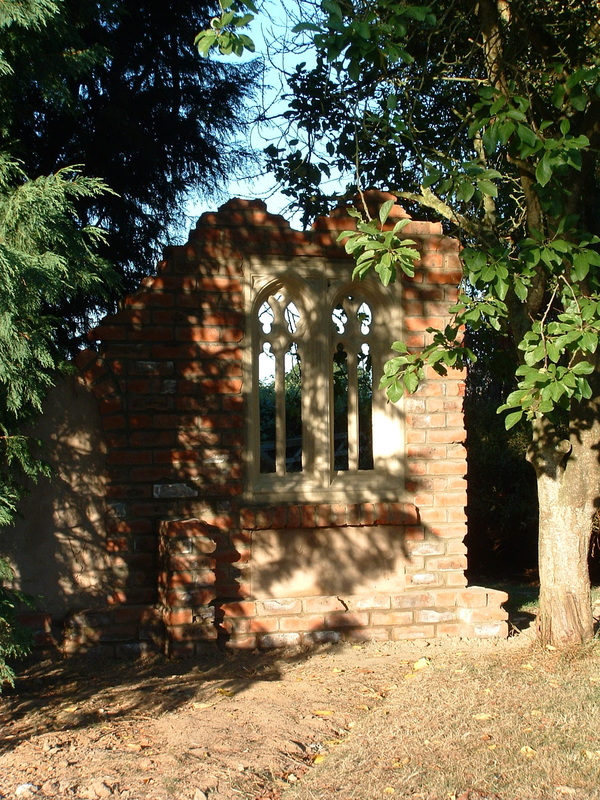
The Folly shown here, was built in a large garden for a customer I had worked for many times. He had a pile of old reclaimed bricks and wanted to do something interesting with them. We also found an old wooden door lying behind one of his outbuildings. |
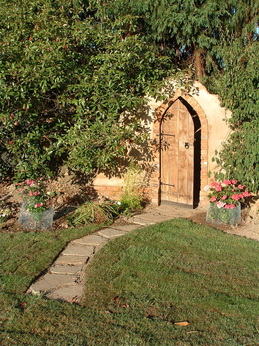
Ruined FollySo, I cut the door into a more interesting shape and built up a doorway that lead to a different part of the garden.
The arched windows were actually concrete. I found a company that made these Gothic windows and drove up to their warehouse. They had a pile of broken ones that had 'failed' when removed from their casts. Perfect for my needs however. So I bought a few and incorporated them into the walls. We didn't have enough bricks, so I simply made rendered panels between the brick pillars to fill in the gaps. The whole thing was illuminated and made a great focal point. |
|
|
|
|
|
|
|
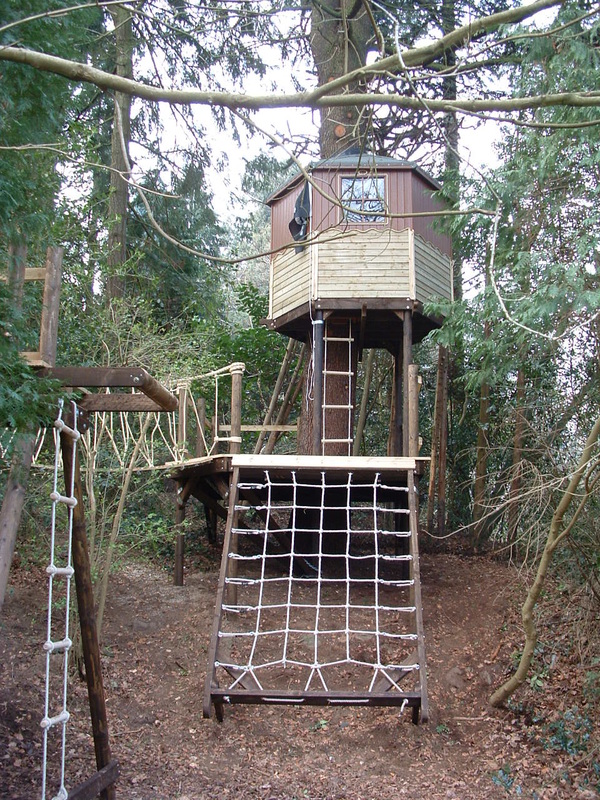
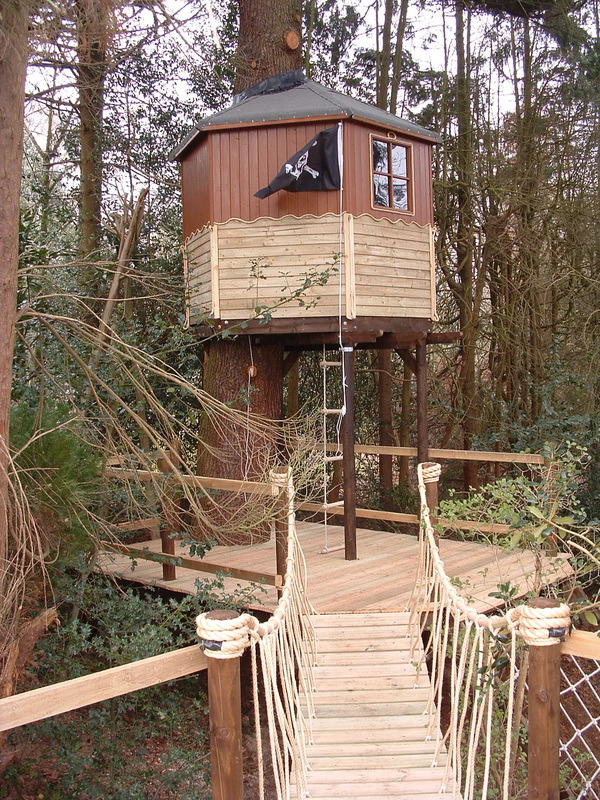
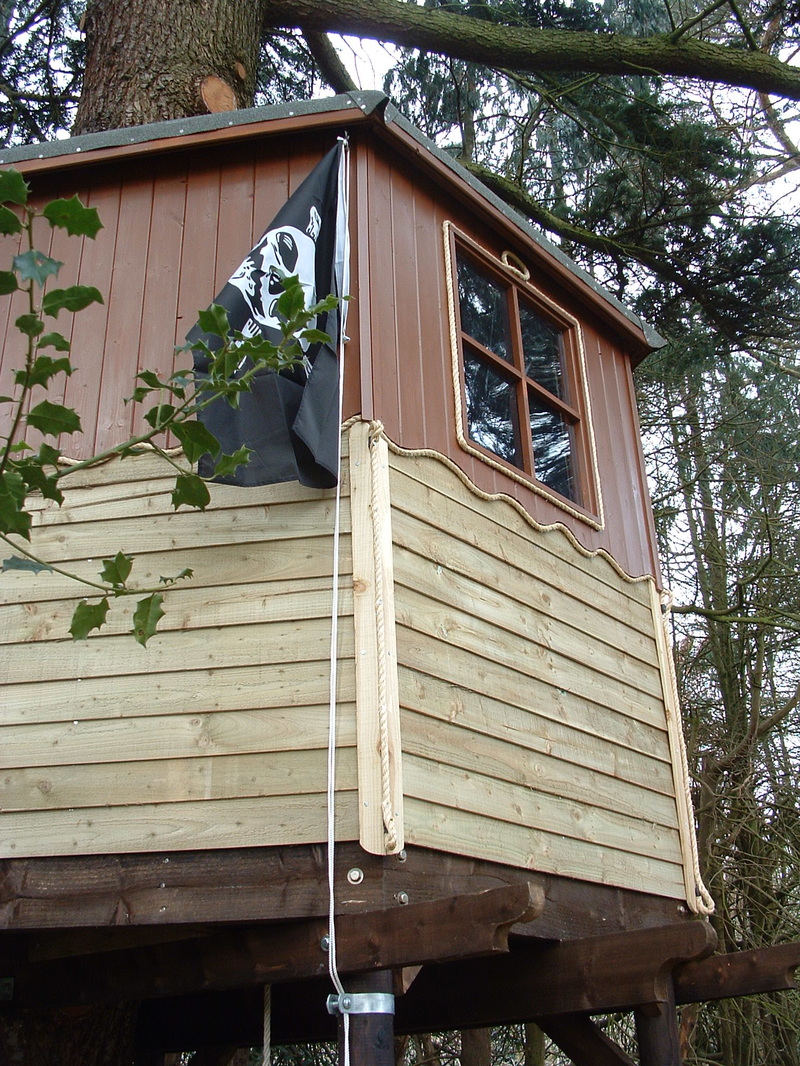
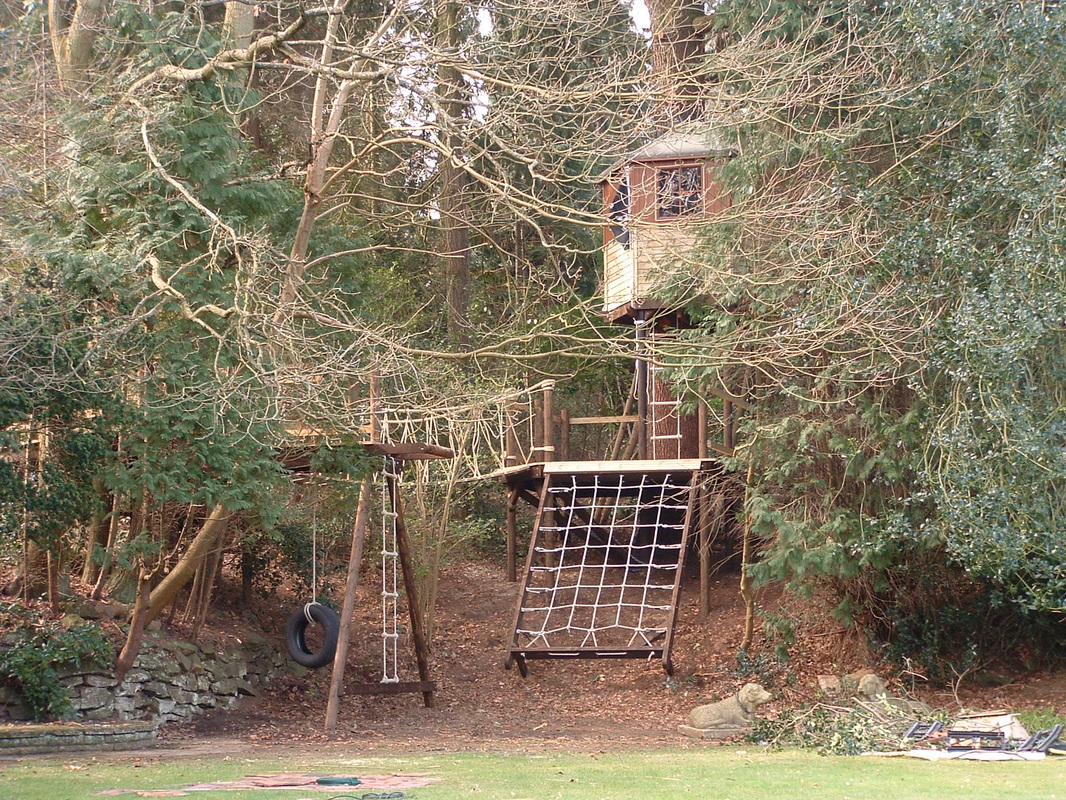
This one was again in the garden of a large Surrey house.
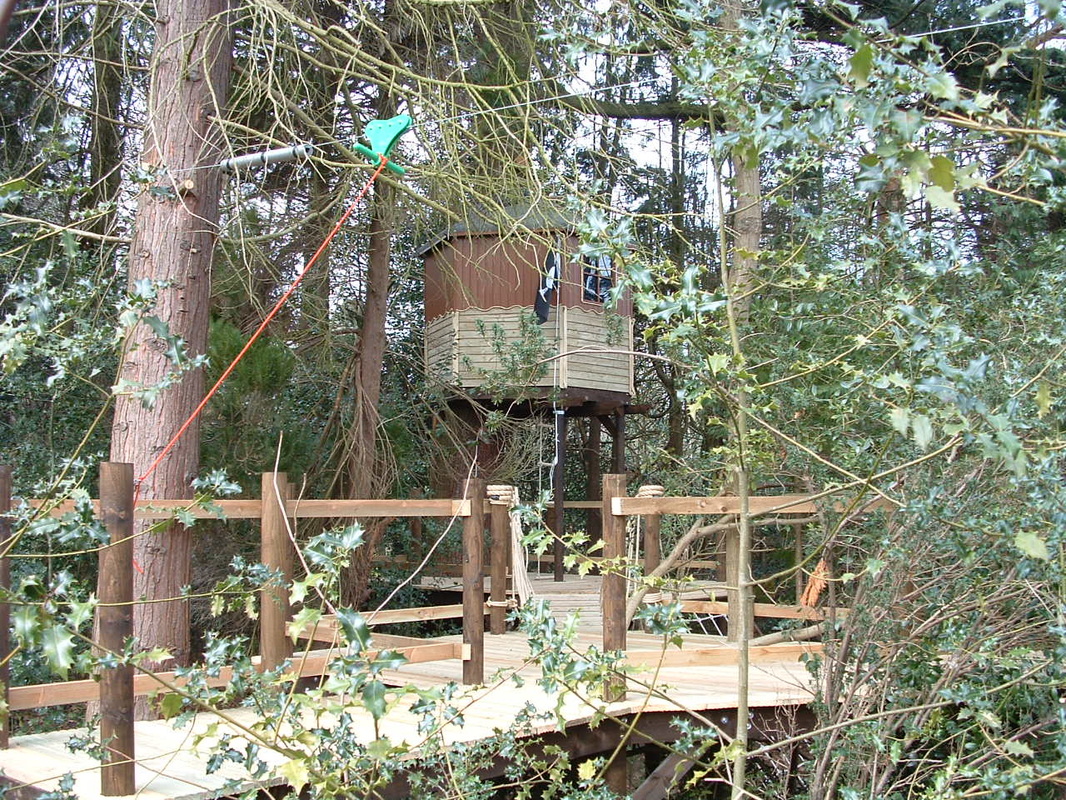
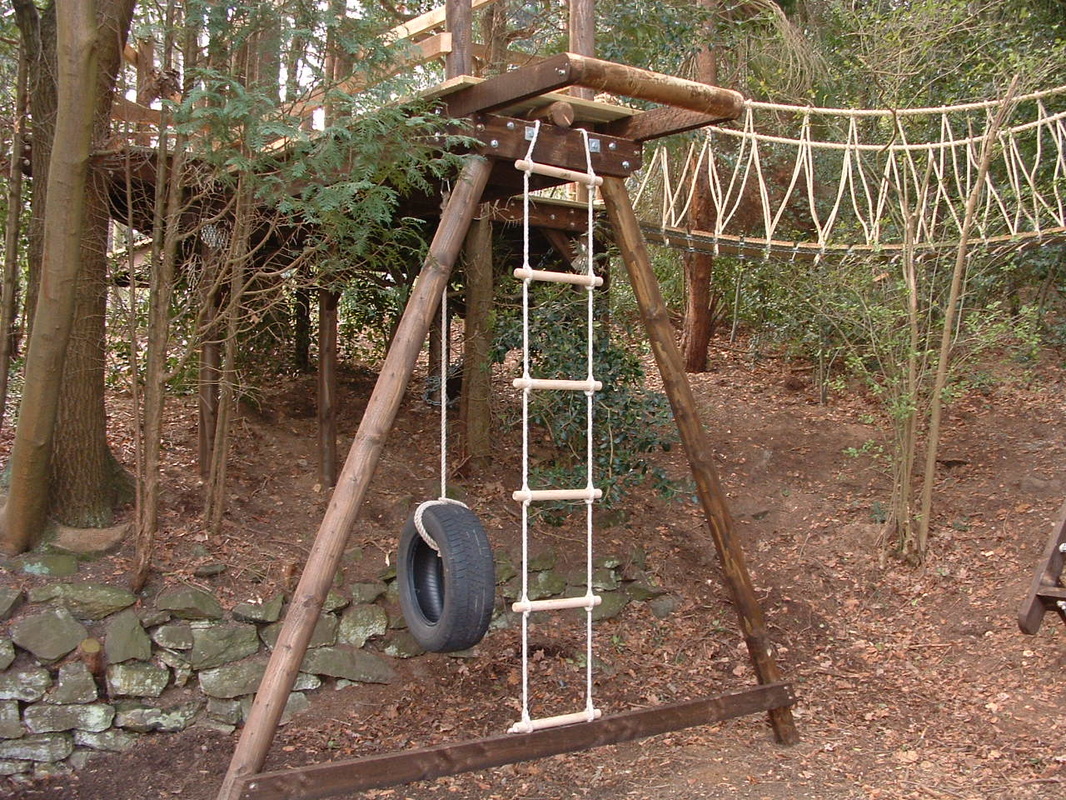
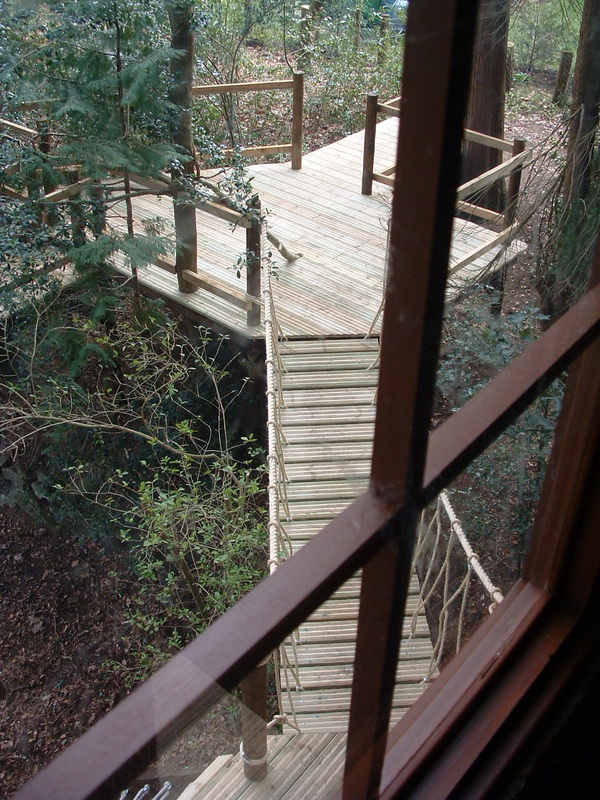
It was quite a steep and uneven area to work with. But that also does lead to some really interesting details. The rope bridge was supported on a pair of welded link chains. Hemp rope was used for the hand rails, and decking as the bridge planks. Machined round poles made most of the framing. |
|
|
|
There was a zip line (not shown), that lead from the lower deck, all the way to the house.
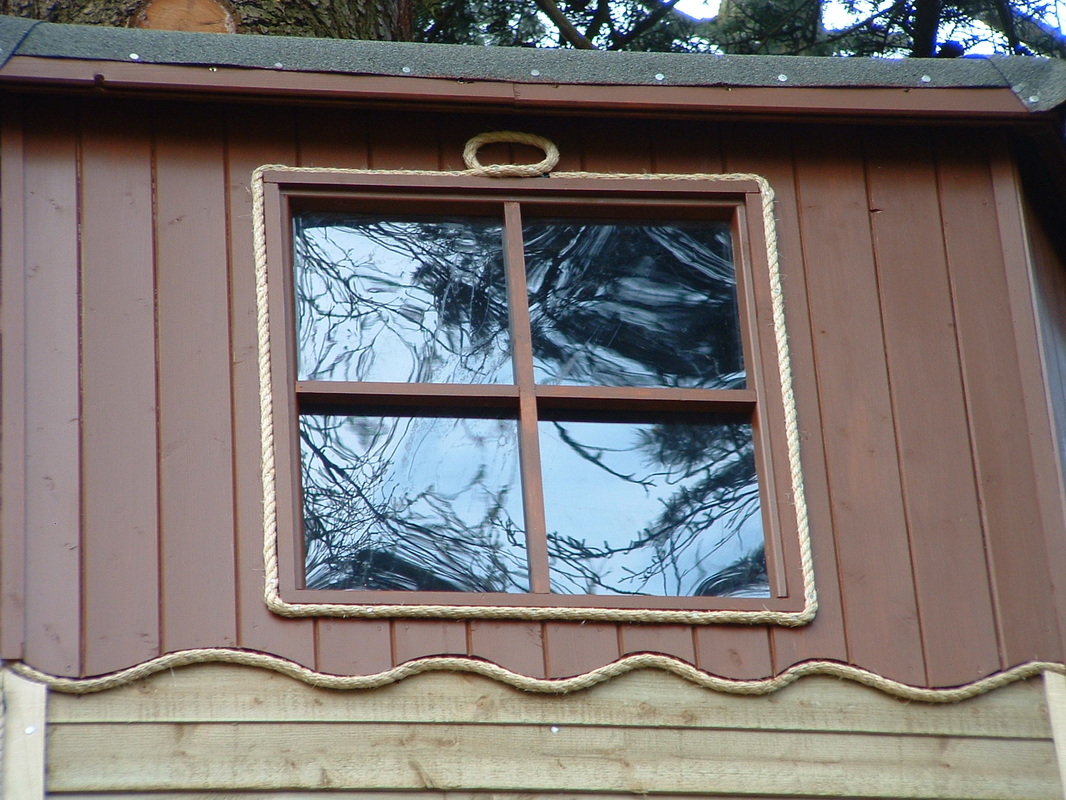
I tried to keep as many of the tree branches as possible, with them coming up through the decking and straight up through the middle of the treehouse roof.
I tried to keep as many of the tree branches as possible, with them coming up through the decking and straight up through the middle of the treehouse roof.
|
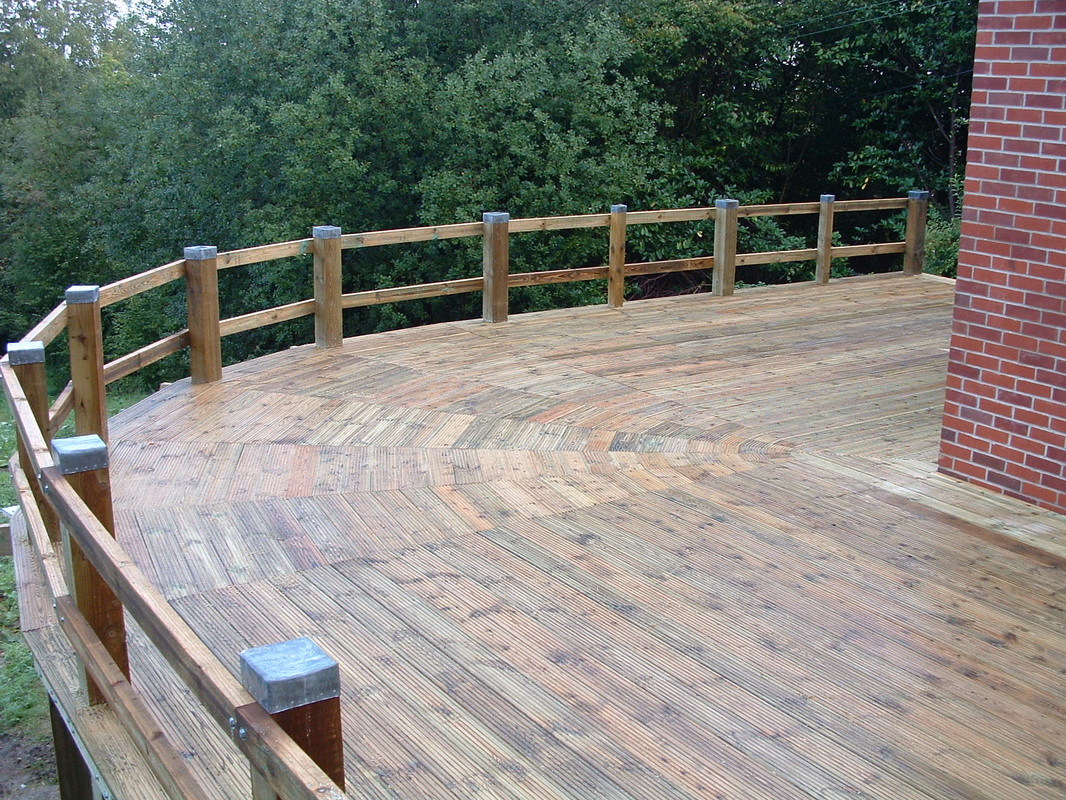
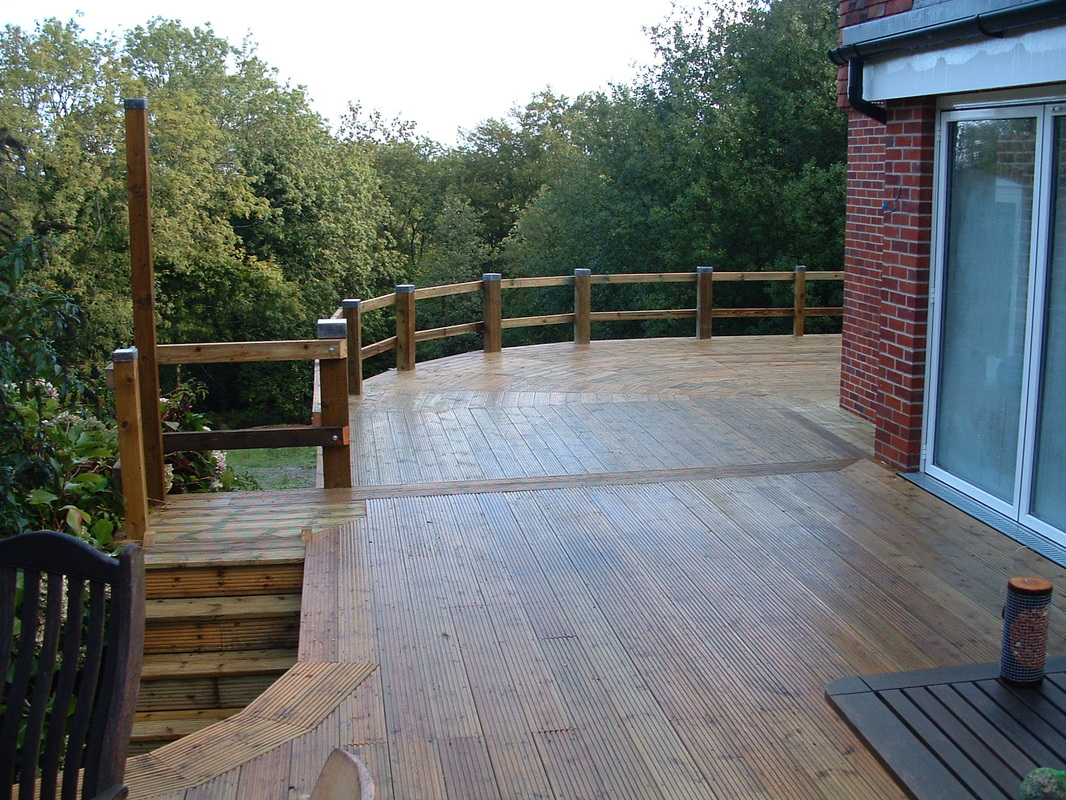
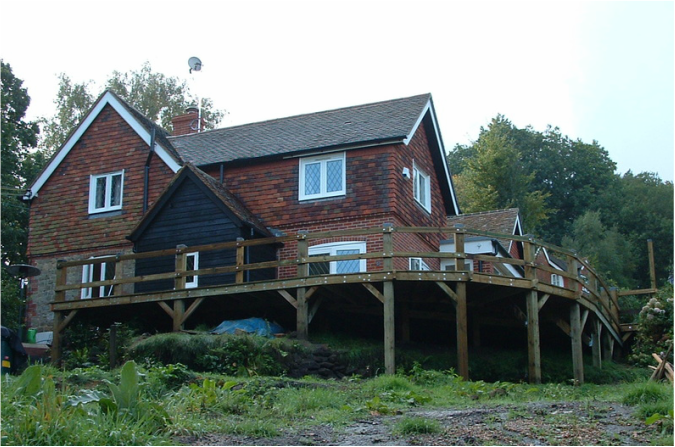
Aerial Decking
This one took a bit of planning. Especially as its opening night was to support over 100 people for a house warming party.
The site was really steep and muddy with difficult access. First job was to set some 12" square posts into the hillside for the supports. They did take some digging in. These were triangulated with large cross timbers to make a very sturdy frame. The timbers crossed to a main support bolted to the side of the house. On top of that, the decking was laid. Cut carefully to keep the pattern running around the corner of the building. |

|

|
|
|
Because the customer specifically requested open railings, there are only 2 horizontal bars.
Usually these would have to have vertical timbers spaced at 100mm to properly enclose the decking. At a later date, these vertical timbers were added. |
The tops of the 12" posts were capped with lead sheet. This was to prevent the timber rotting.
There were 2 staircases, but these pictures only show one of them. The second one was added at a later date, after the hillside had been landscaped further.
There were 2 staircases, but these pictures only show one of them. The second one was added at a later date, after the hillside had been landscaped further.
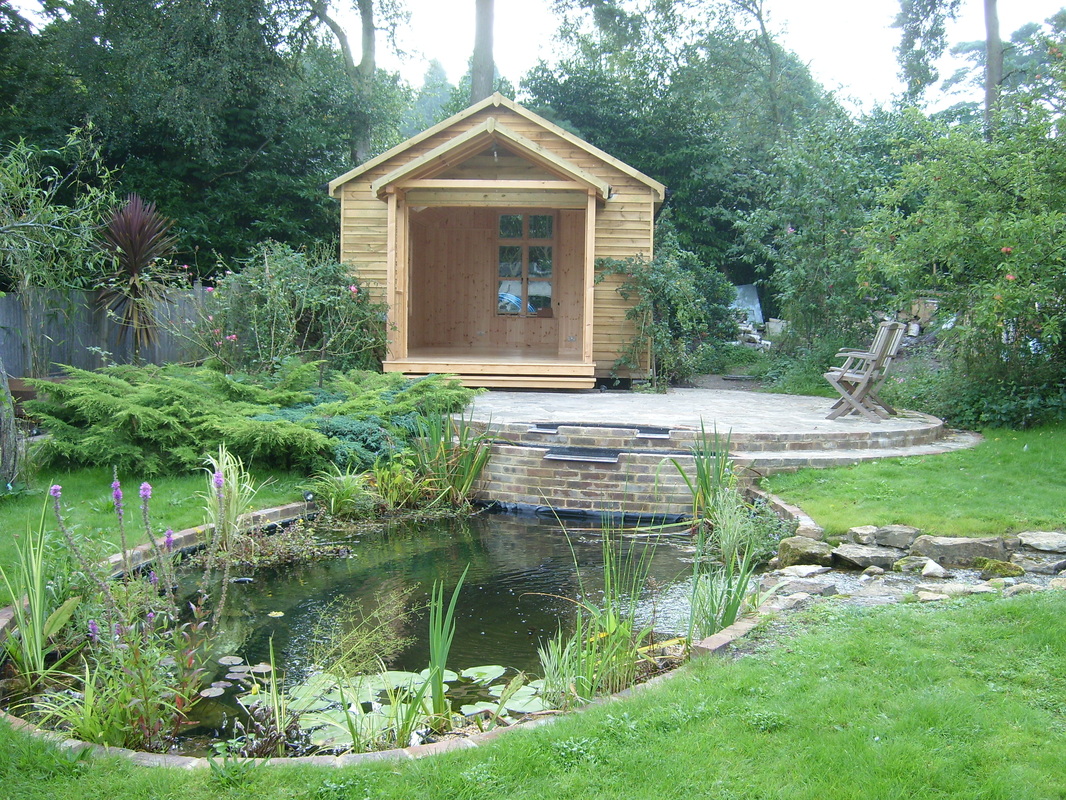
45,000 litre Koi pond with stream and timber studio
|
This whole garden project too a year to complete.
I build all these installations on my own, but the customer was aware that this was a big project for one person. It started with the demolition of an old studio. It was beyond repair and nothing could be saved. A new studio was designed and built from scratch. It had a bathroom and small kitchen area. The entrance doors were actually reclaimed railway station doors. They are unfinished in these images, as the client wanted to finish all the decorating and staining himself. The studio lead out onto a nee patio area. This was set above their 45,000 litre pond. |
|
That pond took some digging. We could not get a large digger into the rear of the property, so it was dug with a small JCB and by hand.
With all the other landscaping, and the stream that leads away from the pond. 110 tonnes of soil was removed from site.
The main Koi pond was built with reinforced concrete. All mixed by hand.
The 30 metre stream was completed with series of over-lapped liners. Then filled with waterproofed cement and the stones set into the stream bed.
There was a hidden pump house at the head of the stream. This housed the UV filter, the main filter tank, pumps and various control panels.
In the bottom of the pond there were two large pumps. One ran the stream when required, and the other ran 24hrs a day to operate the filter.
In total, the pumps and filtration equipment cost £8,000 alone.
The garden had full lighting, including RGB Leds set into the dual stainless steel waterfalls at the top of the main pond.
These were operated by a touch screen tablet with an aerial photo of the garden overlaid on it.
Other parts of the landscaping included a huge amount of crazy paving, brick walls, a workshop and all the planting.
These were operated by a touch screen tablet with an aerial photo of the garden overlaid on it.
Other parts of the landscaping included a huge amount of crazy paving, brick walls, a workshop and all the planting.
Other projects
|
|
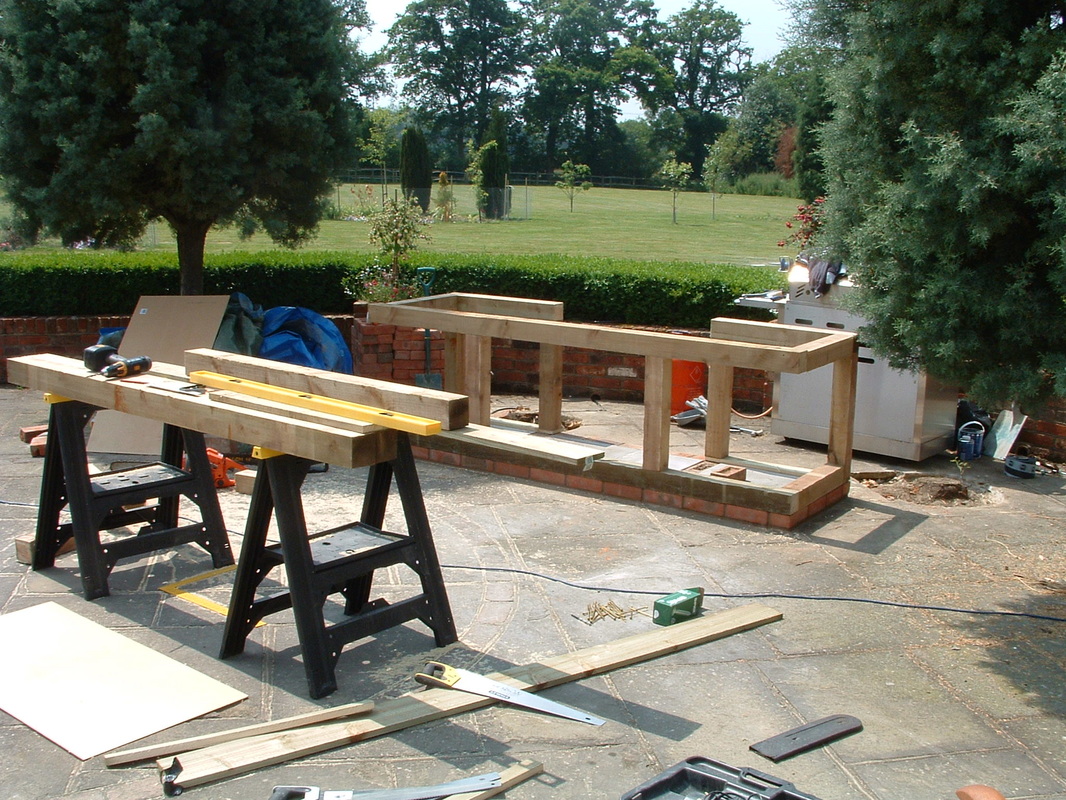
Here are a few of the smaller projects.
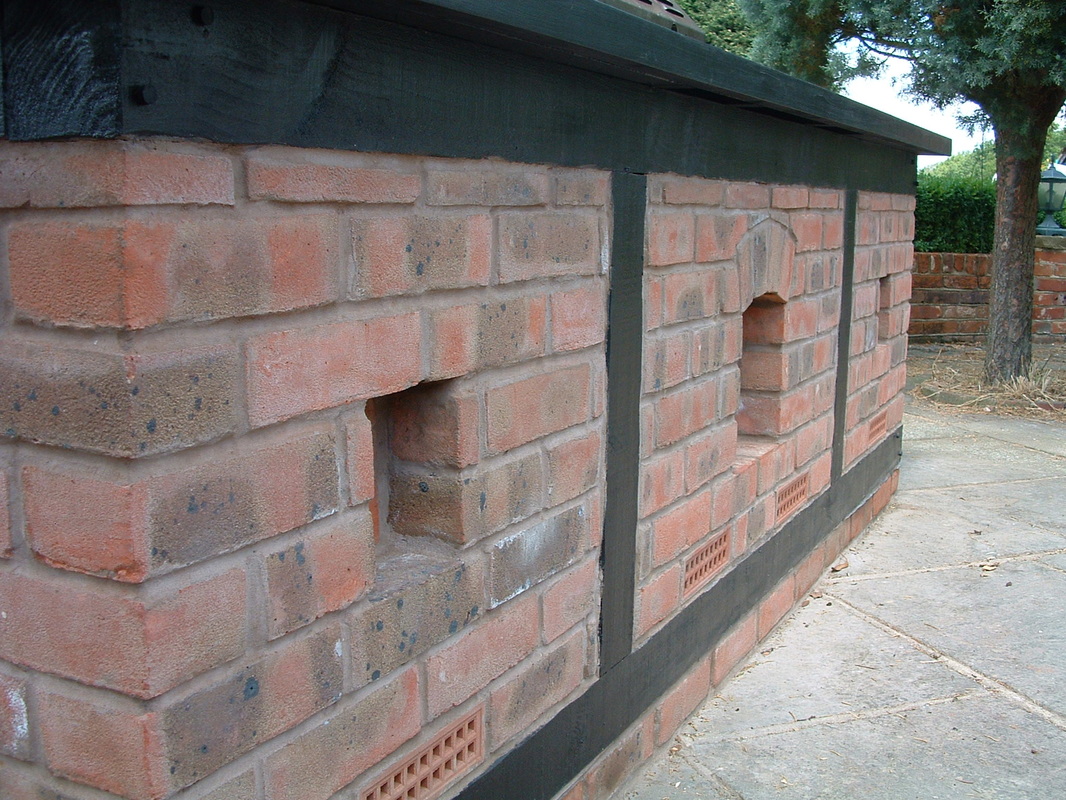
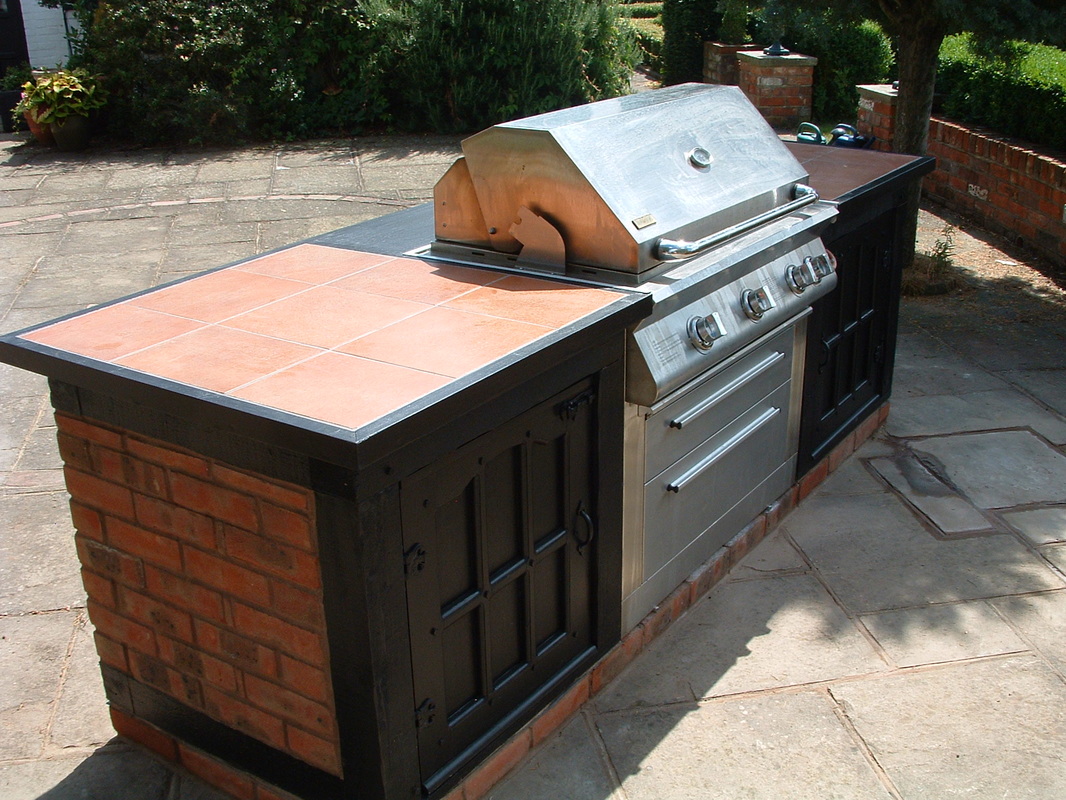
This was a simple conversion of someones gas BBQ into a static feature. The gas bottle is stored in the cupboard. |
|
|
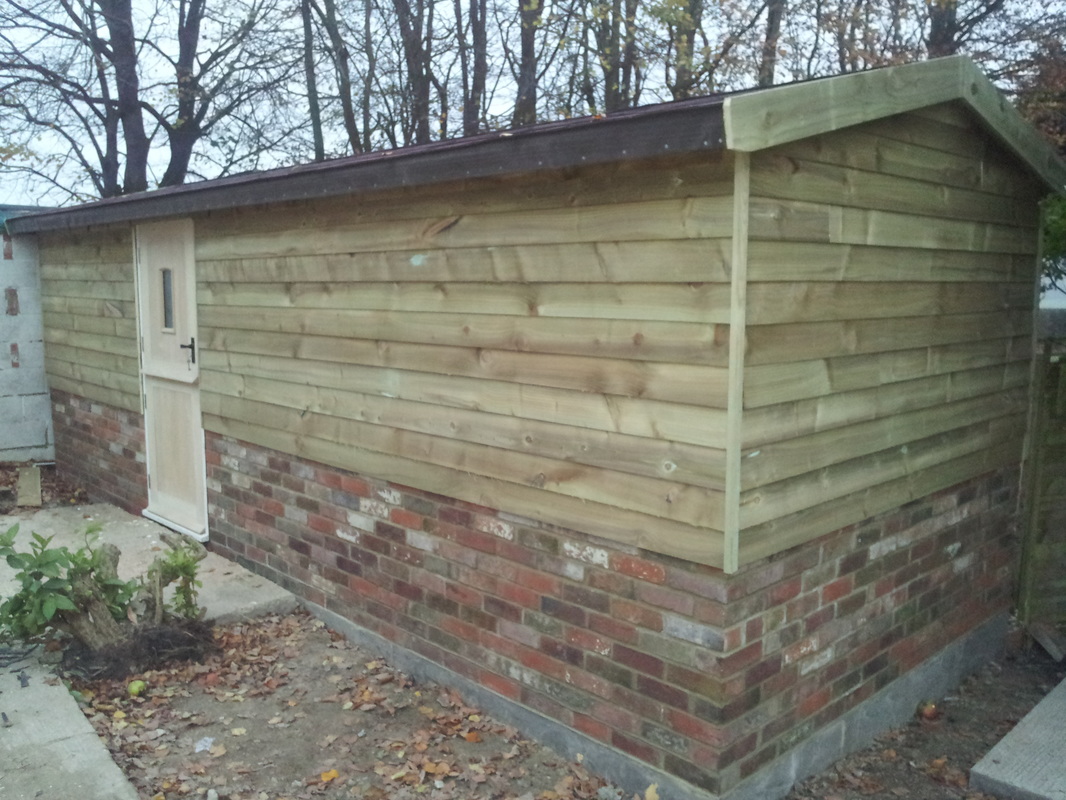
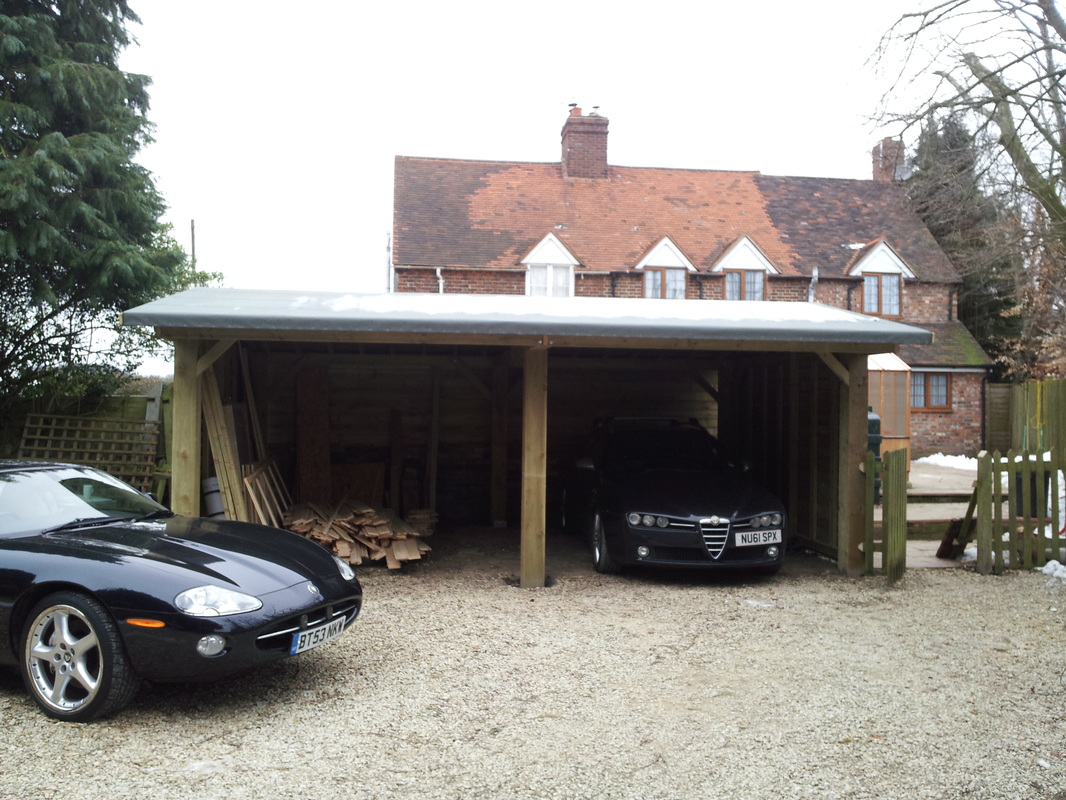
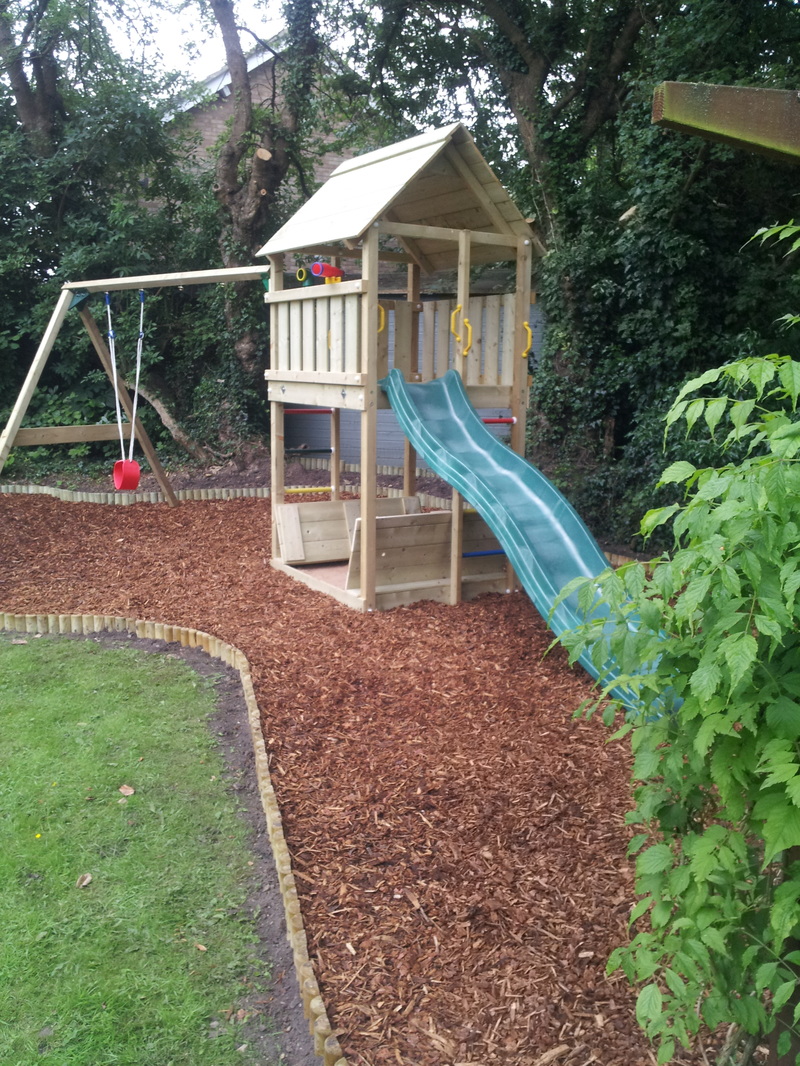
Below there is a half brick workshop, an open fronted carport and a children's simple play area.
To the right, my Sons first playhouse. That is what started the Enchanted Forest.
|

|