Picaxe programmable IC's
|
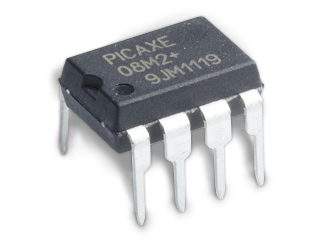
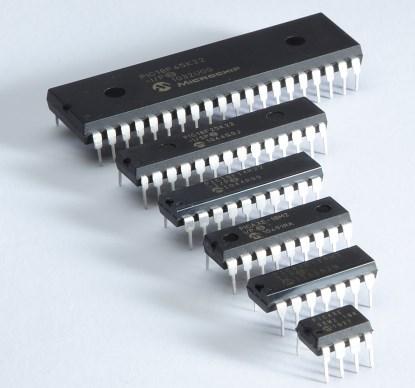
Picaxe chips are pretty versatile little beasts. You can get them in various sizes, and they all have basic input and output functions. Some have extra features, so it’s down to your requirements when it comes to selection. One of the smallest I use is the 08m2. This 8 pin chip is great for simply little projects that don’t require many pins. |
It has ADC inputs (can detect a voltage 0-5v on a pin), along with standard switched inputs and outputs. The outputs cannot switch much load, so you need to go via a transistor and maybe a relay to control anything decent. They run on 5v, and so I usually feed them off a 7805 regulator. |
Any project that needs switching, monitoring voltages, inputs or maybe simple processing… then these will be fine.
They are not super fast, so they cannot really control graphic displays, you can add LCD text modules to them without any issue.
They are not super fast, so they cannot really control graphic displays, you can add LCD text modules to them without any issue.
|
I always include a programming port in my circuit designs. It’s easier to simply plug a laptop in to your project and update the software, rather than remove the chip.
My truck lighting controller has a pair of programming ports on the front panel. Several times after installation, I edited the software to eliminate issues or update the way the system worked. The range of Picaxe IC’s are too wide to cover here, so I will just show the basics of the 18m2. Probably one of the more popular Picaxe chips.
The 18m2. As it says on the tin, and 18 pin IC. The pinout is below, and I will give you a brief rundown of the available or possible functions. |
The lighting controller in my pickup truck runs on the 40 pin 40x2 Picaxe. There is a slave 14m2 (14 pin Picaxe) controlling the Bluetooth data on that system as well.
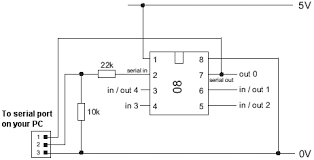
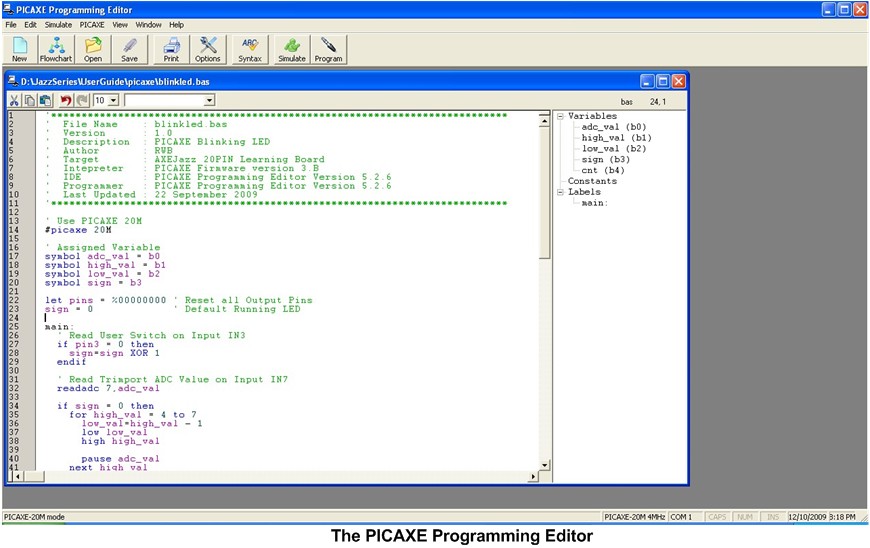
Programming is fairly simple, using the free Picaxe programming software. You upload your programs via the USB lead. I have a development breadboard, which has the programming port built into it. This makes life much easier. However, its only 2 resistors to add your own programming port to a chip. |
- In/out (I/O) Mean basically its an input or an output. You can switch 0-5 volts out or receive a low or high input (again, 0 or 5v).
- ADC. An analogue voltage pin. Depending on how you set it up, it returns a value depending on the voltage you apply to the pin.
- DAC. Gives a 32 stepped voltage output.
- Serial in and serial out. Communication ports for the chip.
- Touch. For connecting touch sensors.
- PWM. Pulse width modulated outputs. For driving loads with pulses, such as servos or stepper motors.
- Hserin and Hserout. Used for serial communications.
- i2c SCL and SDA. Used for operating an I2c communications bus.
One thing to be aware of is the limitations of these devices. Over the years, I have found the Picaxe chips to be a little bit twitchy and troublesome at times.
For instance, there is a command for directly driving servos. Useful you would think.
But, using this command (especially on the 08m2), always seems to result in bad servo jitter. I believe its a timing/firmware issue.
You can get around the problem sometimes by using Pulsout instead, but it is a shame the dedicated command doesn't really work all that well.
My other issue is cost these days. Compared with say an Arduino Mini Pro, they are far slower, and far less capable, and with the postage, they cost almost the same price.
There is a forum for the Picaxe community, and a few people will usually will extend a hand to help.


