Galaxis showtechnik
Bespoke plug-in modules
|
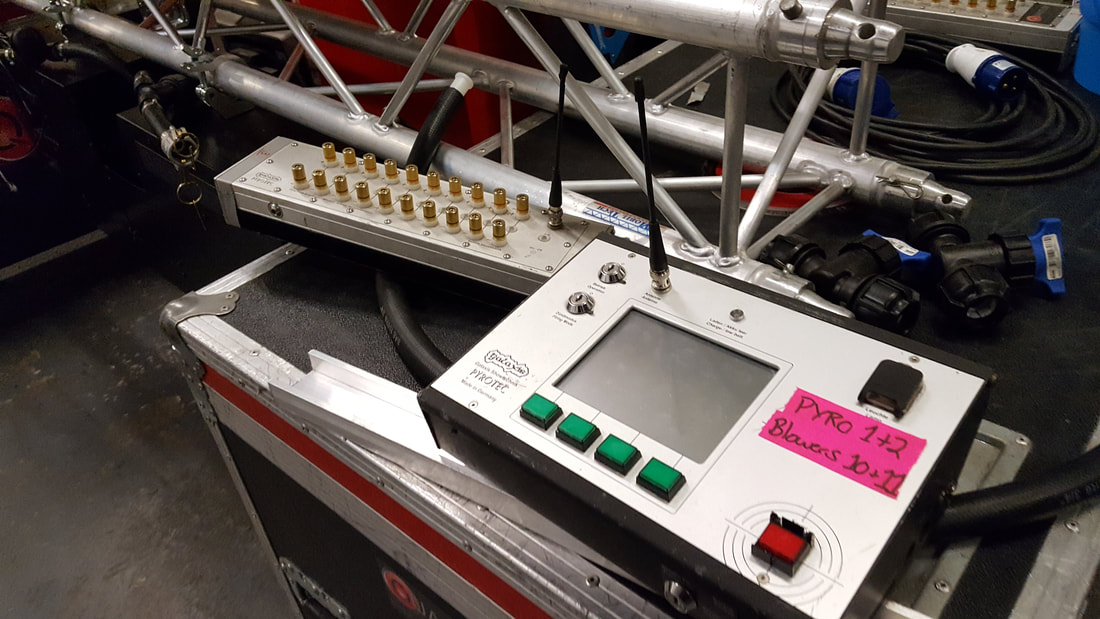
The Galaxis showtechnik control system is used by companies all over the world as a safe, reliable way to wirelessly trigger SFX, Pyrotechnics and other effects for outdoor events, stage etc.
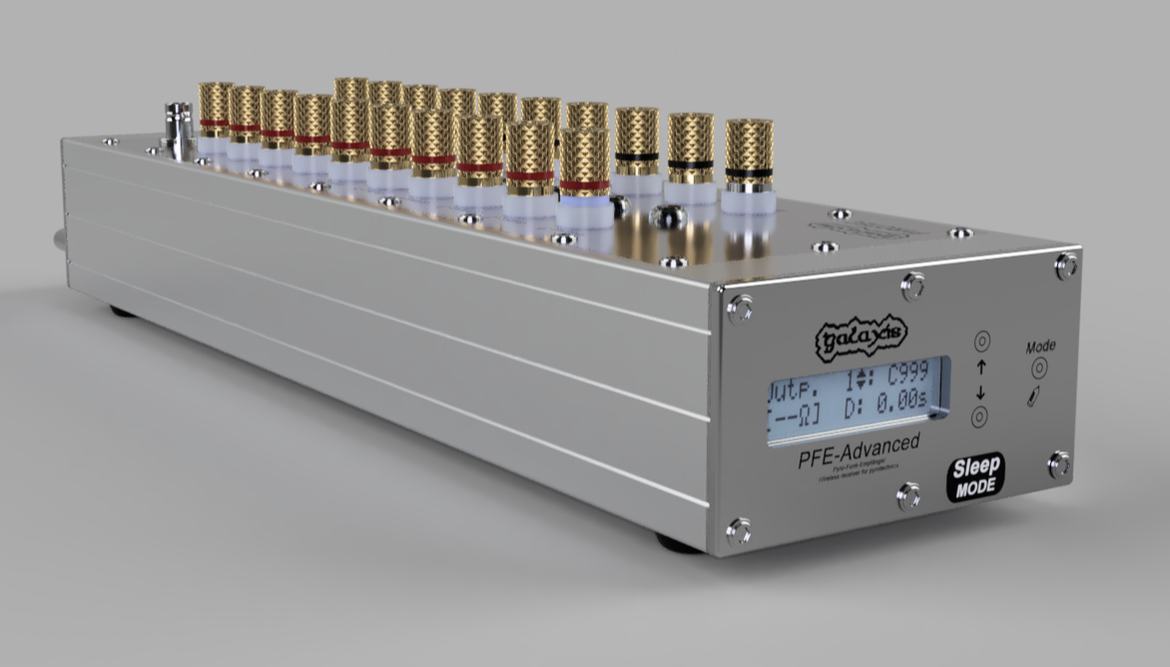
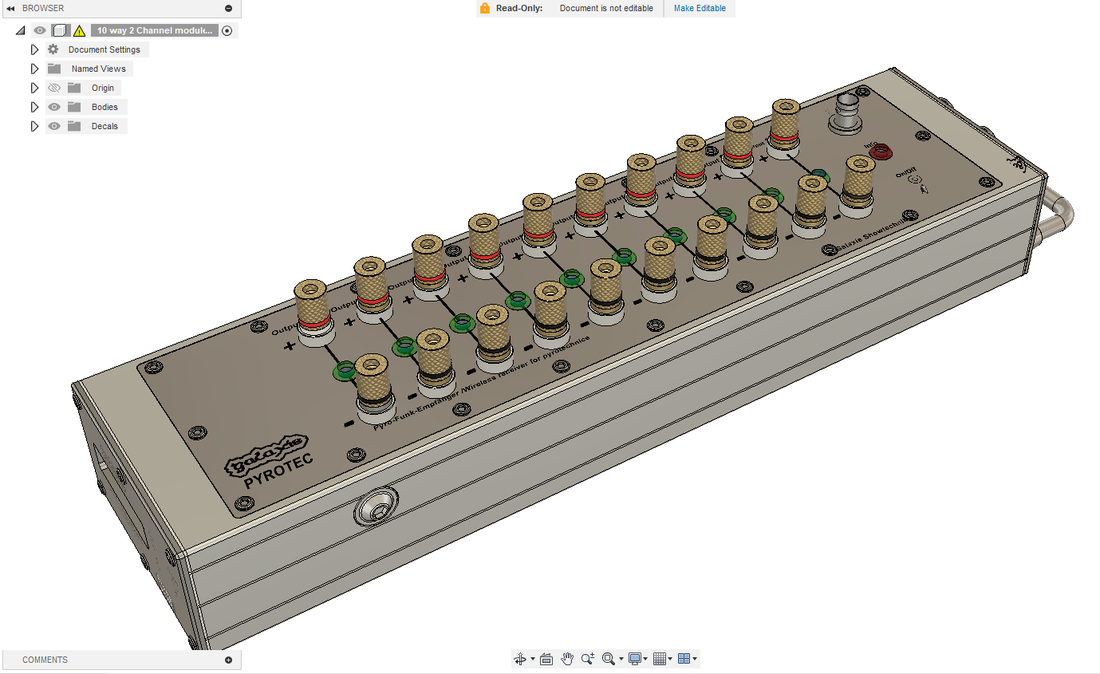
The go-to output device that I got involved with when I worked in the stage special effects world was the 10 way. Shown here on the left. This is my rendering I drew in Fusion360, so that I could design some modules to fit onto it. |
|
This device is powered by 2x 12v Lead acid batteries and puts out +24v upon a wireless command from a remote controller.
In 'common ground' mode, the unit has 10 channels (hence the name), and will output 24v on each of the red 4mm Banana sockets on the top. All the black 4mm banana sockets will be ground (hence common ground). This output was used to fire Pyrotechnics that had voltage triggered fuses. You can add boards to the top of the 10 way that (once turned off common ground mode), will give you 100 outputs. |
|
We used to make up some fairly ropey looking devices to allow switching of other equipment via the 10 way.
Usually, this simply involved a 24v relay powered from the 24v output banana sockets. This would mean we could switch fans, solenoids etc using the same system. As you can see here on the lower right image, this leads to some untidy wiring and a potential for things to get snagged, unplugged or simply broken. So, I wondered if I could come up with a neater solution. |
|
The first job was to try and design an enclosure that could sit across the 10 way module, and be expanded as required.
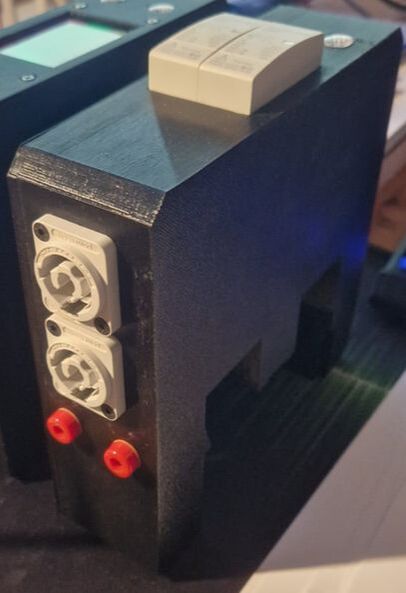
A module that sits across 2 4mm banana plugs was the minimum in width realistically, otherwise you cannot fit much inside the enclosure (the plugs are 25mm centres). My idea is that this enclosure could then be made in 2, 3, 4 or 5 channel widths, depending on how many inputs you required. The size of the module is more likely to be defined by the space actually needed to install your required socket or connections for what you wish to control. I decided to try a simple 16A, 2 channel Powercon switch and a DMX controller first. The later of those actually proving to be a bit of a challenge. But, a DMX output would be very handy to control DMX equipment (for instance, a bubble machine) on the same wireless system as the rest of the stage effects. The housing was 3d printed in PETG for prototyping purposes. It is a fairly complicated design, purely because of a few quirks of the 10 way module, such as raised screws on the side in certain places that have to me allowed for. |
|
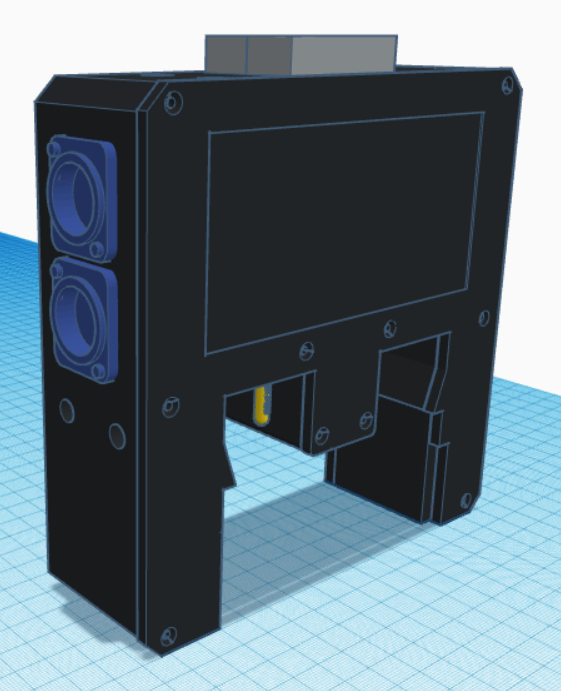
The first designs were drawn up in Tinkercad. I like Tinkercad for the simple reason it's quick.
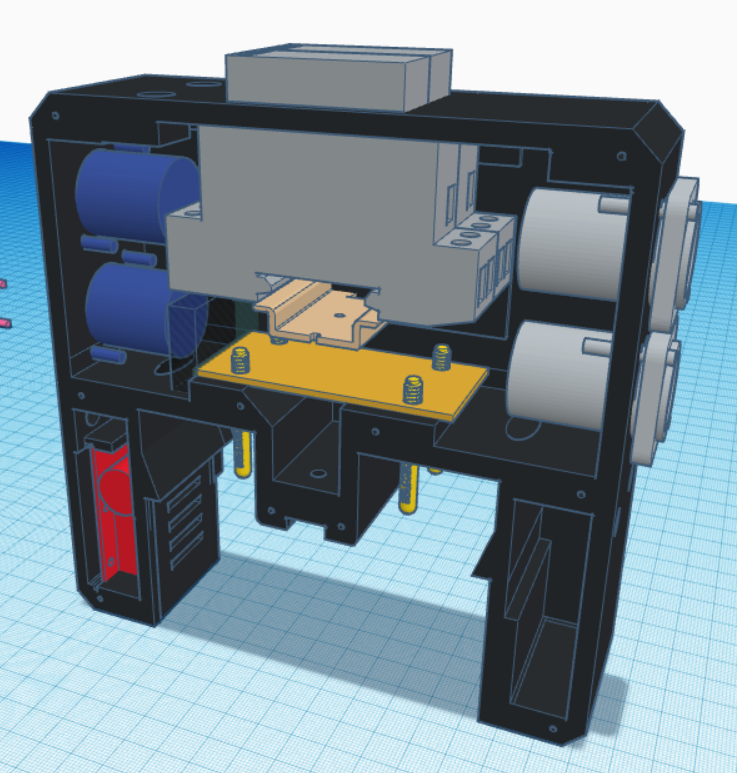
Eventually, these get redrawn in Fusion360, but for initial 3d printing, these work fine. On the right is the dual 16A DIN rail relay module. I used standard coil relays, as I found the solid state relays tend to fail ON, which is not ideal in a stage environment. There are the usual Powercon in and out sockets, and a PCB at the base that receives the 24v input, and rectifies it. The output from the 10 way module is already DC, but these relays require the signal to be the correct way around. You can plug this module into the 10 way in either orientation, so the PCB corrects the signal so that the DC signal to the relay is always the correct way around. It also have a snubber diode for any back interference from the relay coil. The 10 way has a channel LED in the centre. I really wanted to bring that out onto the top of the module. At first, I played around with colour sensors to read the colour of the LED and then replicate it on the top. But this meant I now needed a 5v supply derived from somewhere to run this system. The image on the right shows a small PSU (red piece bottom left) which deduced 5v from one of the 16A Powercon inputs. But, after much messing around, I decide the far simpler method was a flexible light pipe to replicate the indicator on the top of the module Finally I extended the 4mm banana socket out onto the side so they were still available for looping onto other equipment and testing |
Galaxis to DMX
|
This one proved to be a bit more of a challenge.
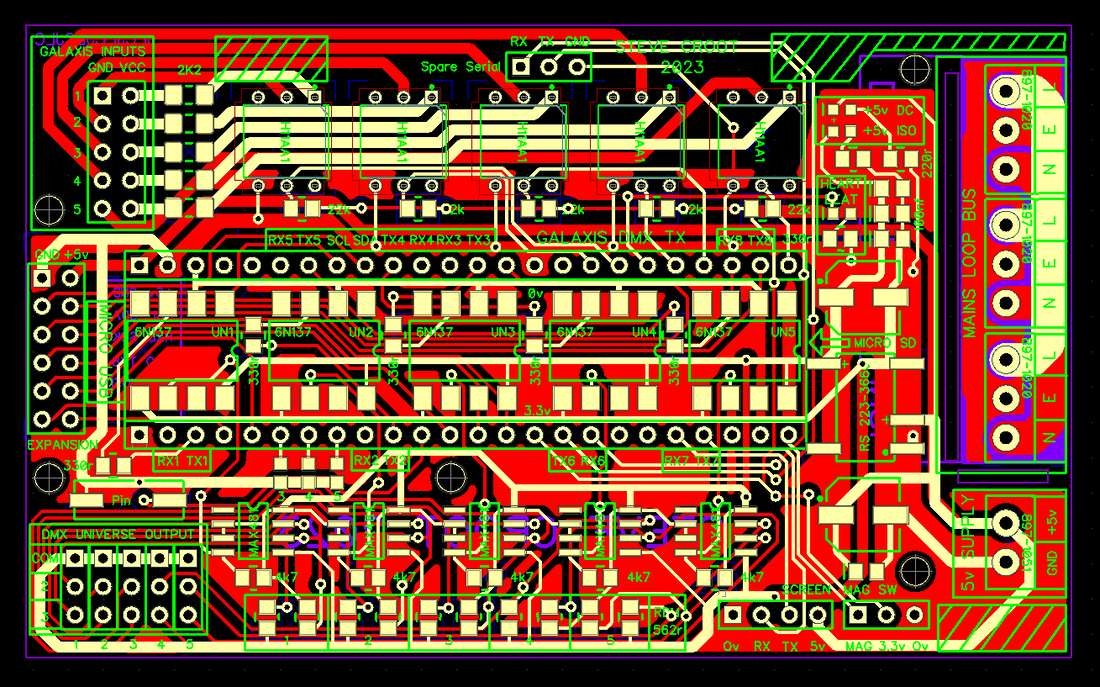
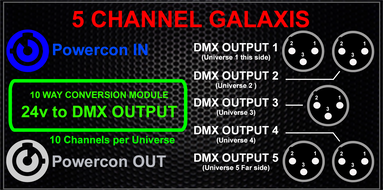
Pretty early on I decided to make a PCB that would actually provide up to 5 DMX universes. This meant it could be used in a 2, 3,4 or 5 channel module. I jumped into Diptrace (my go-to PCB software) and designed a 5 channel, optically isolated DMX board that was based around a Teensy 4.1. The reason for the 4.1 processor is that it has 5x Serial ports. Therefore, I can run 5x individual DMX universes from it. Plus, it seems to be plenty powerful enough to cope with this task. The input uses the same 4mm Banana plug conversion board, but the DMX system needs a 5v supply. This was provided by a small PSU I designed in one of the legs. The main PCB has a 5v DC to 5v DC isolator onboard to isolate the external DMX from the module. |
|
There are a lot of inputs required to set up the module for its use. Channels, levels, delays etc.
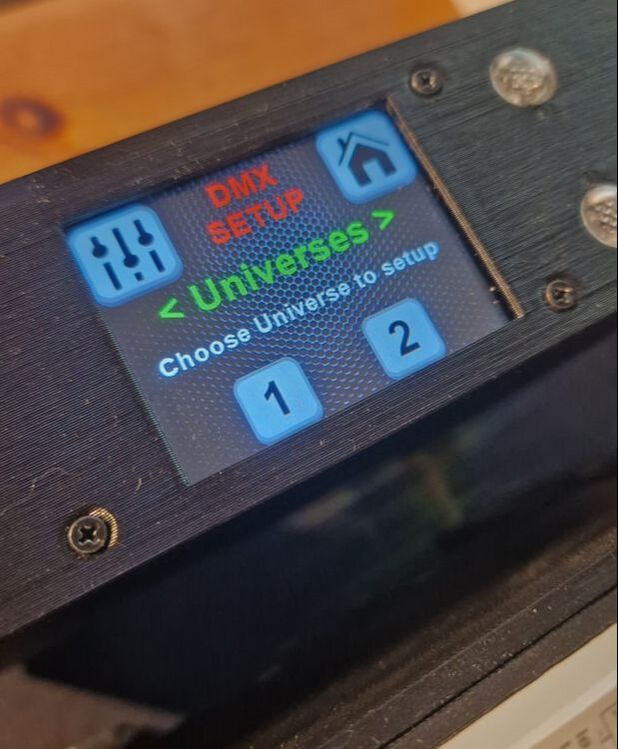
The PCB has pads to select the active DMX channels and the software then only services those activated channels. The interface to the module is using a Nextion 2.4" Advanced touchscreen. I used this, because they run stand-alone, therefore taking all the display work off the processor. With timing critical software for DMX, I didn't want to slow that down driving a screen off the processor. The PCB also has the facility to add a Wifi module. Galaxis modules are controlled using a magnetic pen. I added a sensor for this to the top of the module to allow control of various 'Administrator' functions. |
The module touchscreen has the following options:
5x DMX Universes with 512 channels per universe.
3x Initial boot options. SETUP, RUN OR DMX TEST
Setup menu:
Set the channels and type of output:
SD card upload and download of module settings
Magnetic switch options:
Test menu:
5x DMX Universes with 512 channels per universe.
3x Initial boot options. SETUP, RUN OR DMX TEST
Setup menu:
Set the channels and type of output:
- Momentary
- Latching
- Ramp up, immediate off
- Ramp up, Hold, Ramp down
- Ramp up, Ramp down
- Sequenced
- Chaser
- Random sequenced
- Random chaser
SD card upload and download of module settings
Magnetic switch options:
- Lock module
- Toggle screen
- Boot hold
Test menu:
- Switch all channels on to level 255 sequentially
- Switch all channels on then off to level 255 sequentially
- Randomly switch channels on to 255 then off again
- Use keypad to enter a channel and a level
All in all, the first two modules came out pretty well.
I am now working on larger switching options and have designed a whole host of PCB's to enable this.
I will have different types of sockets on the switch modules, such as CEE, Schuko, Euro, etc
I am also planning 32A switching versions and maybe even a 63A (although that might be pushing it!).
Obviosuly there is a huge range of module I could make with various amounts of outputs.
You also have combinations to consider, like 13A in and 16A Powercon out etc.
