Something that was always on the build list was a starship. Would have been great if it was actually a real one, but I fear that is outside my budget and ability.
So, sketch pad in hand, I decided to base it on a single kids bed. Not very old kids... probably 5+ years or so I would think.
I like the Battlestar Galactica starships, so it very loosely based around on of those.
In a perfect world of totally non-practical builds, I would have a full canopy. But I fear that will simply be a hazard to anyone jumping in and out of the bed!
|
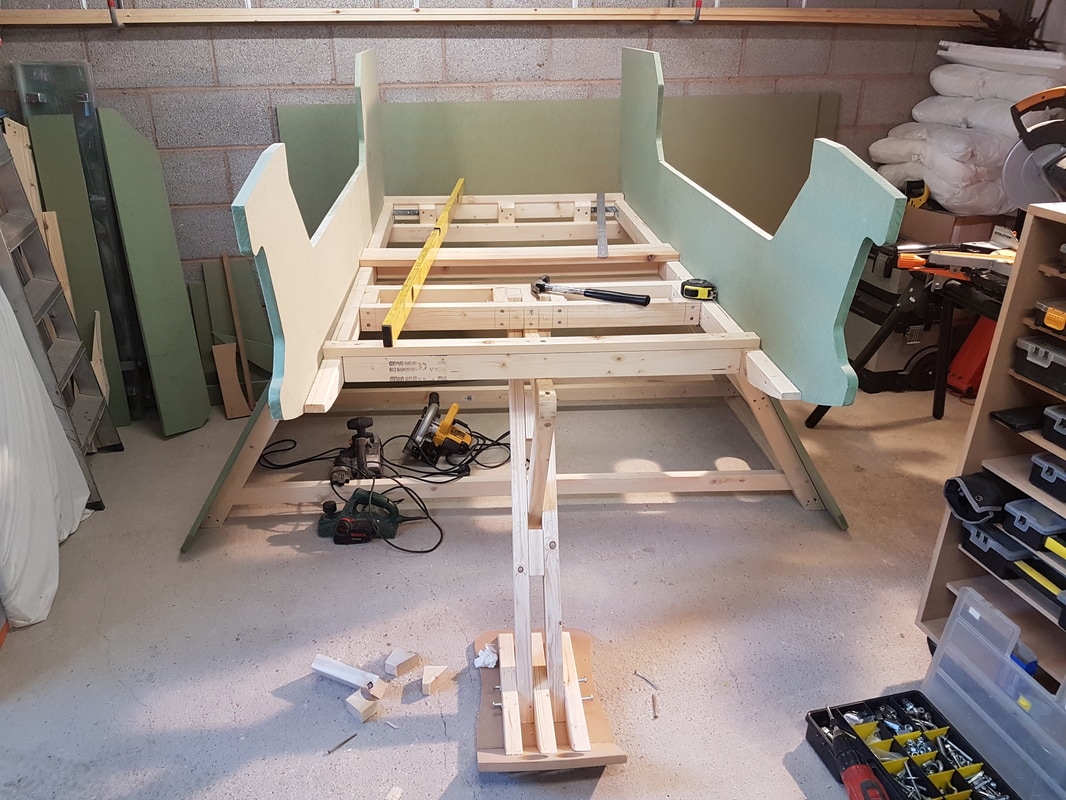
The main frame is CLS timber. Then 18mm and 12mm moisture resistant MDF will make up the majority of the panels.
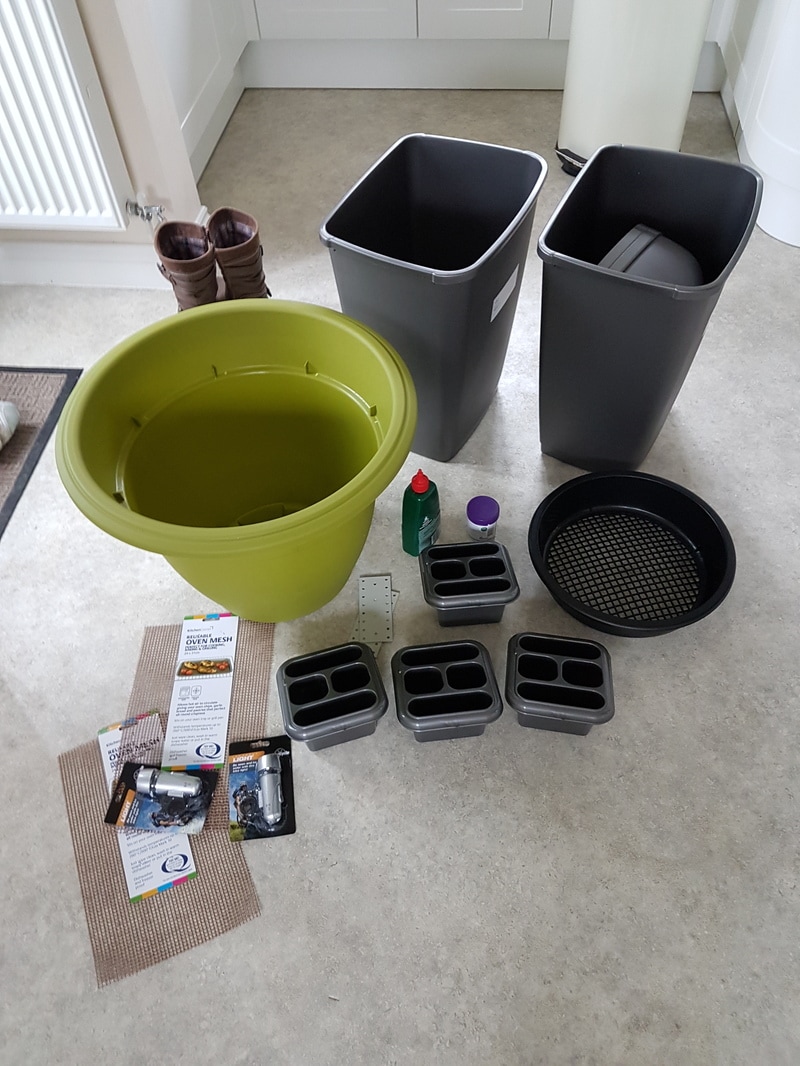
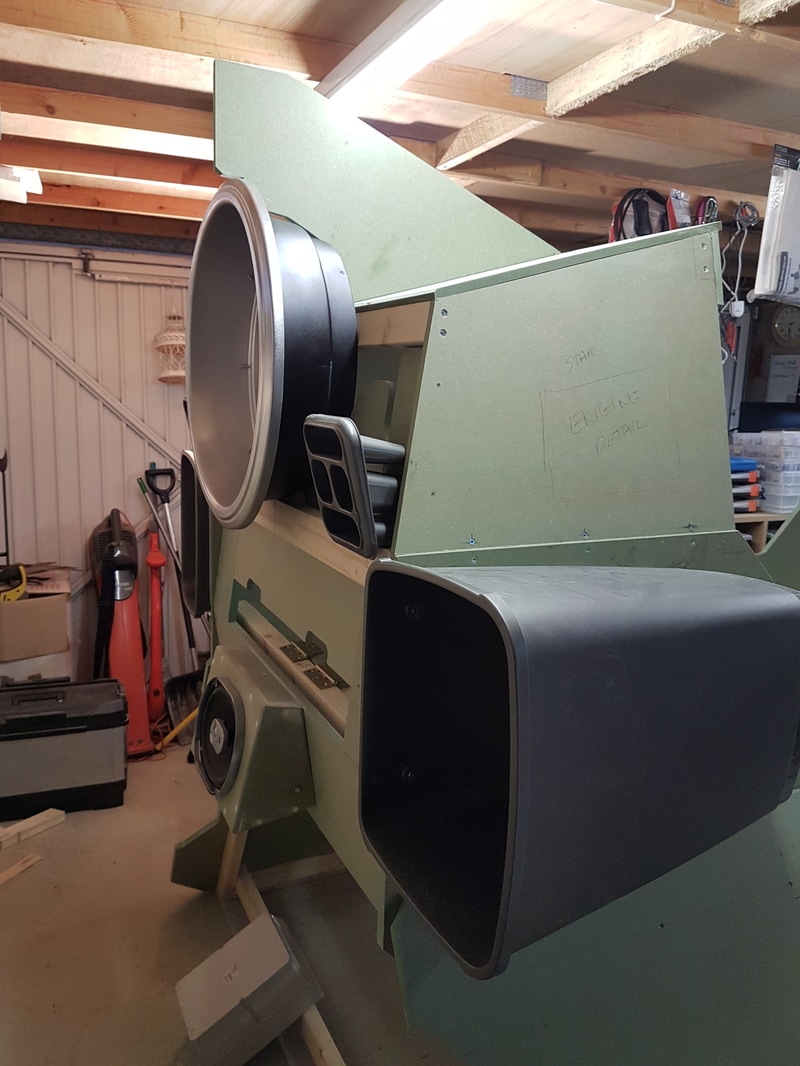
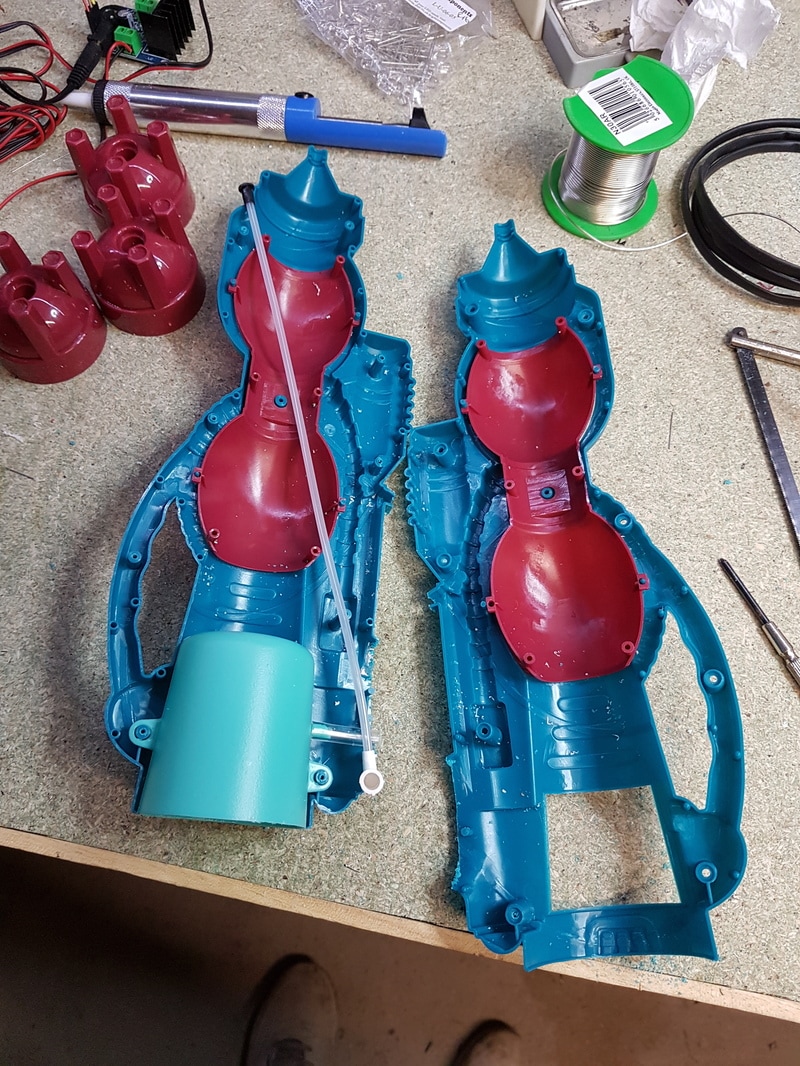
So, off shopping in Poundland we go! Actually it was Wilko that supplied a large plant pot for the main engine, and two rectangle bins for the side pod engines (went with rectangle rather than round for the side engines to conserve space). I also got four cutlery holders that will make excellent vectoring thrusters when illuminated with leds. |
Poundland supplied four plastic water pistols that will make the laser guns, along with a couple of bike lights that will make excellent navigation lights.
Two baking cooling trays will be used for the rectangle engine rear grilles and a soil sieve for the main centre engine.
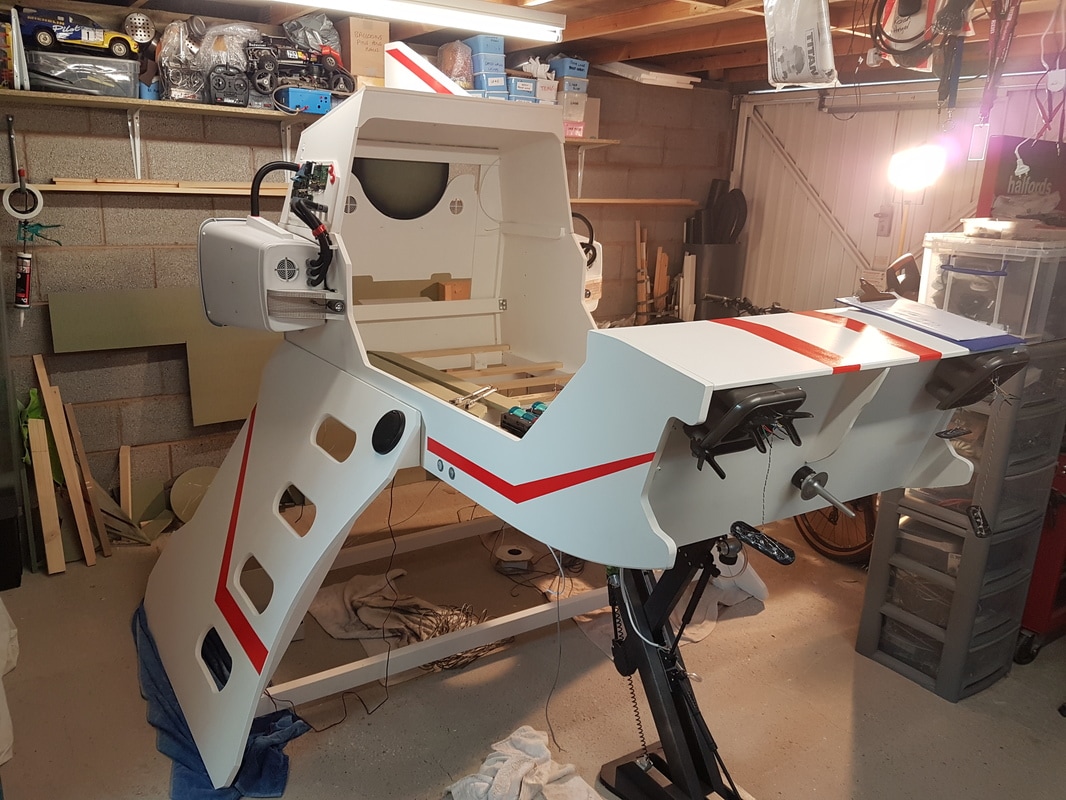
The whole frame is sectional. Basically it will consist of two wing pieces, a canopy, a front nose section and two sides.
Add to that a couple of cross braces and you have the main shell.
The wings have steps cut into them. I will also design a separate smaller frame to allow the bed to mount up against a wall, rather than free standing. However this will mean losing a wing.
The mattress will be a standard 900mm x 1800mm x 170mm. I have allowed space around that to get bedclothes etc on it. Also, the height of the mattress isn't quite so critical.

|
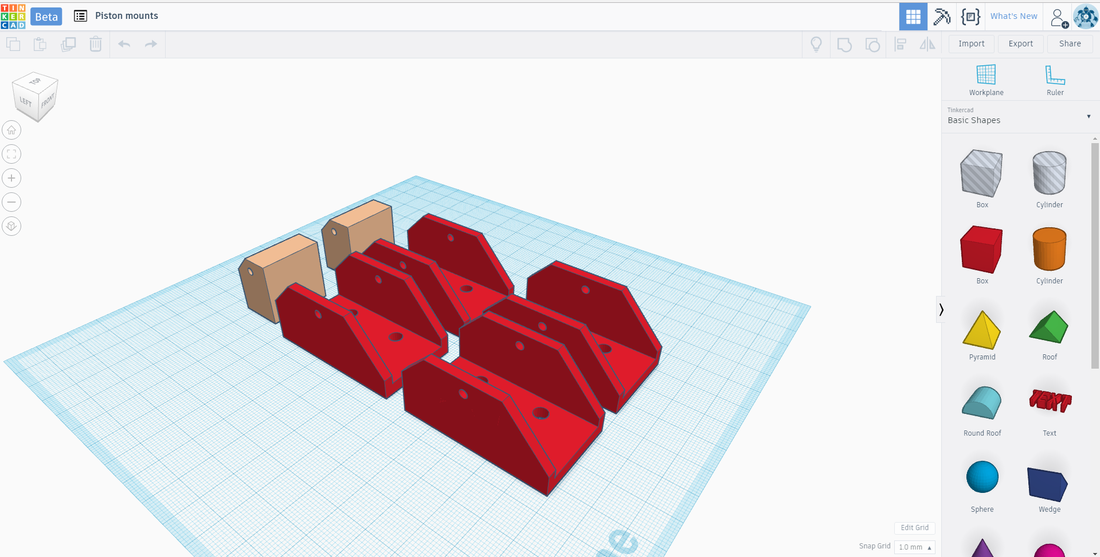
I bought several Poundland bike tyre pumps. After 3d printing a couple of brackets for
each end, these make excellent hydraulic pistons for the landing leg. They also had ray-gun style water pistols. So I have cut the handles off and 3d printed some brackets to fit those to the wings. These, coupled with some high brightness leds will make the weapons. The engines are going to have an array of leds to simulate the thrusters. I bought several packs of high brightness 5mm leds from a reliable source on Ebay. |
|
|
|
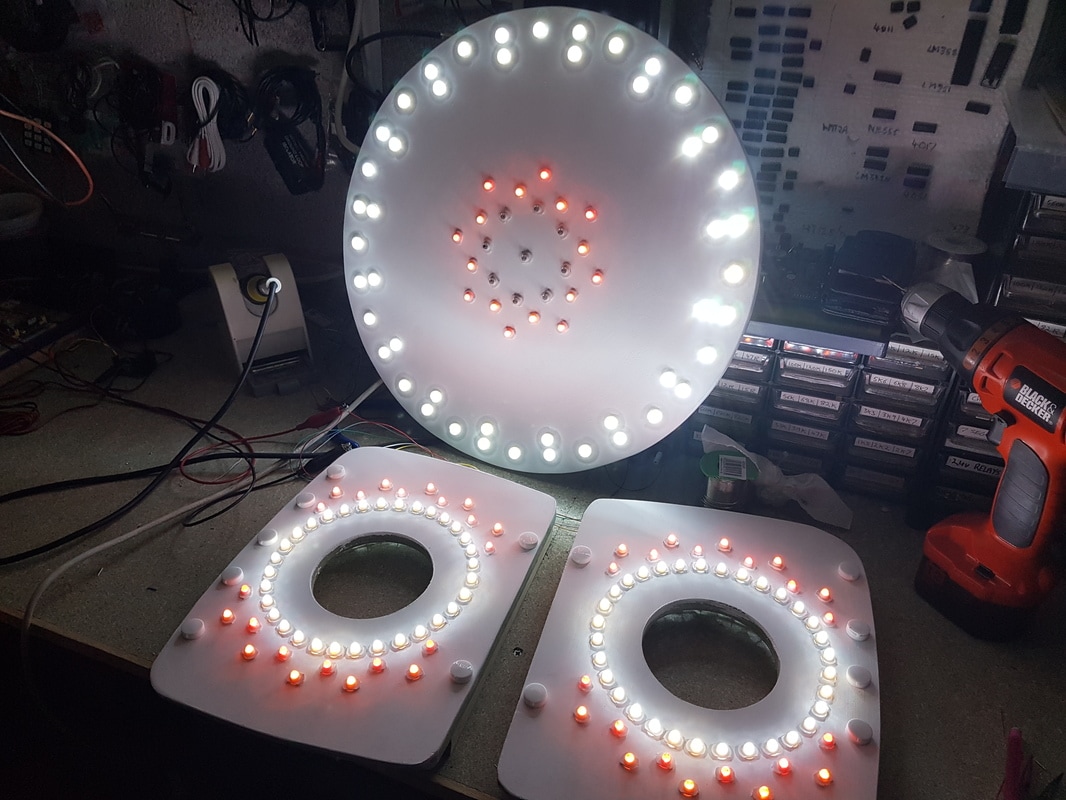
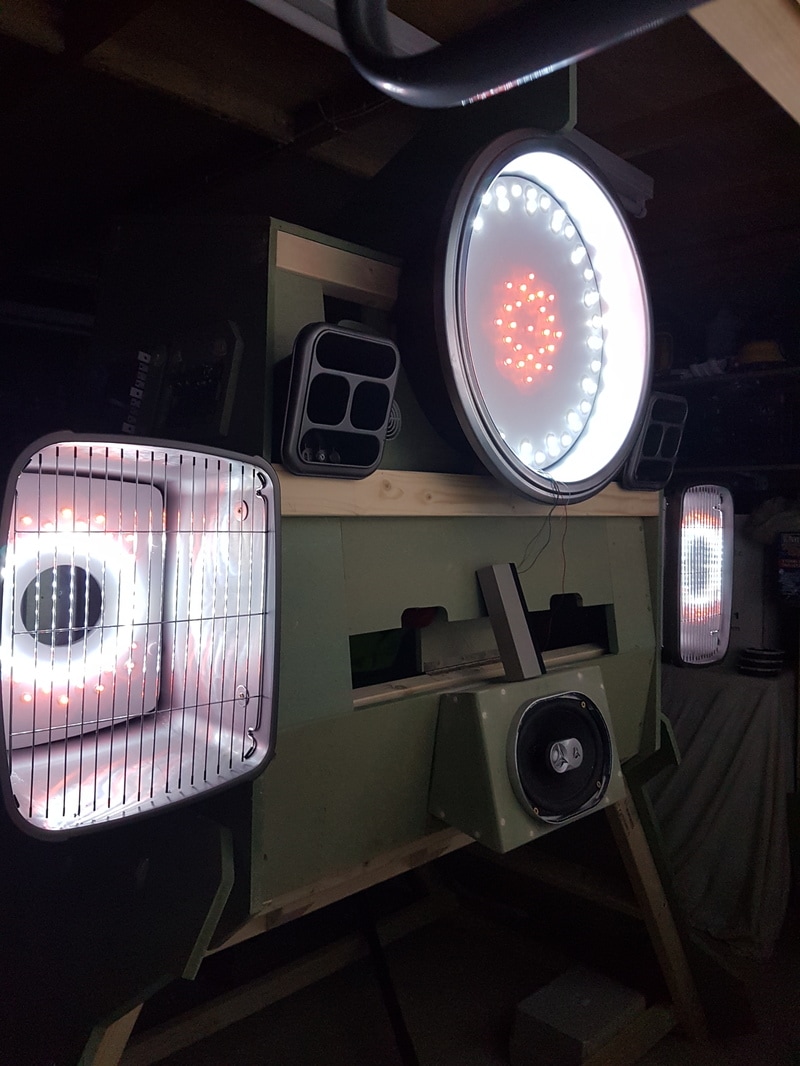
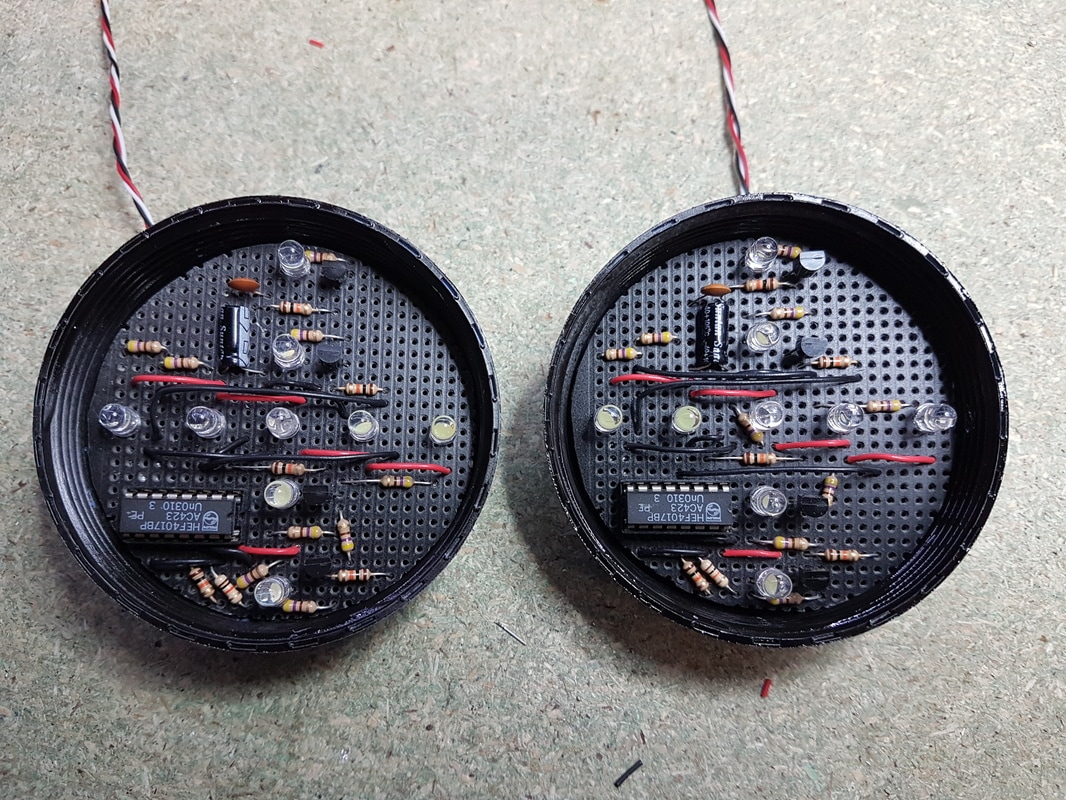
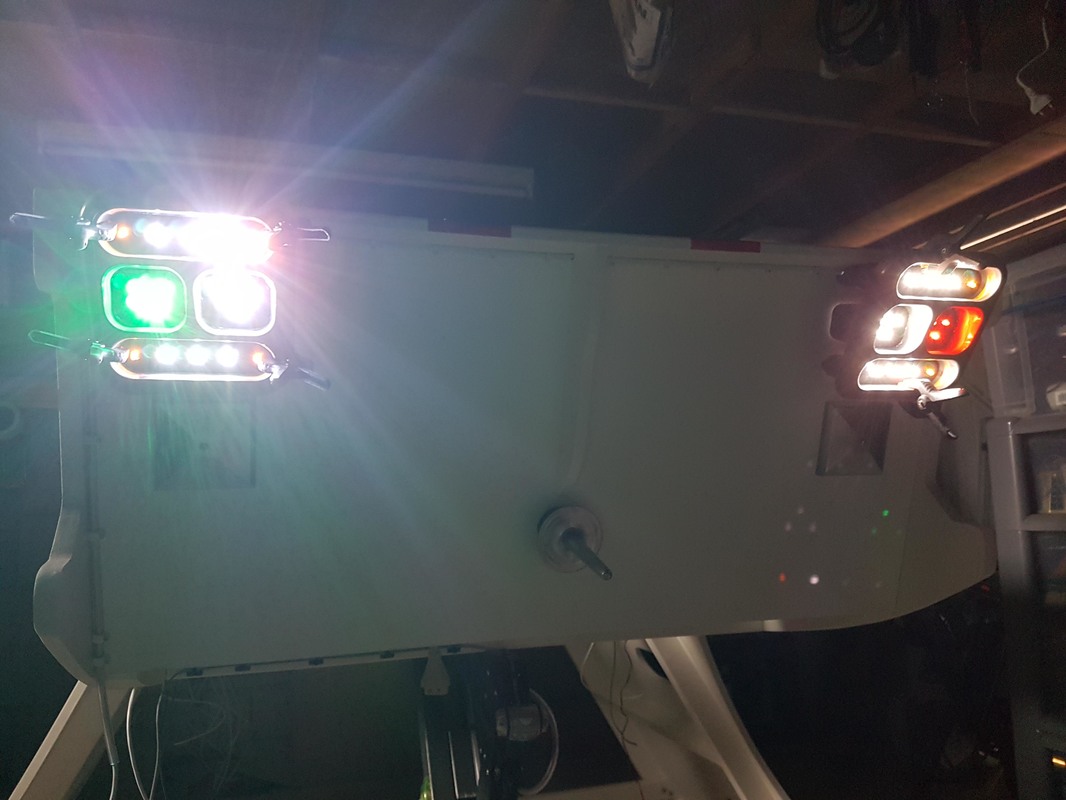
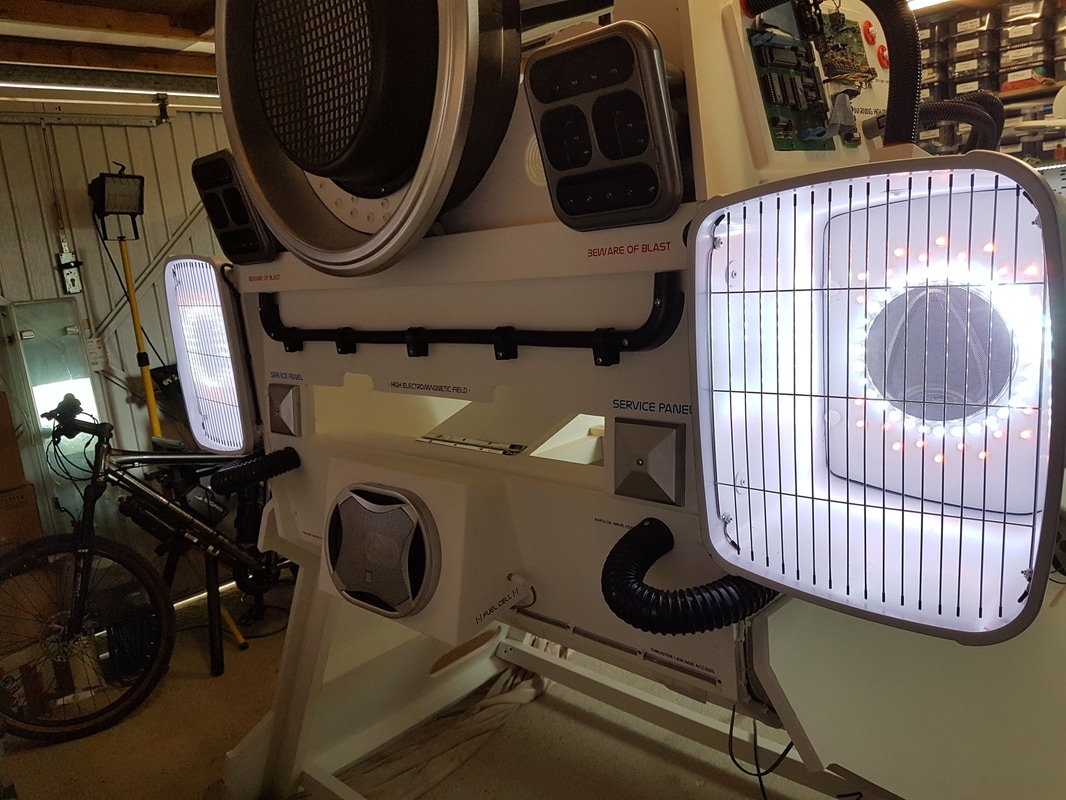
I installed white leds around the outside of the large round centre engine, and a selection of red and orange leds in the centre.
These will be controlled by an Arduino and pulsed or something similar. Probably linked to the sound system.
The side pod engines have a circle of white leds and a circle of red inside that. In the centre of the side pod engines there will be a 4" speaker.
I cut some baking cooling grilles to make covers for the side engines. These will simply bolt through.
On the front of the pods, there is a navigation light for each side (Port and Starboard), along with a small inlet vent.
This has a round pcb behind it with a 4017 decade counting IC mounted on it. I simply used the first four outputs to drive four transistors to switch eight white leds in pairs. Output 5 of the 4017 counter operated the reset pin.
These will be pulsed from the main Arduino at a frequency that matches the engine thrust lever. They are arranged in a circle and therefore will create a spinning effect.
The sound system is going to consist of a pair of 4" speakers in the side pods engines, driven off their own stereo amplifier.
Then another stereo amp will drive a further pair of 4" speakers in the wings (for the weapons sfx).
A single 6"x9" speaker mounted centre rear provides the sound for the main thruster engine.
Finally, there will be a pair of smaller speakers in the cockpit for the voice system, switch selection confirmation tones etc.
I have been playing with the WTV020 MP3 modules that you can get very cheaply on Ebay. Very small in size, and can be triggered by various methods.
They operate the same way as most other MP3 modules
,by taking the sound files from a MicroSD card. However, these modules have proven to be madly temperamental.
You can only have certain makes of SD card, and you have to convert the files to either AD4 files, or 32000hz. 16 bit wav files.
Even then, they are very hit 'n' miss. So problematic in fact, that I have now looked elsewhere.
You can only have certain makes of SD card, and you have to convert the files to either AD4 files, or 32000hz. 16 bit wav files.
Even then, they are very hit 'n' miss. So problematic in fact, that I have now looked elsewhere.
|
Sparkfun do a nice module that plays multiple wav files at the same time. This is exactly what I need.
If I had used the other mono MP3 modules, I would have had to run multiple units through a mixer to achieve the desired effect. The engines sfx for instance will need to run in the background, with the weapons firing over that, and maybe the cockpit voice playing over that as well. |
|
|
The voice will be simple commands confirming switch selections etc. I just use standard free editing software that has a handy text-to-voice feature. The female voice in the software is very good.
Further features? Well, as usual... it won't be simple. I am thinking of installing a star projector of some type, probably my own design. This will then 'spin' the stars on the ceiling in the appropriate direction as you operate the joystick (yes, there will be a joystick). The colour scheme will be along the lines of the starship at the top of the page. Dirty weathered white with an orange/red stripe. |
|

|
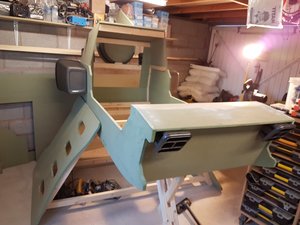
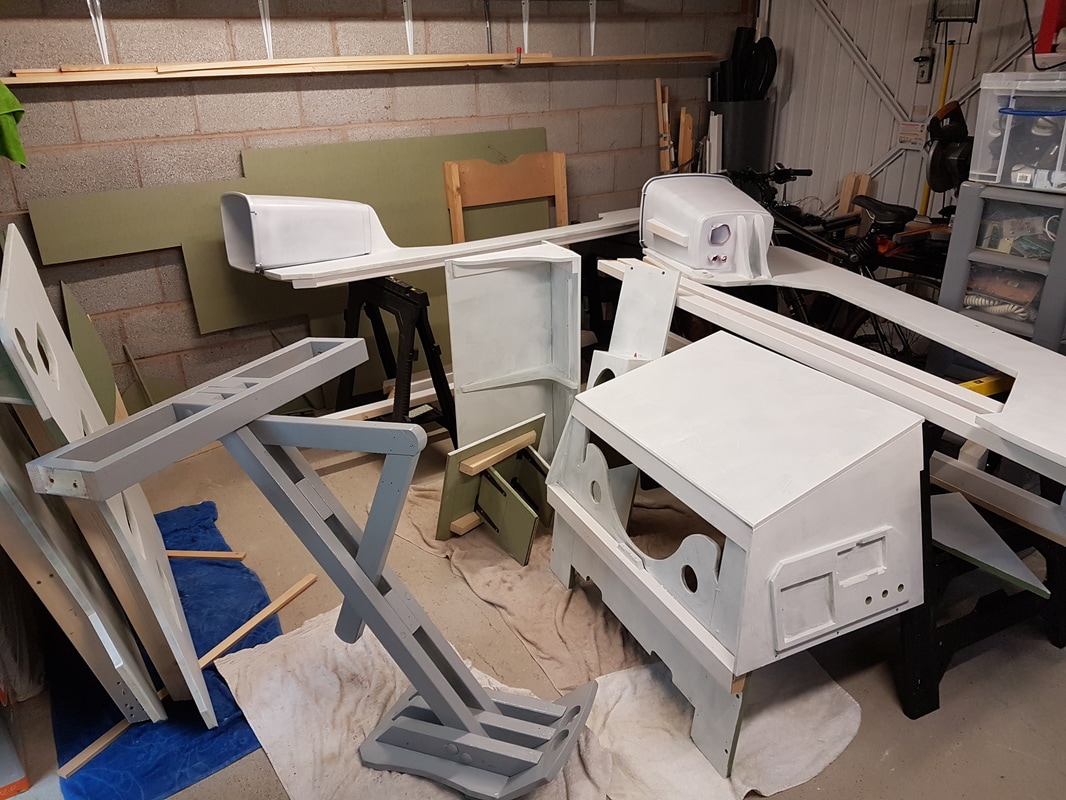
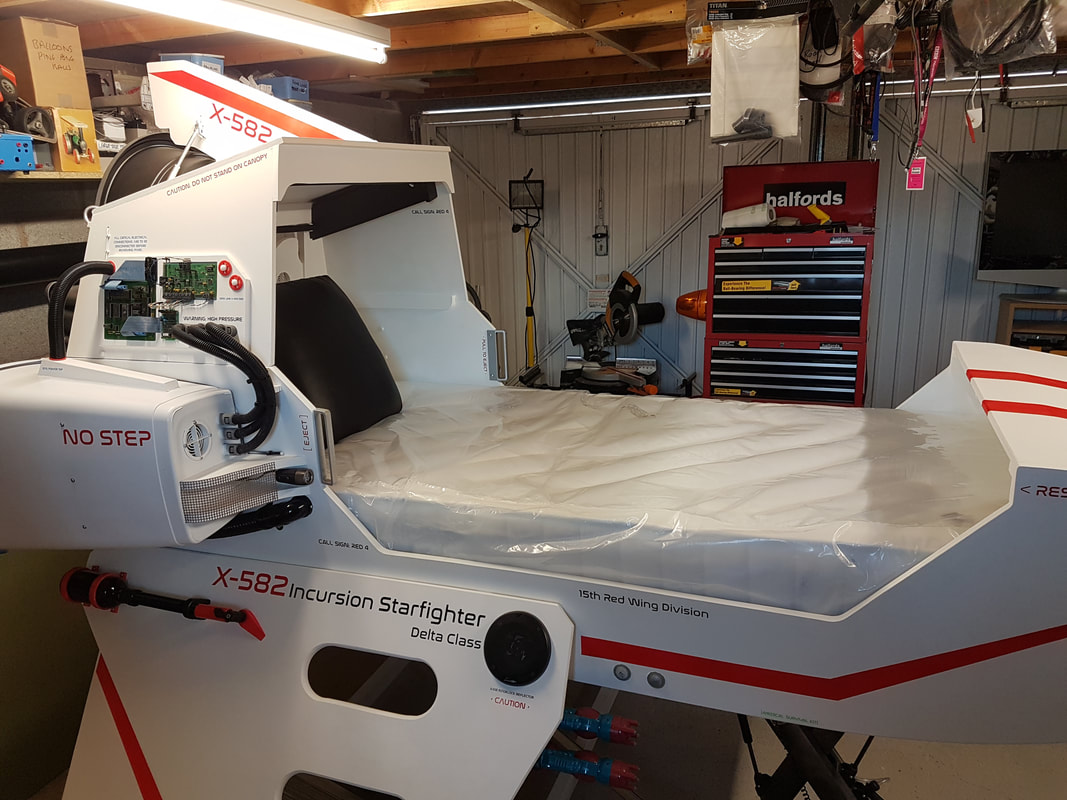
Painting. Wow, I hate painting. This seems to take forever. I have decided to basically paint the entire body white, and then weather it once its all re-assembled.
The entire ship has been primed and then top coated, with a light sand between. The side engine pods have been spray primed and then painted white as well.
The main front landing leg is going to be black, with some metallic features or weathering. Not exactly sure yet.
The entire ship has been primed and then top coated, with a light sand between. The side engine pods have been spray primed and then painted white as well.
The main front landing leg is going to be black, with some metallic features or weathering. Not exactly sure yet.
|
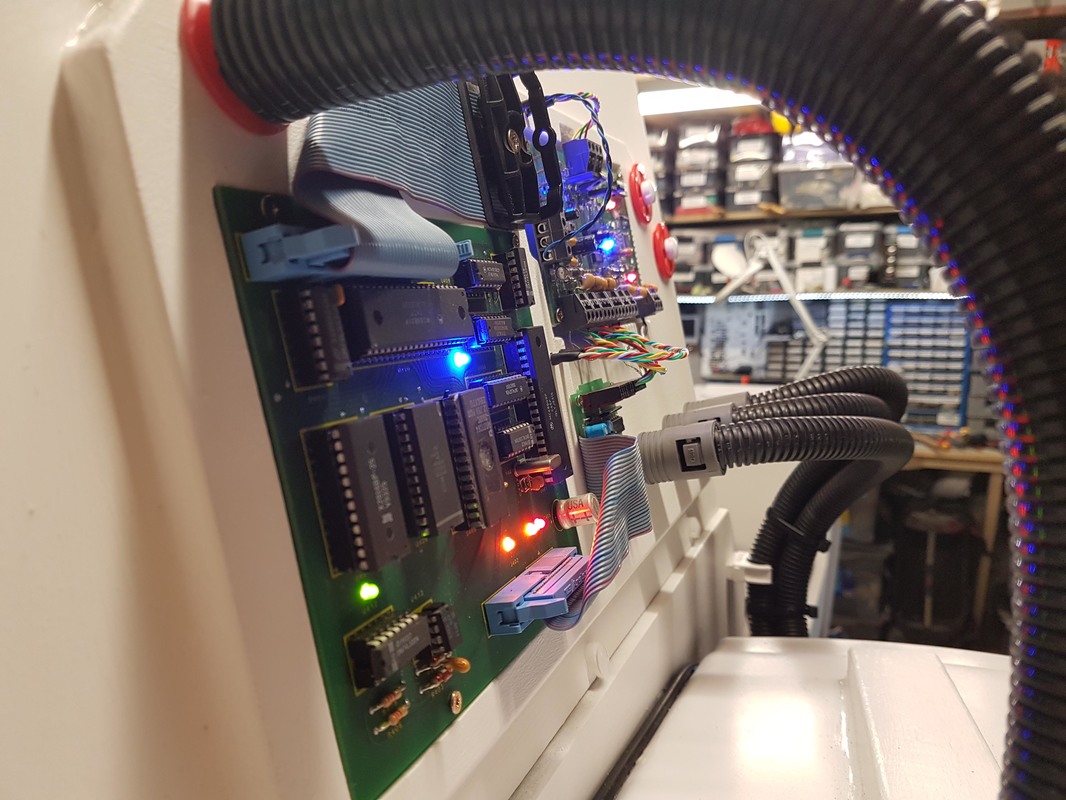
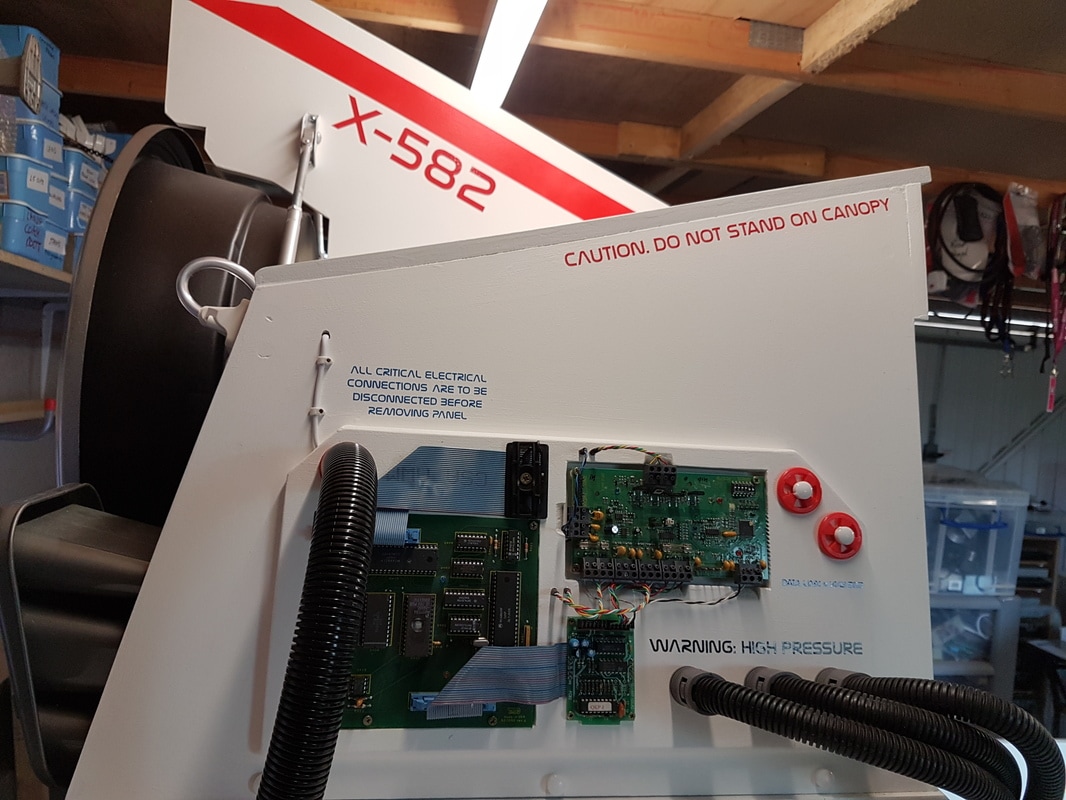
I found some old PCB boards out of alarm panels and PSU's.
I added some random coloured 3mm leds to the boards and they will be mounted in the shaped panels on the sides of the canopy section. The leds will be sequenced via the Arduino, or I may simply use a Picaxe 08M2 chip to operate them. |
|
The build continues...
The main frame is all put back together and looking much better now its painted satin white.
I was going to weather the whole ship, but now looking at it, I think I will leave it clean
Weathering it might be an epic undertaking.
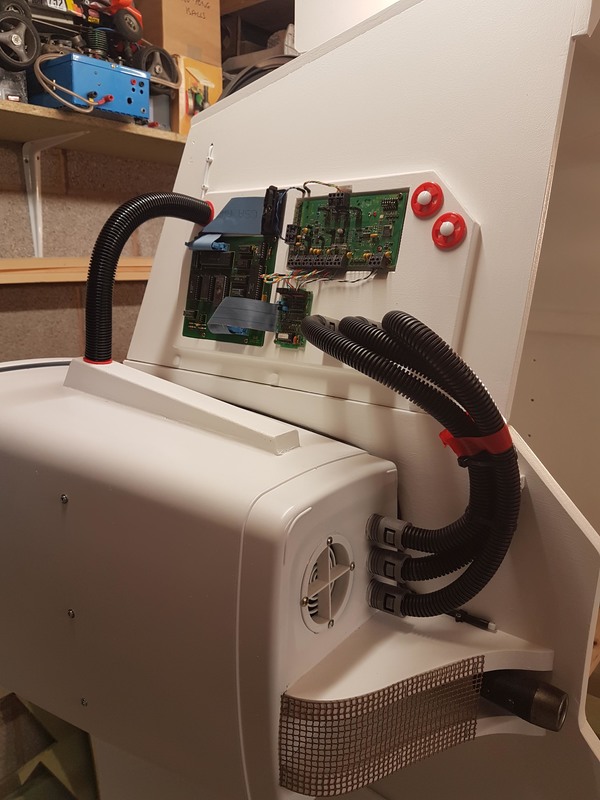
The fake side PCB's are mounted and the cables run through to the inside cabin. These will terminate in the control panels in the roof section.
I have added various pipes and hoses that I found lying around the workshop to pad out the side modules.
The wiring has been started. Its basically all running back to a main PSU and amplifier box under the Starboard wing. Multi-way plugs will ensure the bed can be dismantled easily.
I was going to weather the whole ship, but now looking at it, I think I will leave it clean
Weathering it might be an epic undertaking.
The fake side PCB's are mounted and the cables run through to the inside cabin. These will terminate in the control panels in the roof section.
I have added various pipes and hoses that I found lying around the workshop to pad out the side modules.
The wiring has been started. Its basically all running back to a main PSU and amplifier box under the Starboard wing. Multi-way plugs will ensure the bed can be dismantled easily.

|
The landing leg has been assembled an looks good. The Poundland bike pumps look excellent as fake actuators/pistons. An old broken headtorch mounted on a 3d printed bracket provided a landing light. This actually takes a lot of weight, so I had to somewhat over-engineer it. Don't want the bed collapsing. |
|
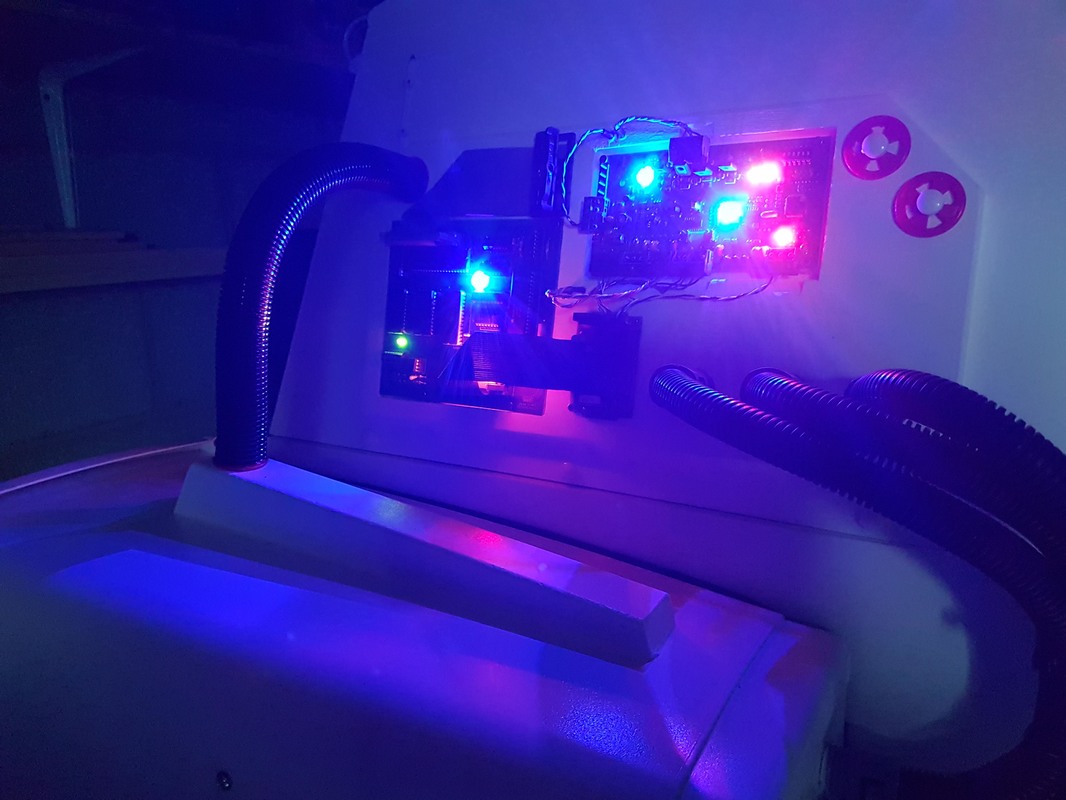
If I build another one of these (not likely!). I certainly would consider having PCB's made up for the LED effects.
There has been many hours spent soldering individual resistors onto the LEDs.
I ordered four I2C 2x16 Blue lcd displays from China.
These don't have the greatest viewing angle, but at £1.20 you cannot really go wrong.
They will all be mounted across the top of the interior cabin and display various messages and information.
|
|
|
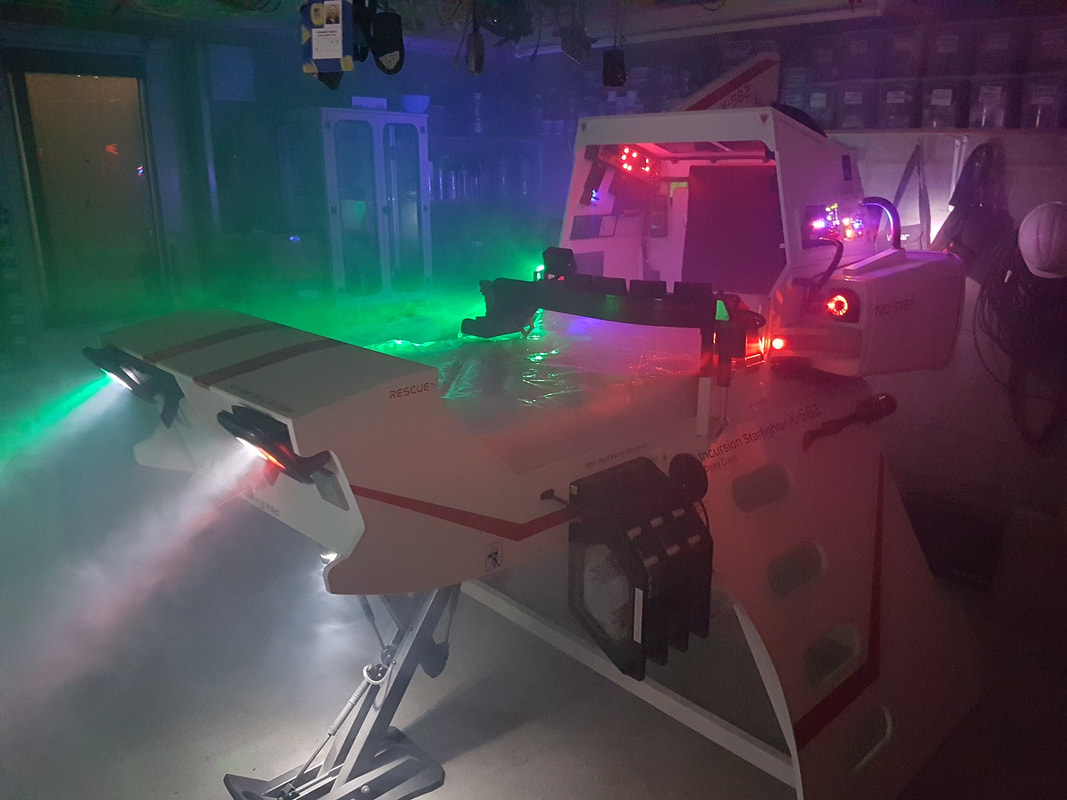
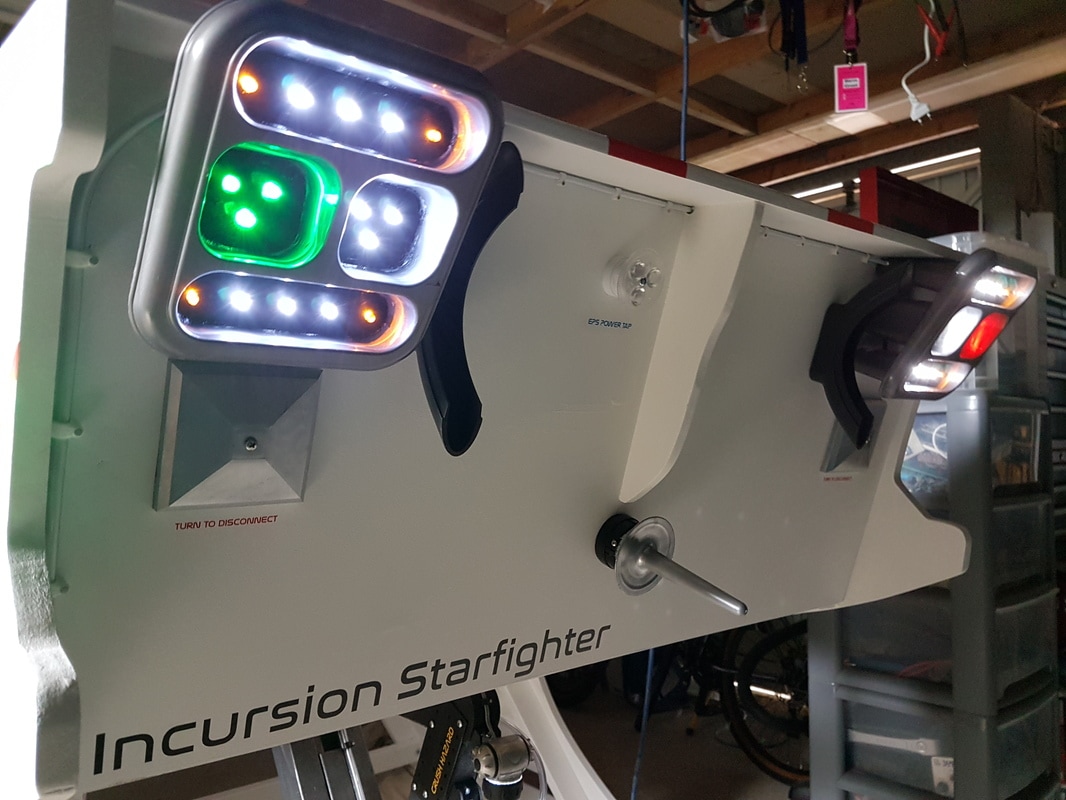
The graphics have arrived!
Time for the trimmings now. That starts with the graphics.
First job, a fancy sounding name. Thesaurus time. What is another word for attack?
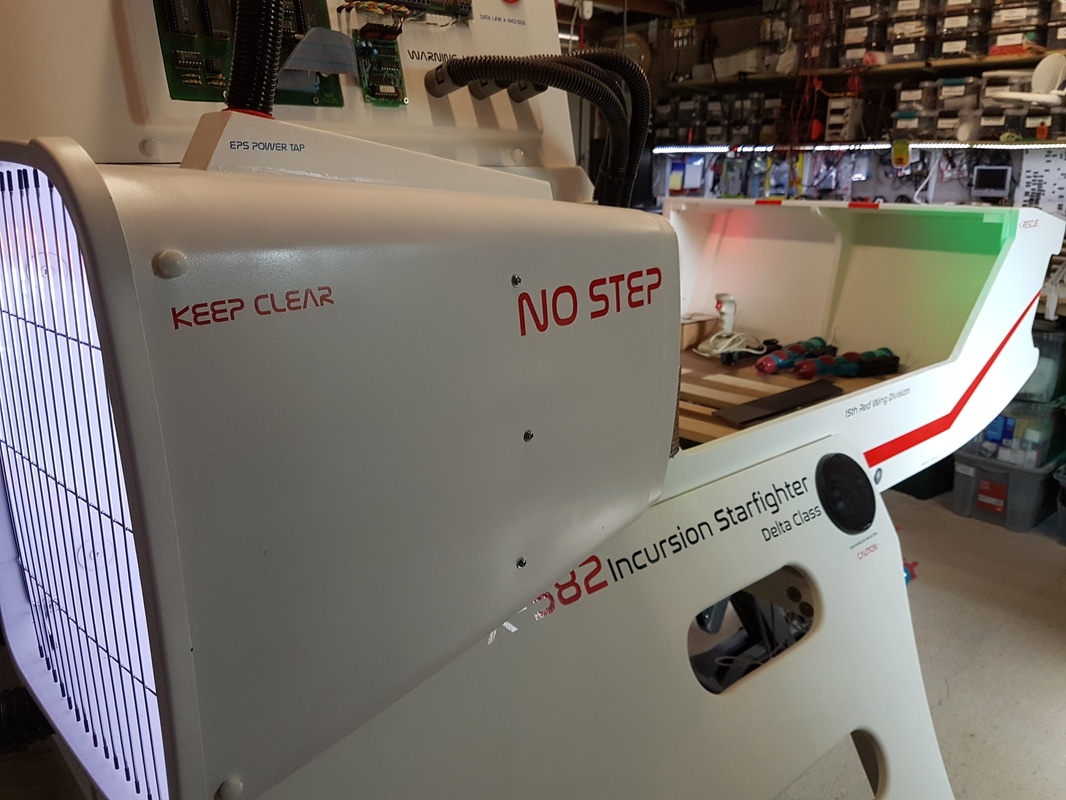
Ended up with X-582 Incursion Starfighter (ooh!). Actually, to give it the full title, it is an X-582 Incursion Starfighter, Delta Class, 15th Red wing division, call sign Red 4. But, by the time the mothership has announced that mouthful over the radio, the war would be over.
Made up a load of cobblers for the other graphics, e.g Data link 1443-582. What does that mean? who cares.
Sent them all off to Mathew. A damn fine individual who made an outstanding job of my graphics. I highly recommend this guy.
Went out of his way to find my required font, and even sent a few spares.
First job, a fancy sounding name. Thesaurus time. What is another word for attack?
Ended up with X-582 Incursion Starfighter (ooh!). Actually, to give it the full title, it is an X-582 Incursion Starfighter, Delta Class, 15th Red wing division, call sign Red 4. But, by the time the mothership has announced that mouthful over the radio, the war would be over.
Made up a load of cobblers for the other graphics, e.g Data link 1443-582. What does that mean? who cares.
Sent them all off to Mathew. A damn fine individual who made an outstanding job of my graphics. I highly recommend this guy.
Went out of his way to find my required font, and even sent a few spares.
They turned up a few days later. They finish the exterior off brilliantly. Added a few more random 'parts' to the exterior to fill in the blank areas and to give me somewhere to put the smaller text.
|

|
|
|
|
Heading towards the finished product
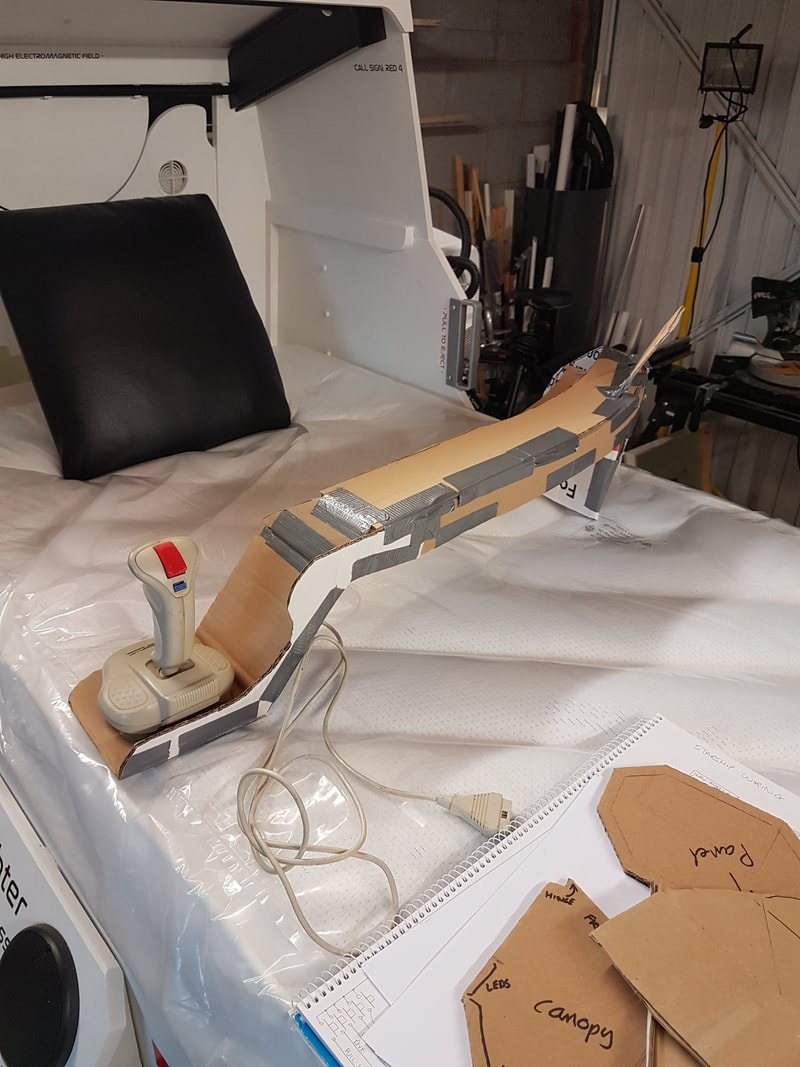
Mocked up a joystick navigation's console out of cardboard. Then built it out of MDF.
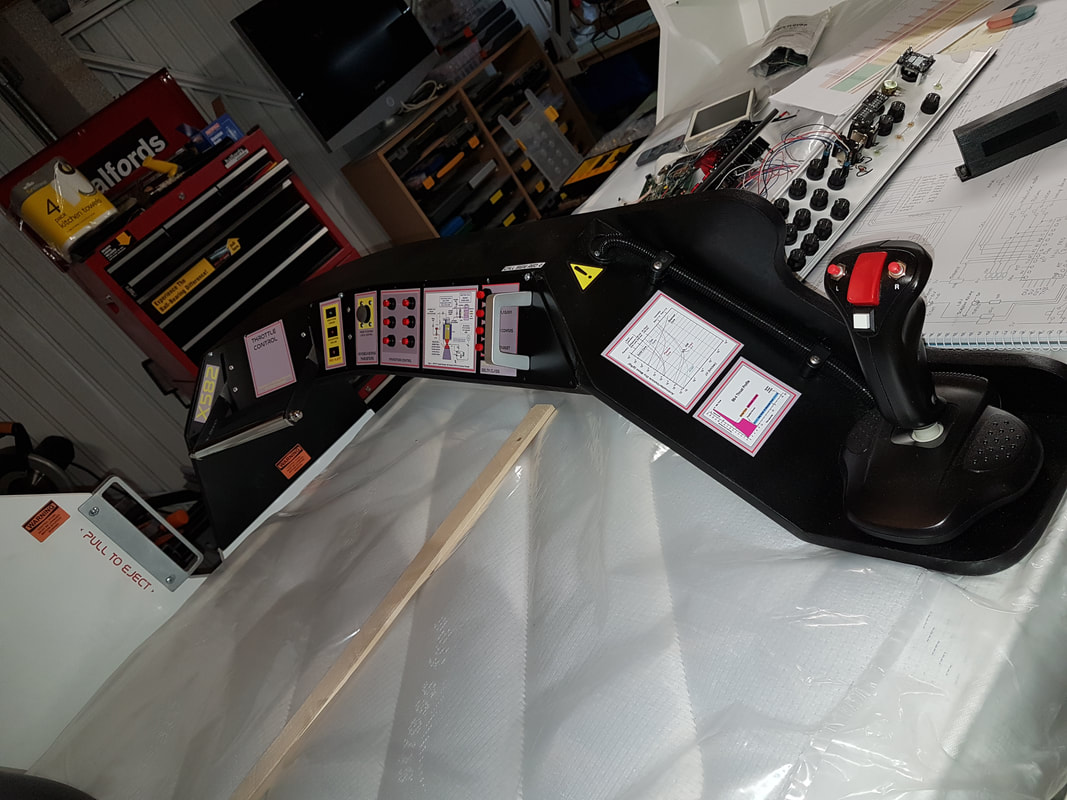
Found an old joystick at the carboot sale, and painted it black. Also added a couple of extra buttons for the warp drive etc.
This console is packed with electronics, and one of the biggest problems I faced with this build was the finished weight of the navigation console. I originally tried various strengths of gas pistons. None of these particularly worked that well, and eventually bent the brackets due to the weight.
I then tried friction hinges. They died in an explosion of ball bearings.
So, as I type, I am awaiting a 12v 50mm travel electric linear actuator. Hopefully the electric piston will work well.
Other alterations included a little bit of a redesign of the side laser and plasma cannons mountings. I basically just moved them forwards a little.
I also built some matt black housings to cover the weapons, so you didn't break them off if you stood on them getting in the craft.
|
|
|